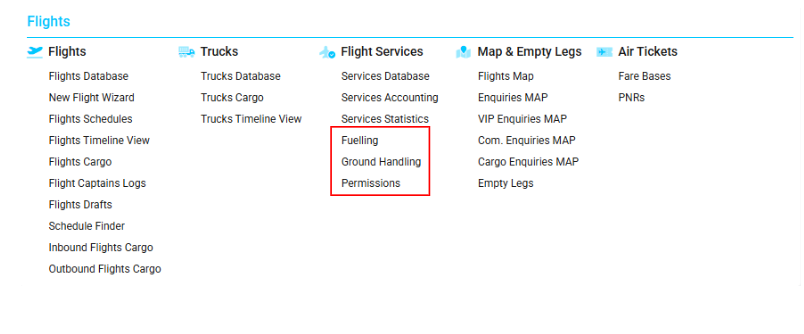
Accessing Fuelling / Ground Handling / Permissions
Navigate to the Flights section and under the Flight Services, click the “Fuelling / Ground Handling / Permissions” Button.
Overview
These interfaces allow you to create new services for flights and view existing ones.
Users can link jobs, make allocations, connect flights and tickets, update revenue and cost statuses, assign team colors, and add attachments.
Multiple filters are available to help find the required entries efficiently.
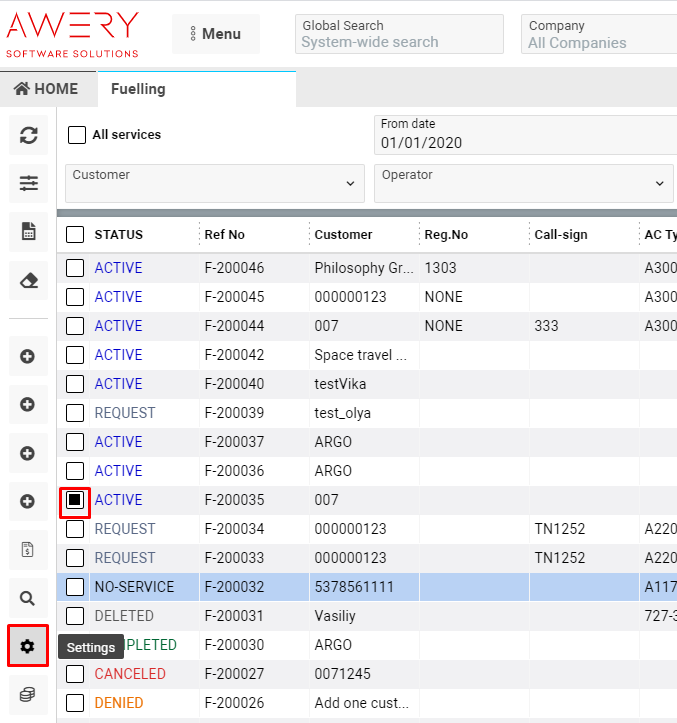
List Description
|
Column |
Description |
|
Status |
Condition of the flight service |
|
Ref No |
Flight service reference number |
|
Customer |
Name of the customer |
|
Reg. No |
Aircraft registration number |
|
Call-sign |
Aircraft call code |
|
AC Type |
Aircraft model/type |
|
Operator |
Name of the operator/controller |
|
Suppl |
Fuel supply organization |
|
Route / Location |
Flight route or location |
|
Date |
Date of flight service creation |
|
Company |
Name of the company |
|
Team |
Color assigned to the team |
|
REV |
Number of entries in the “Revenue” tab |
|
CLO |
Tick shown based on the selected service status in “Revenue” tab |
|
i |
Coins icon for linked job / tick for “UnConfirm Pricing” status |
|
A |
Anchor icon for allocation linked to the entry |
|
Revenue |
Total sum on the “Revenue” tab |
|
Profit |
Profit earned from the service |
|
EXP |
Tick shown according to selected operation in “Costs” tab |
|
FLT |
Aircraft icon when the flight is linked to a service |
|
Tickets |
Ticket number if linked to the service |
|
Files |
Paperclip icon appears if attachments are available |
Manuals
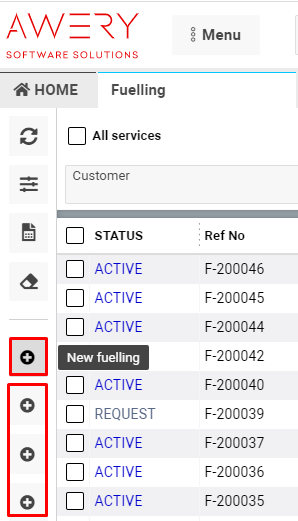
How to Create a New Flight Service
-
Click the NEW button on the form.
-
You can create four types of flight services from this interface:
-
Fuelling
-
Handling
-
Permissions
-
Flight Plan
-
(See tooltip for details.)
Column Indicators and Statuses
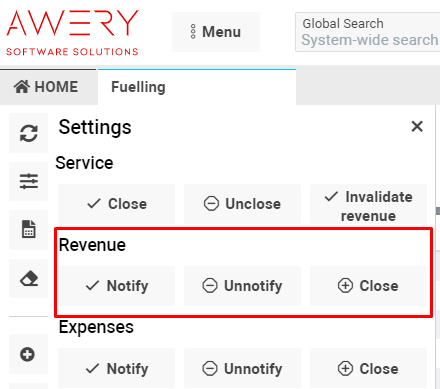
REV Column (Revenue Status)
-
Tick visibility depends on the selected operation in the Revenue tab or in Settings.
-
Select an entry → click Settings.
-
Choose the revenue status:
-
UnNotify → no tick shown
-
Notify → single tick shown
-
-
Close → double tick shown
-
To reopen closed revenues → click Unclose in the Revenue tab.

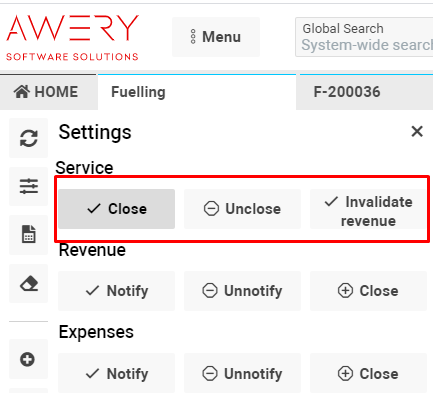
CLO Column (Service Closure Status)
-
Tick appears according to the selected service status.
-
Choose a service status.
-
Click CLOSE service → tick appears in column.
-
To reopen → click UnCLOSE service.
Note: “Invalidate Revenue” button applies to services with non-invoice jobs.
i Column (Coins / UnConfirm Pricing)
-
Coins icon – shown when a job is linked.
-
Open entry → Revenue tab → tick Connect → click Connect to job.
-
Fill required fields → click Create Entry.
-
-
Tick icon – shown for “UnConfirm Pricing” status.
-
Go to Revenue tab → click Confirm Pricing → select Yes to confirm.
-

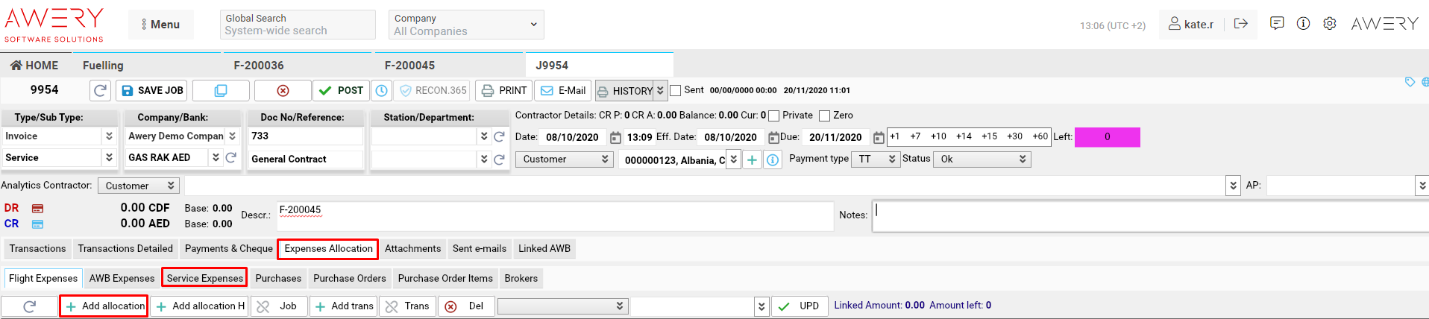
A Column (Allocation Anchor Icon)
-
Anchor icon – shown when allocation is linked.
-
Go to Jobs List → double click required job.
-
Open Expenses Allocation → Service Expenses tabs → click Add Allocation.
-
In Select Types form, tick required service → click Apply, set period, and Search.
-
Choose the service → click Connect to JOB.
-
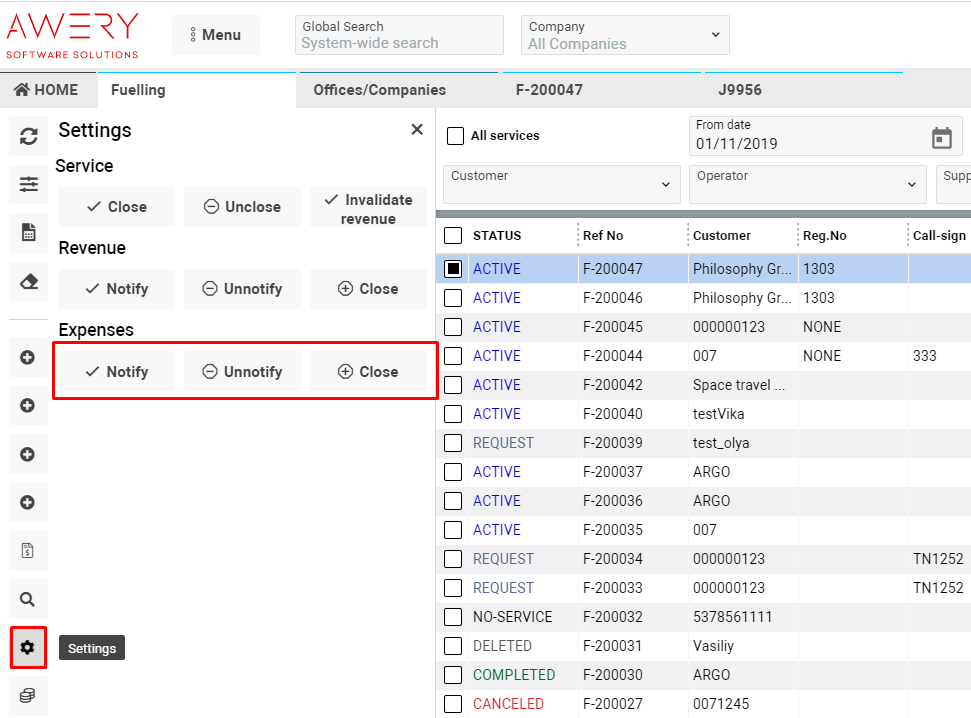
EXP Column (Costs Status)
-
Tick visibility based on the selected expense status:
-
UnNotify → no tick
-
Notify → single tick
-
Close → double tick
-
-
To reopen closed expenses → click Unclose in the Costs tab.
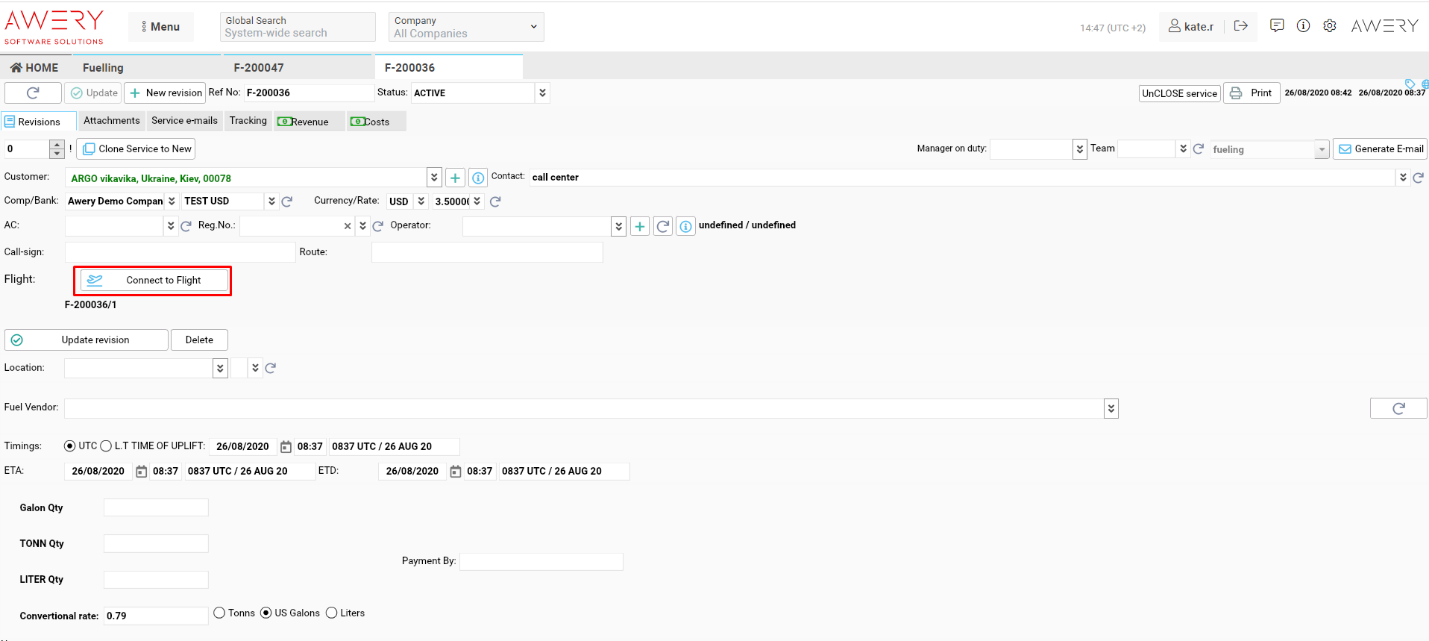
FLT Column (Linked Flight Icon)
-
Aircraft icon shown when flight is linked to a service.
-
Double click entry → click Connect to Flight.
-
Set period → use Extended Search → click Search.
-
Select the flight → click Link → confirm action with Yes.
-
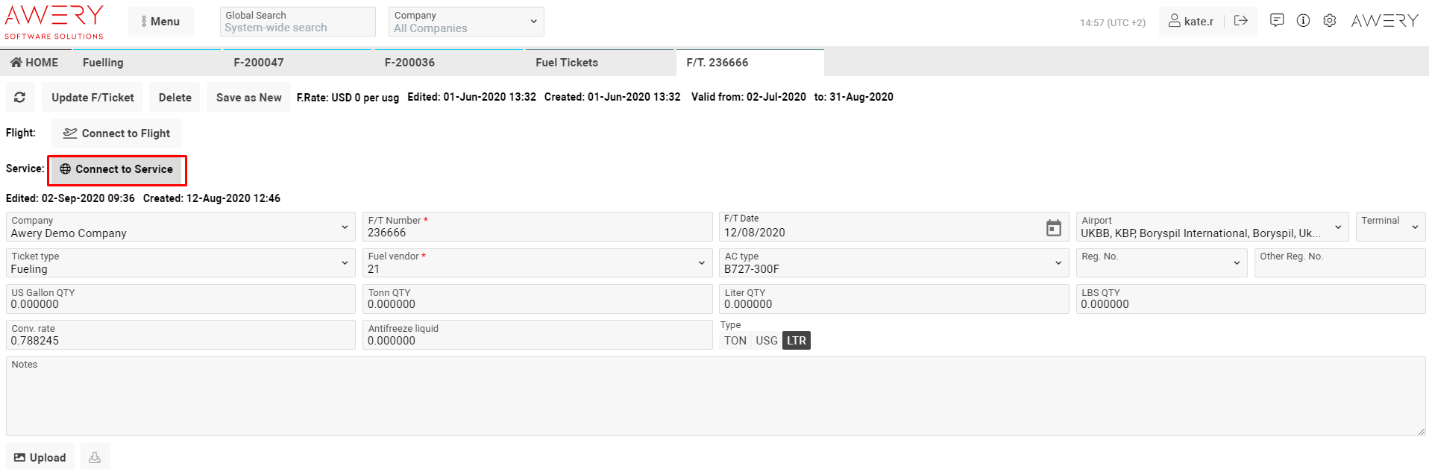
Tickets Column
-
Ticket number appears when linked to a service.
-
Open Fuel Tickets → double click the ticket.
-
Click Connect to Service → select period → double click service.
-
Click Confirm connection → select Yes to confirm.
-
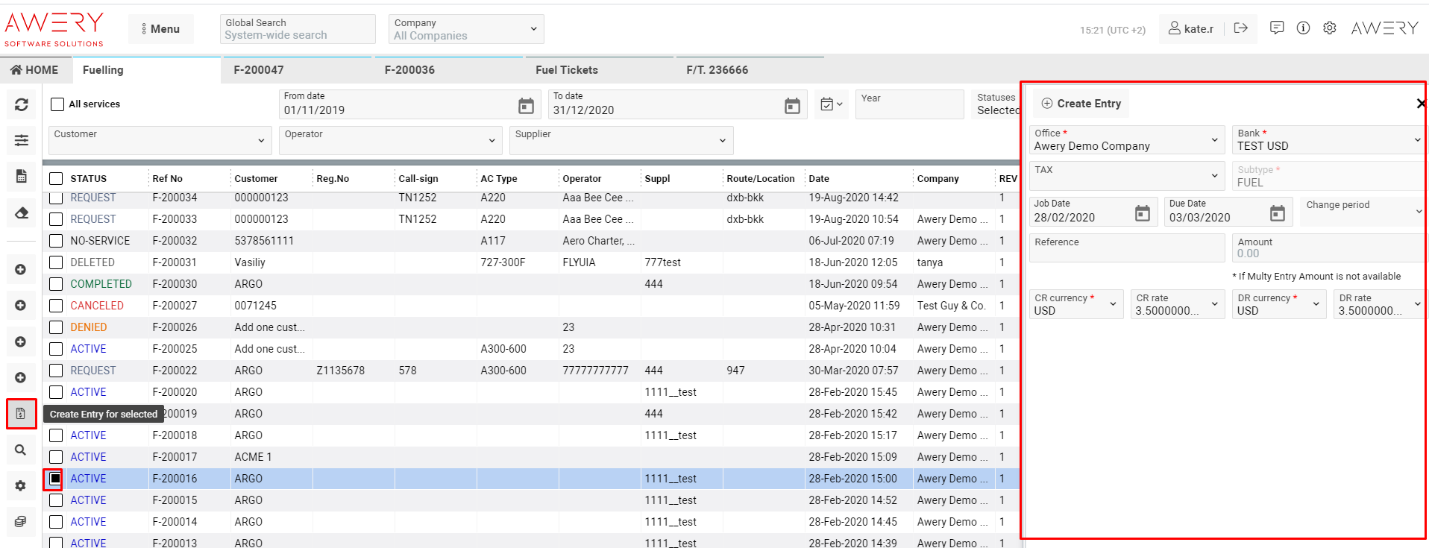
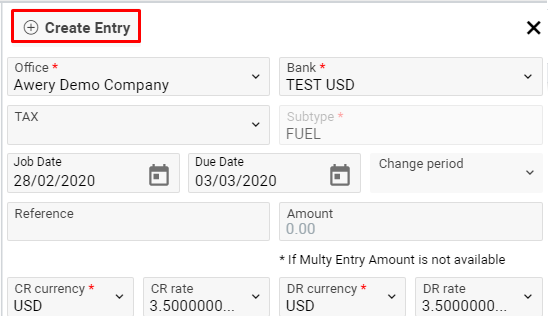
How to Link a Job
-
Mark the entry checkbox → click Create Entry for selected.
-
Fill in the required fields (Office, Bank, Subtype) → click Create Entry.
Alerts:
-
If customers differ → alert appears.

-
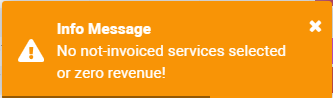
If job is already linked, revenue = 0, or status = “Closed” → alert appears.
You can also:
-
Click Open Services Flight Page to open the related Services & Flights page.
-
Click Coins icon in sidebar to view Cost Types.
-
Header displays total Profit for the selected period.
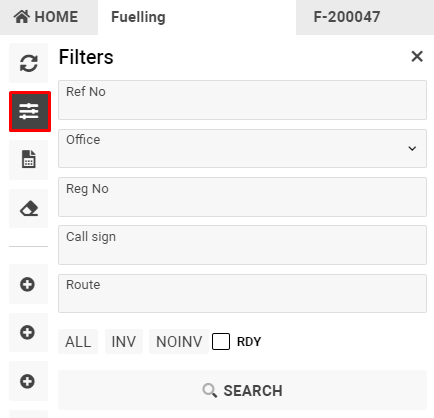
Sorting and Filtering
Click the Filters button to choose criteria.
|
Option |
Description |
|
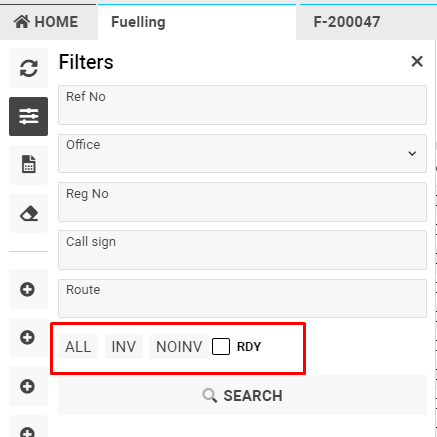
ALL |
View all entries |
|
INV |
Show entries with jobs |
|
NOINV |
Show entries without jobs |
|
RDY |
Show entries with confirmed prices |
|
|
|
To make “Confirm Pricing” status:
-
Double click entry → Revenue tab → Confirm Pricing.
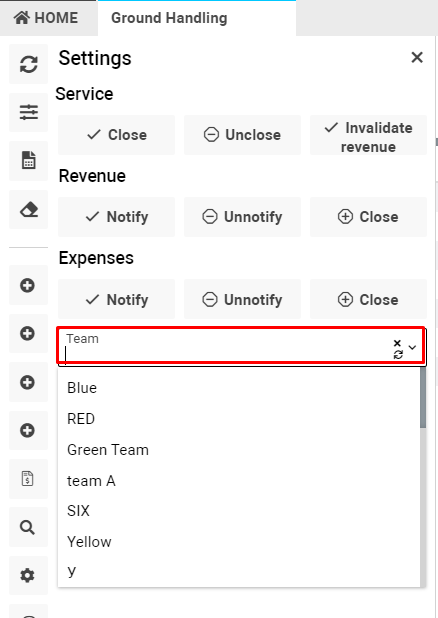
You can also filter by Team Color (available only in Ground Handling and Permissions interfaces):
-
Go to Settings tab → choose color from Team dropdown.
Date and Year Filters
-
To filter by Year:
-
Select year → click Search.
-
“From” and “To” fields automatically update to 01/01 and 31/12 of selected year.
-
-
To filter by Dates:
-
Select date range → click Search.
-
“Year” field remains empty.
-
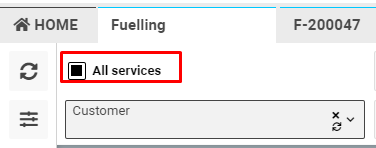
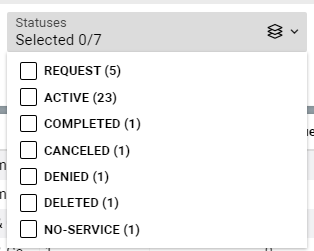
To filter by Status, tick the desired fields.
To view all services within the period, tick All Services checkbox.