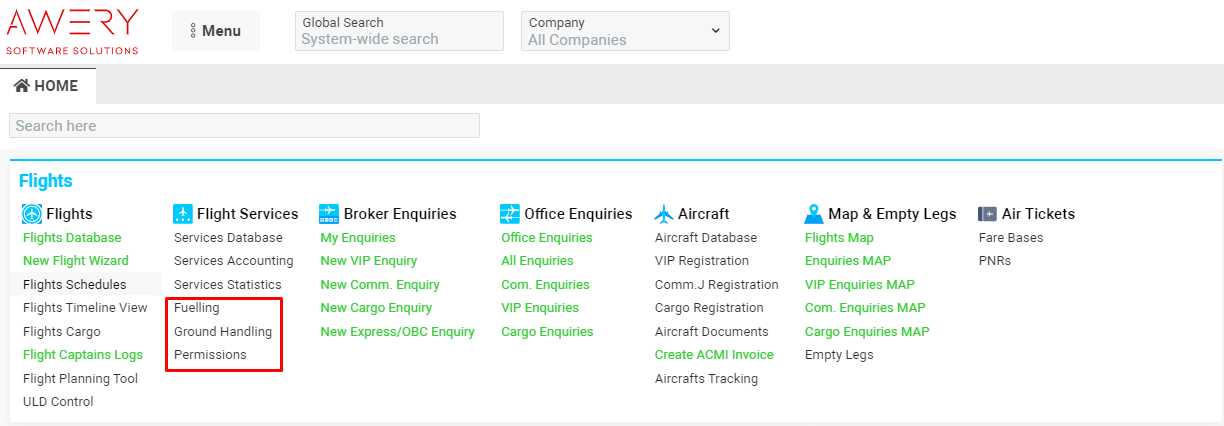
Home→ Flights→ Flight Services→ Fuelling/ Ground Handling/ Permissions
Overview
These interfaces allow you to create services for flights and view existing ones.
There is an opportunity to link jobs and make allocations, to link flights and tickets, to change statuses for revenues and costs, to assign a color to the team, and to add attachments.
Different filters help to find the necessary entry quicker
List description
-
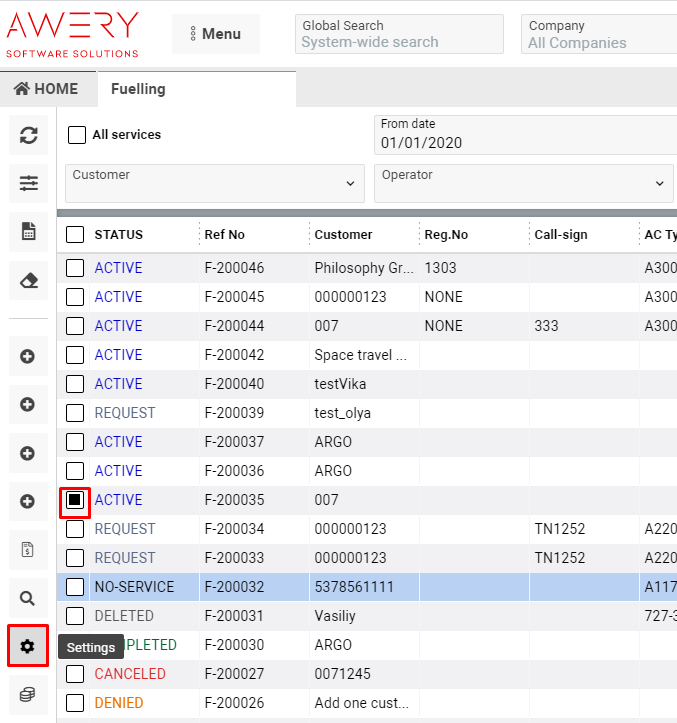
Status – the condition of the flight service
-
Ref no – the number of the flight service
-
Customer - the name of the customer
-
Reg.No – the registration number of the aircraft
-
Call-sign - the call code of the aircraft
-
AC Type - the model of the aircraft
-
Operator – the name of the controller
-
Suppl - the organization of fuel supply
-
Route/Location - the path of the flight
-
Date – the date of the flight’s service creation
-
Company - the name of the company
-
Team – the team’s color
-
REV - the number of entries in the “Revenue” tab
-
CLO – the ticks are shown according to the selected service status on the “Revenue” tab
-
i – the icon of coins is shown in case of a linked job. A tick is shown in case of the “UnConfirm Pricing” status
-
A – the icon of anchor is shown in case of allocation in the entry
-
Revenue – the total of the sum on the “Revenue” tab
-
Profit – the income from the service
-
EXP – the ticks are shown according to the selected operation on the “Costs” tab
-
REV – the ticks are shown according to the selected operation on the “Revenue” tab
-
FLT – the icon of the aircraft is shown in case of linking the flight to service
-
Tickets – the number of a ticket is shown in case it was linked to the flight service
-
Files - the clip

Manuals
How to create a new flight service
-
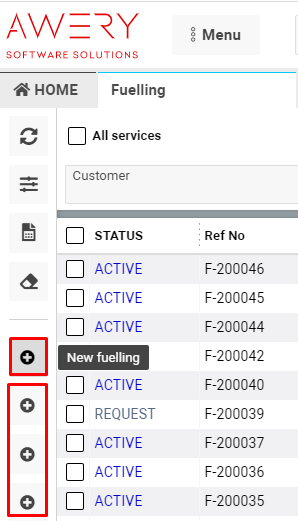
To create a new flight service, click the “NEW” button on the form
Note! You have an opportunity to create 4 types of flight service from one interface: Fueling, Handling, Permissions, Flight plan (pay attention to the tooltip)
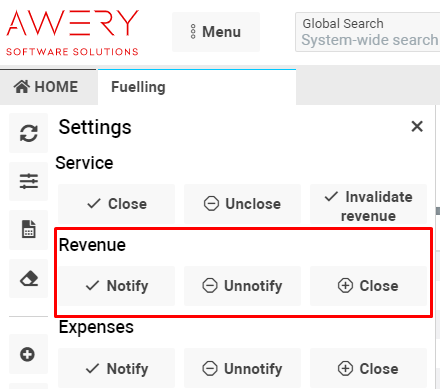
How to display the ticks in the “REV” column
A tick is shown according to the selected operation on the “Revenue” tab or in the settings
-
-
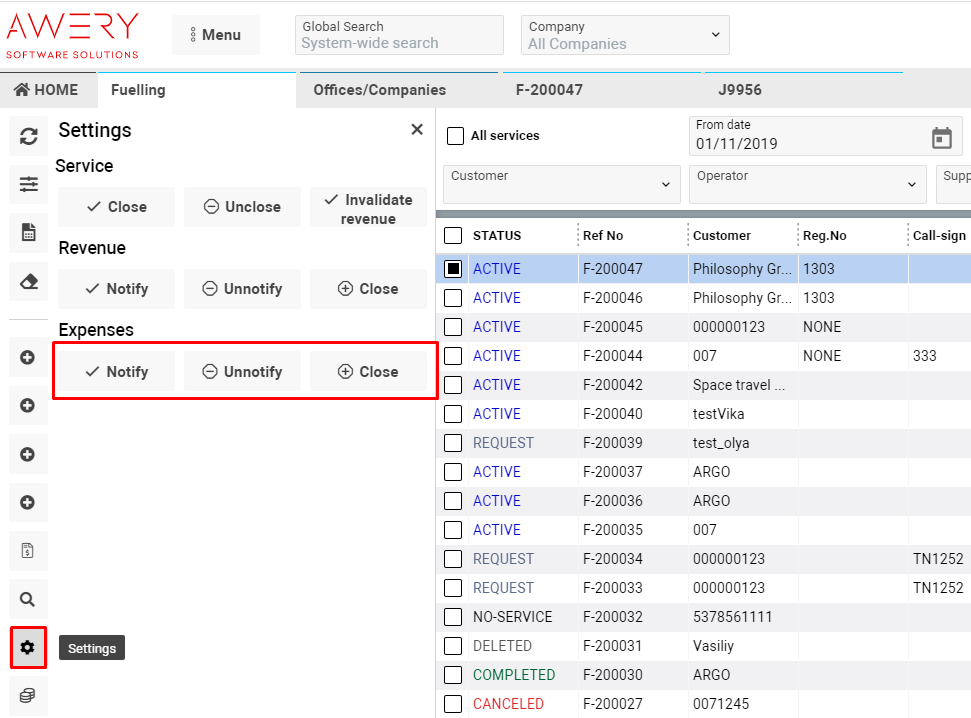
Select the necessary entry and click the “Settings” button
-
-
-
Select the revenue’s status in the entry
-

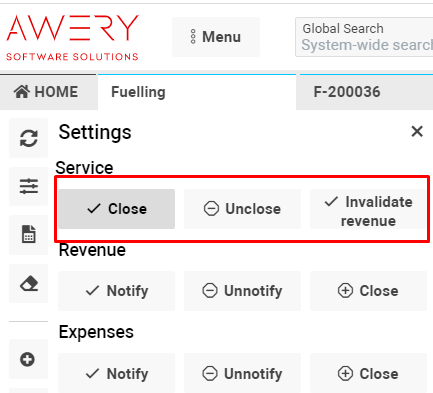
How to display the tick in the “CLO” column
A tick is shown according to the selected service status on the main tab or in the settings
-
-
Select the service’s status in the entry
-
-
-
-
in case of the clicking the “CLOSE service” button, the tick is shown in the column

-
in case you want to re-open the service, click the “UnCLOSE service” button
-
the invalidate revenue button is relevant for services with non-invoice job
-
-
How to display the coins and the tick in the “i” column
-
The icon of coins

-
Open the necessary entry and go to the “Revenue” tab
-
Tick the “Сonnect” checkbox
-
Click the “Connect to job” button
-

-
-
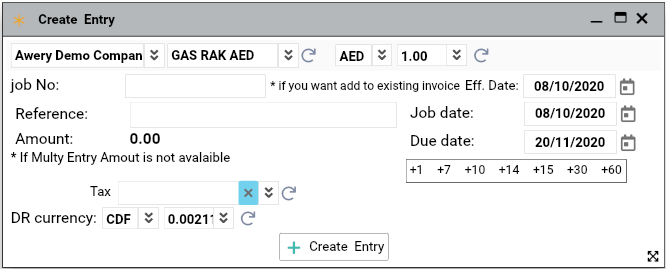
Fill in the necessary field in the pop-up
-
-
-
To confirm the creation, select the “Create Entry” button
-
-
A tick is shown in case of the “UnConfirm Pricing” status
-
Open the necessary entry and go to the “Revenue” tab
-
Click the “Confirm Pricing” button to make the “UnConfirm Pricing” status
-

How to display the anchor in the “A” column
-
The icon of an anchor is shown in case of allocation in the entry
-
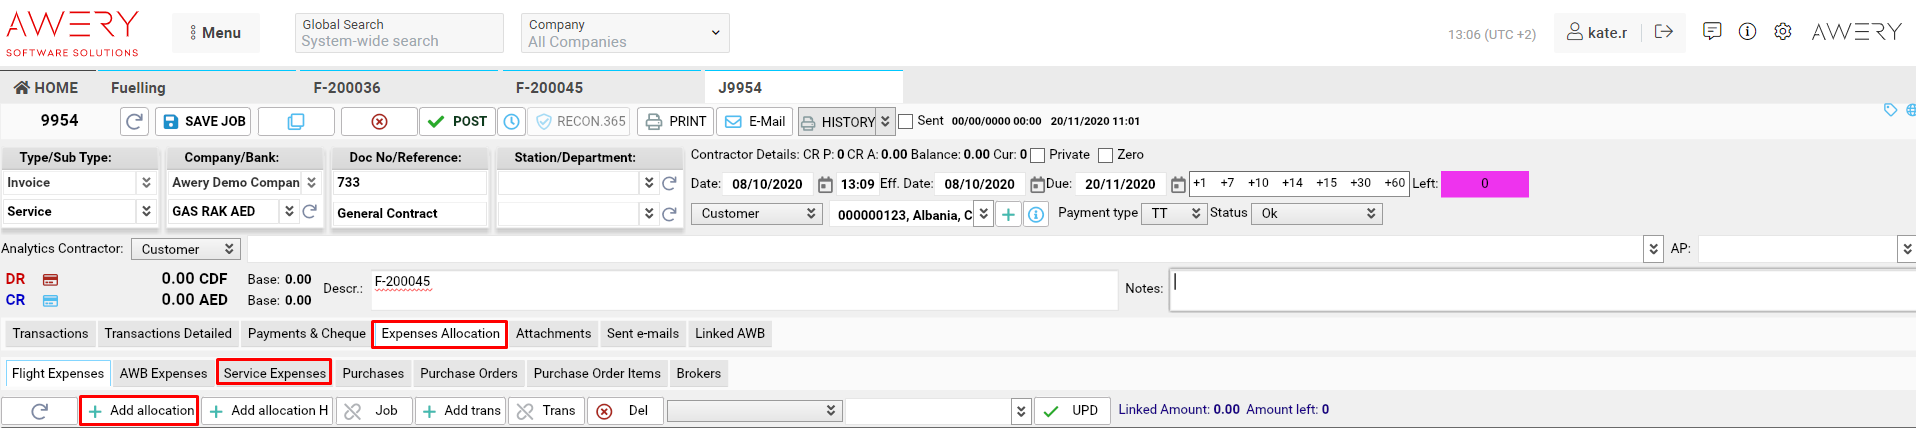
Go to the “Jobs List” interface and select the necessary job, using the double click
-
Select the “Expenses Allocation” and the “Service Expenses” tabs and click the “Add allocation” button
-
-
-
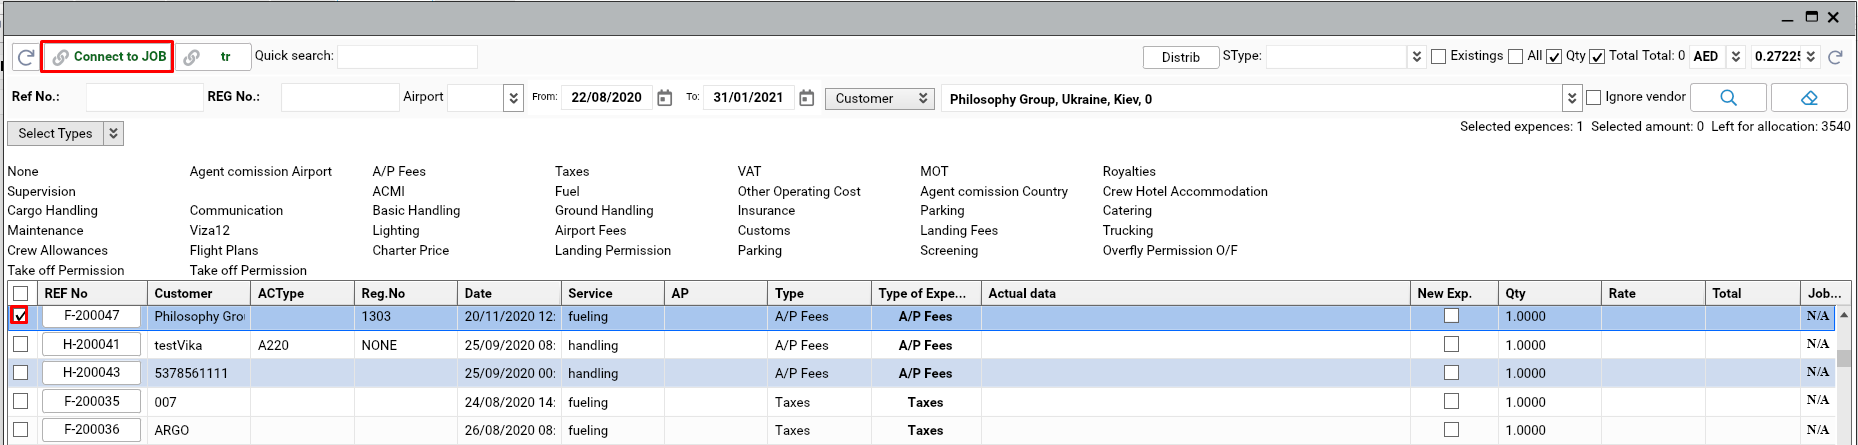
Select any service in the “Select Types” form by marking the checkbox in front of it and clicking the “Apply” button, select the period and click on the icon of search
-

-
-
Select the necessary service in the list and click the “Connect to JOB” button. In the “A“ column you can find the icon of anchor

-
How to display the tick in the “EXP” column
A tick is shown according to the selected status on the “Costs” tab or in the settings
-
-
Select the expense’s status in the entry
-
-
-
-
in case of the “UnNotify” status, the tick is not shown
-
in case of the “Notify” status, you can see the tick in the column

-
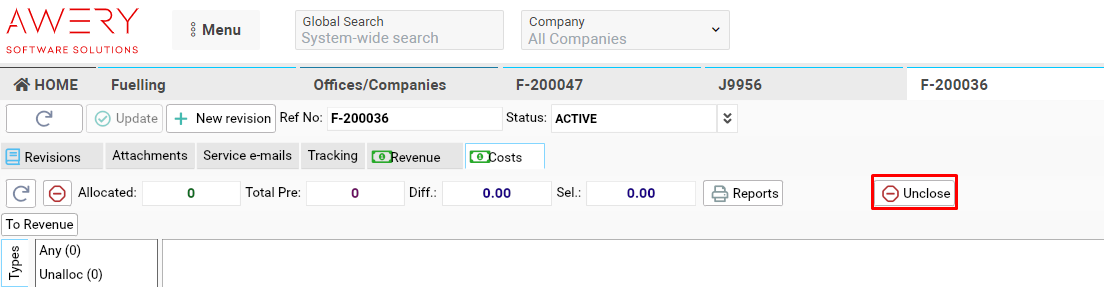
in case of the clicking the “Close”, you can see the double tick in the column

-
to re-open the earlier closed expenses, click the “Unclose” button in the entry on the “Costs” tab
-
-
How to display the icon in the “FLT” column
-
The icon of the aircraft is shown in case of linking the flight to service
-
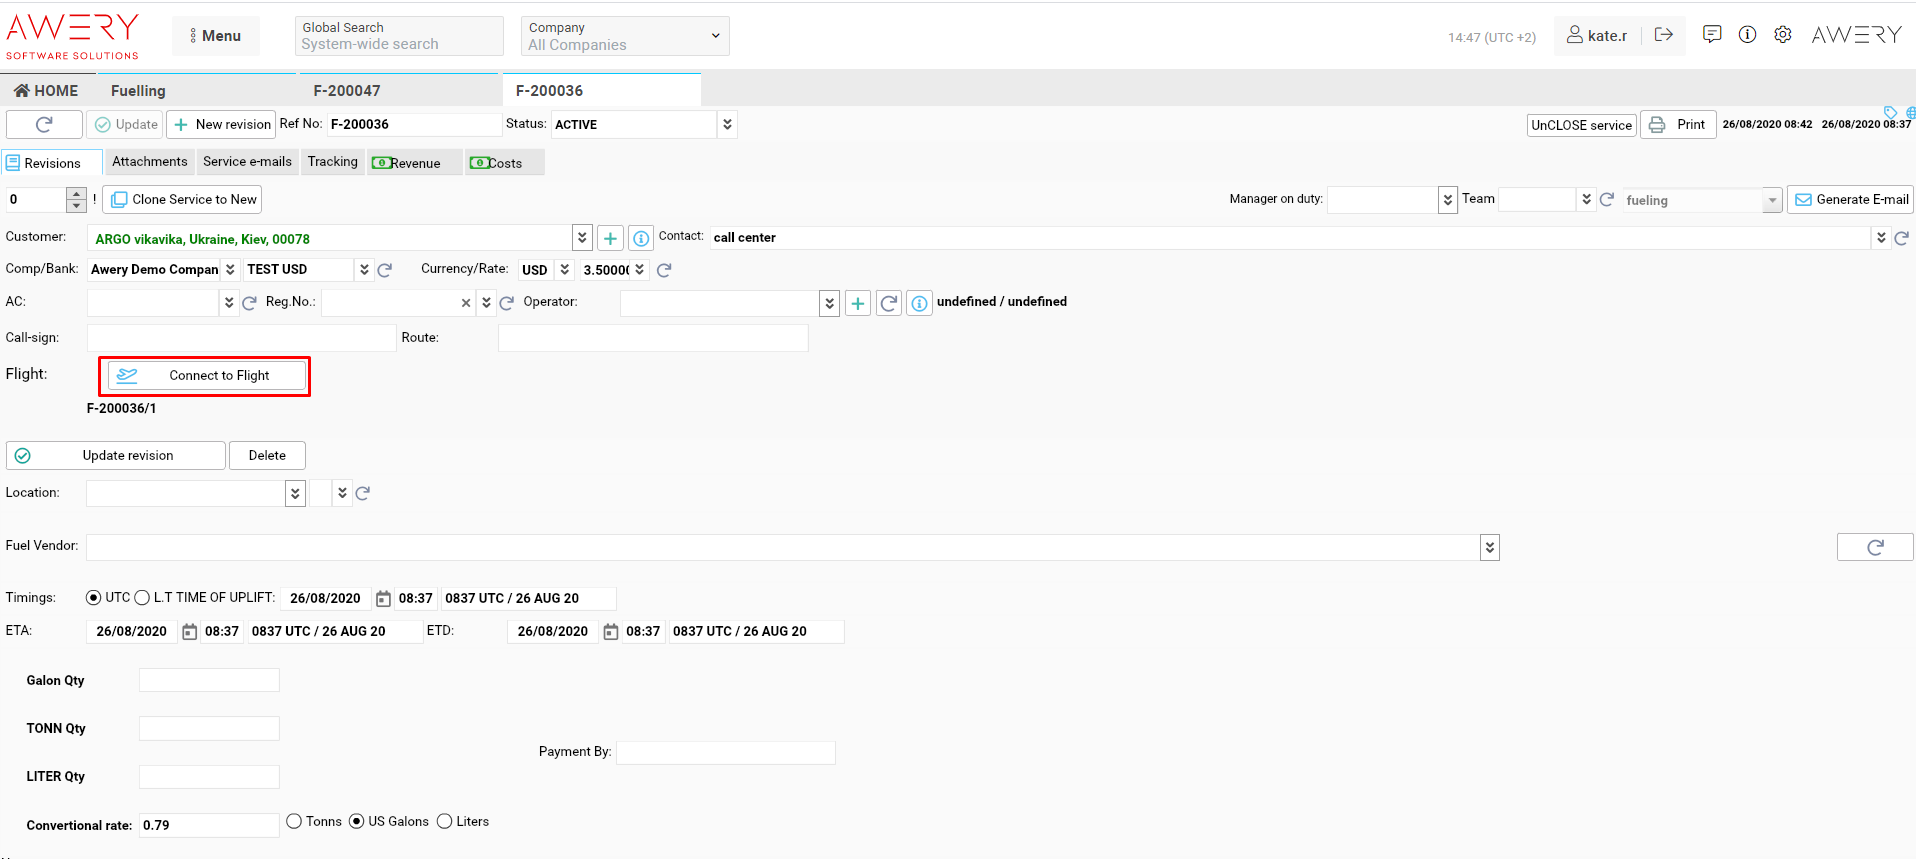
Select the necessary entry, using the double click
-
Click the “Connect to Flight” button
-
-
-
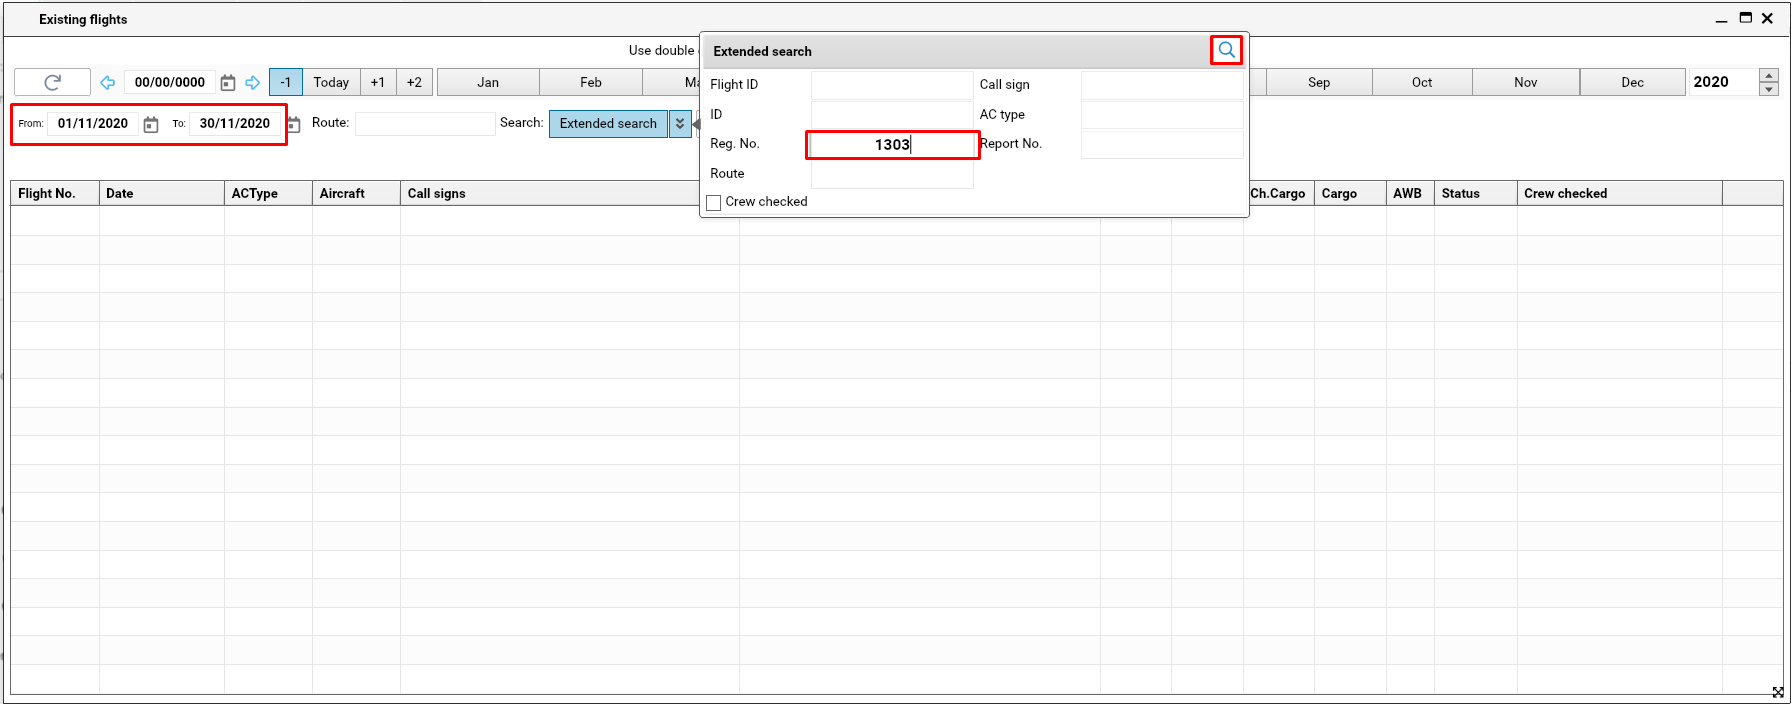
Select the period, fill in the information in the “Extended search” field and click on the icon with search
-
-
-
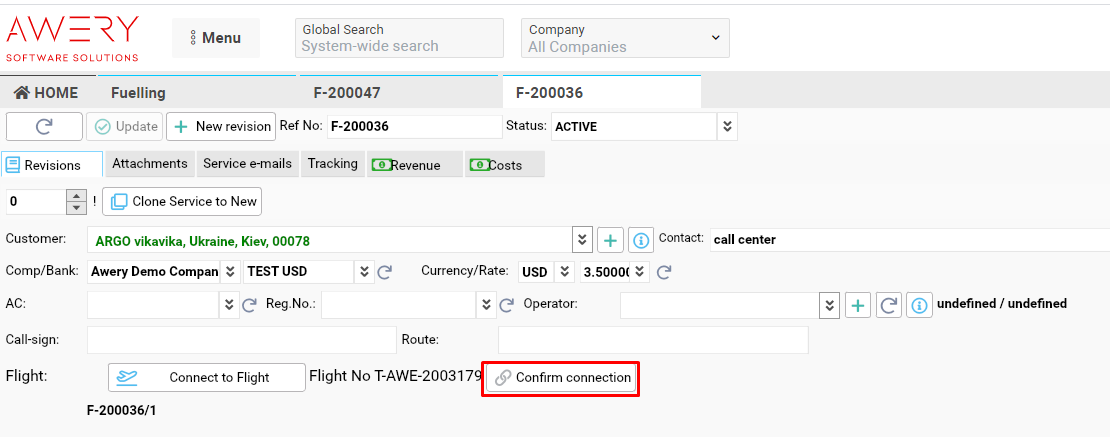
Select the necessary flight and click the “Link” button
-

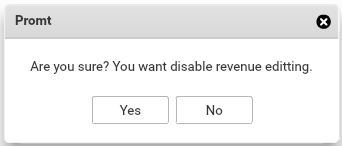
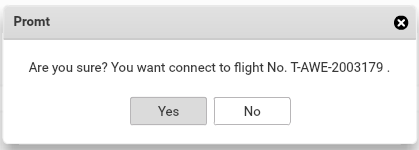
To confirm this action, click the “Yes” button. To cancel, select the “No” variant.
How to display the ticket’s number in the “Tickets” column
-
The number of the ticket is shown in case of linking it to service
-
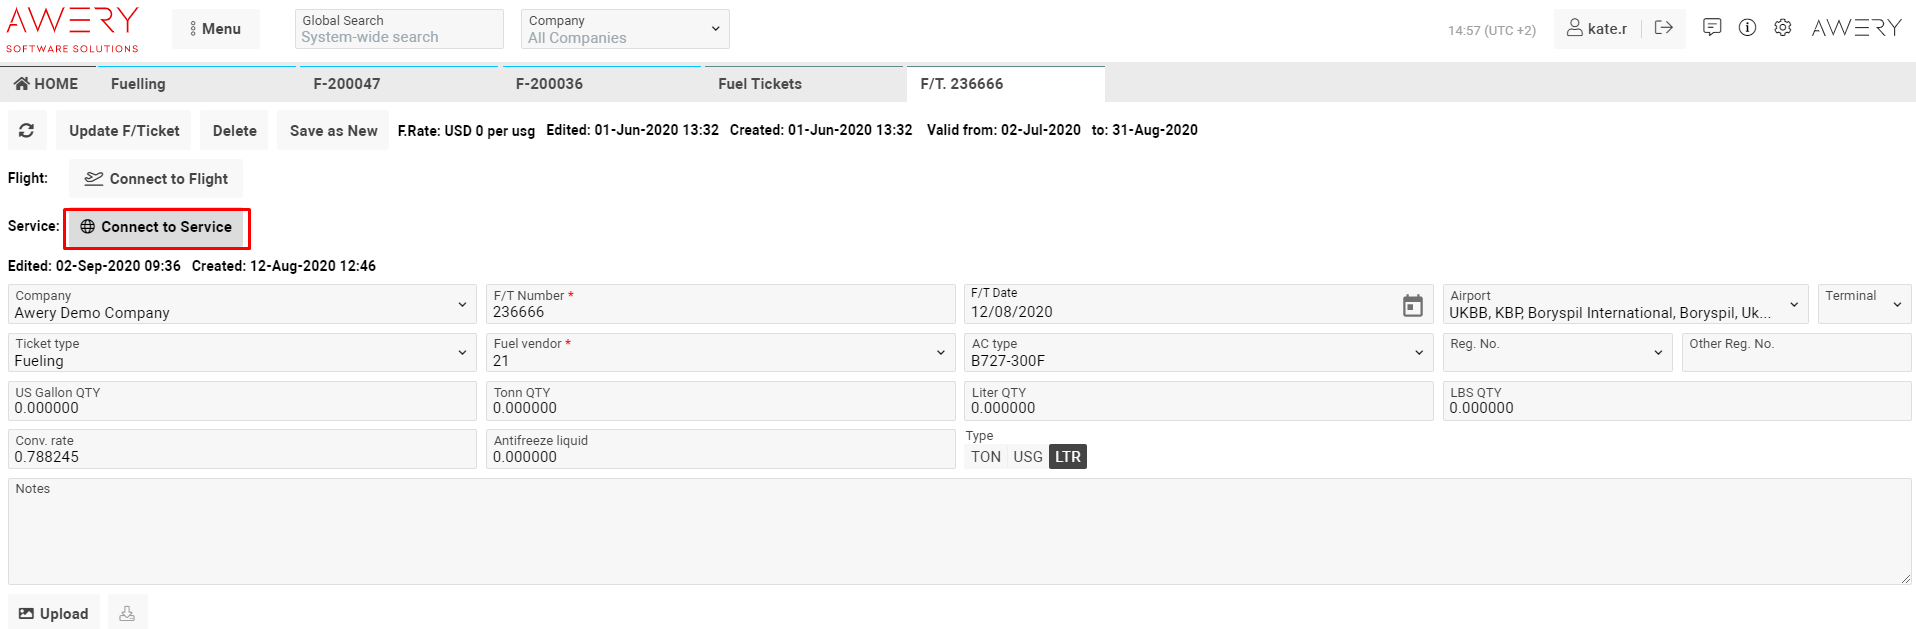
Go to the “Fuel Tickets” interface and select the ticket, that you need, using the double click
-
Click the “Connect to Service” button
-
-
-
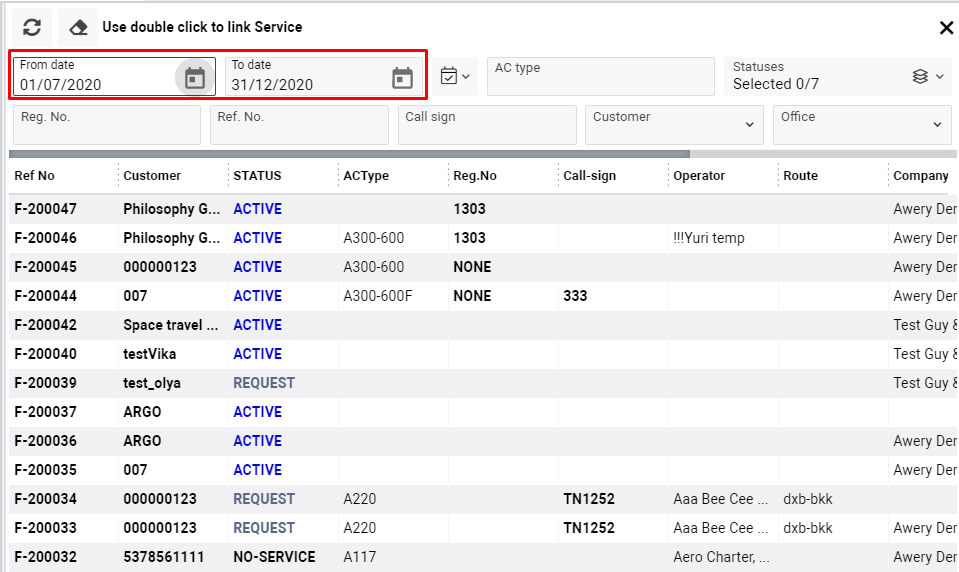
Fill in the period and select the necessary service, using the double click
-
-
-
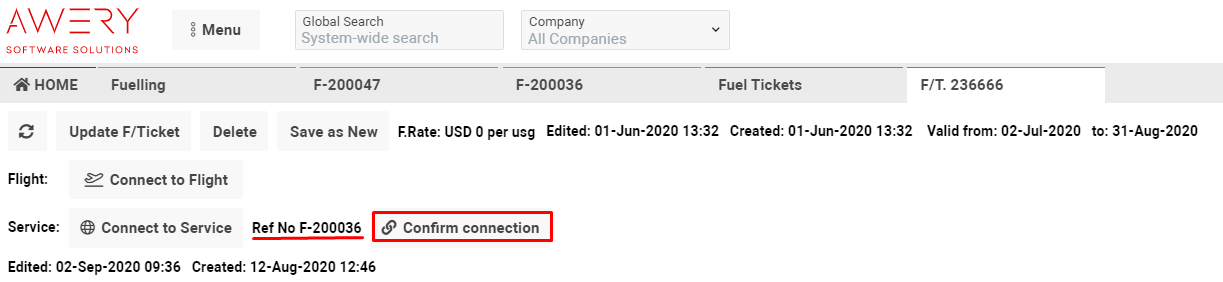
Click the “Confirm connection” button to connect the ticket with flight
-
-
-
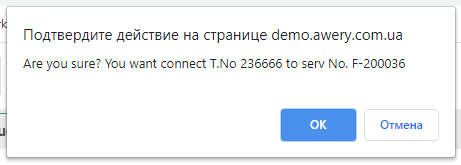
To confirm this action, click the “Yes” button. To cancel select the “No” variant.
-
How to link a job
-
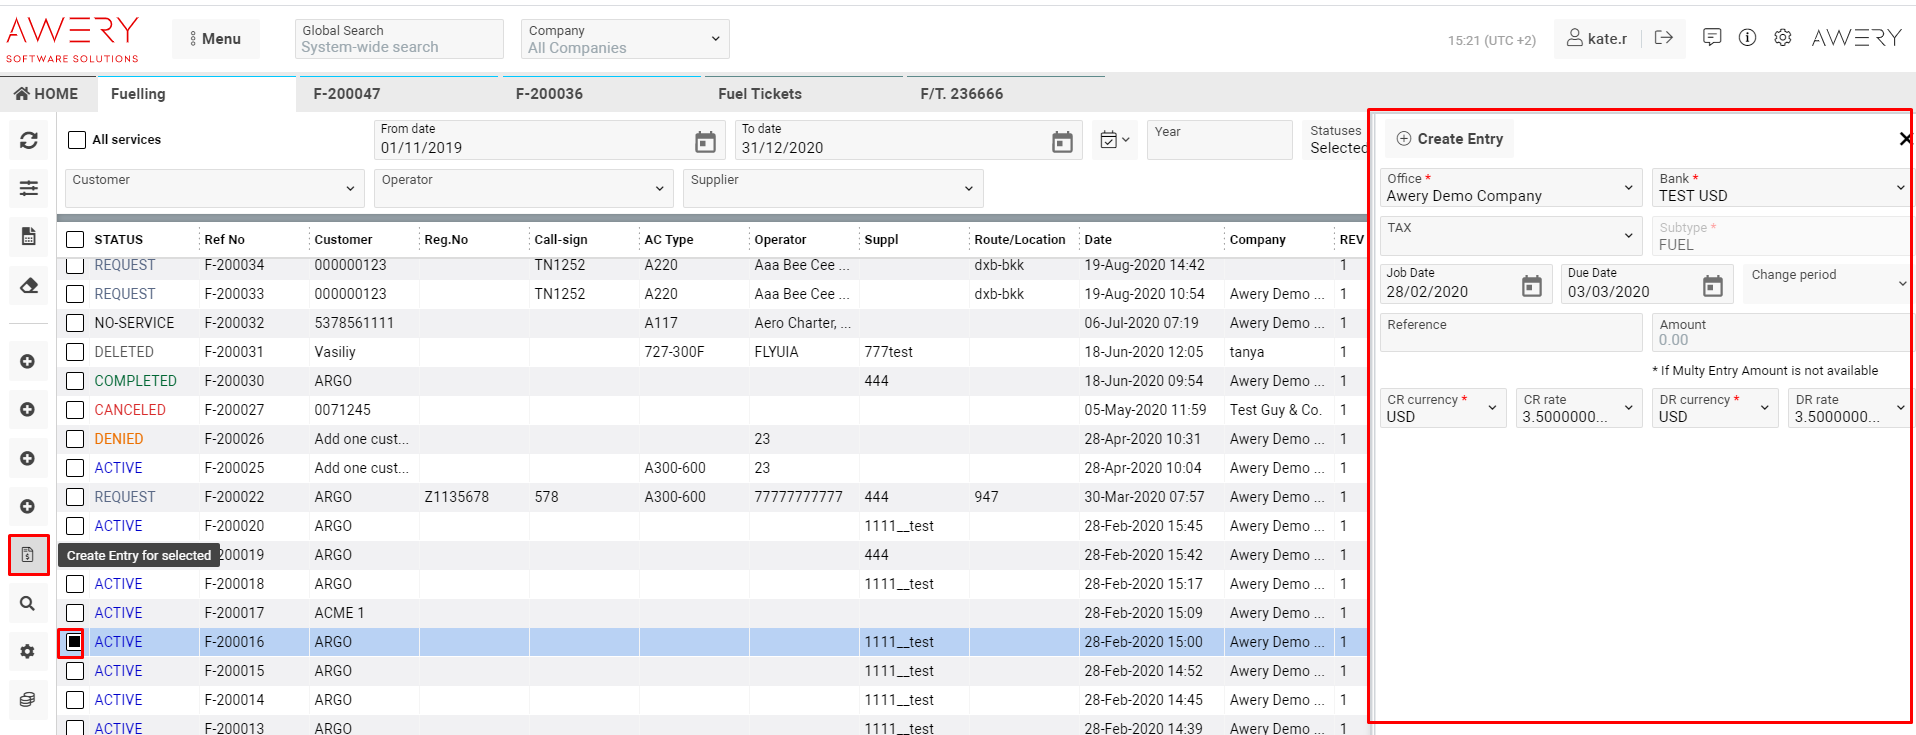
Select the necessary entry, marking it with the checkbox and click the “Create Entry for selected”
Note! Reasons for not appearing in the pop-up:
-
-
In case the customers are not the same, you will see the alert
-

-
-
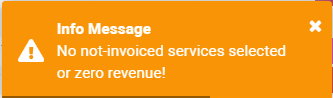
In case the entry has earlier linked job, or the total revenue is zero or the revenue has the “Close” status, you will see the alert
-
-
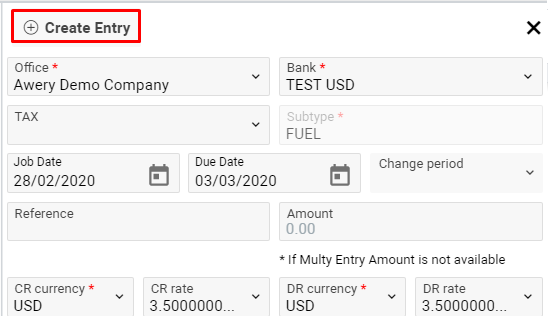
Fill in the necessary fields in the pop-up and click the “Create Entry” button. Pay attention, that the “Office”, “Bank” and “Subtype” fields are required
-
Clicking the “Open Services Flight Page” button, you open the Services and Flights page

-
Clicking on the coins icon in the sidebar to see the list of the Cost Types
-
In the header you can see the sum of profit during the selected period

Sorting and filtering
-
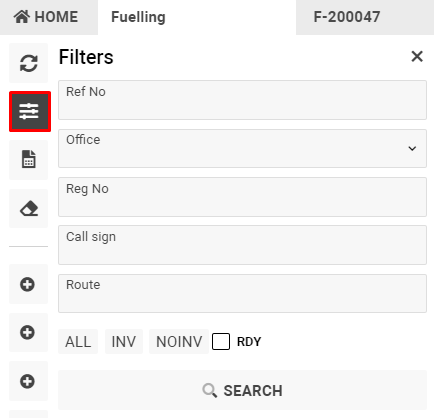
Click the “Filters” button and select the necessary fields
-
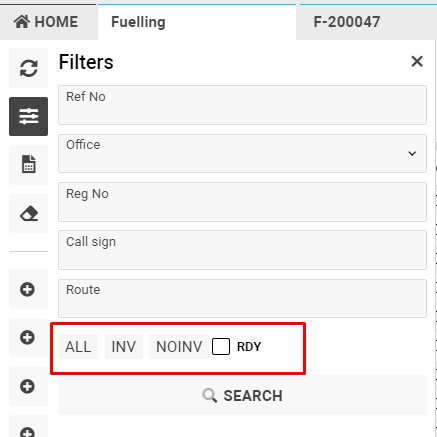
Selecting the “ALL” button, you will see all entries in the list
-
Selecting the “INV” button, you will see all entries with jobs
-
Selecting the “NOINV” button, you will see all entries without jobs
-
Marking the “RDY” checkbox, there is an opportunity to see all entries with confirming prices
How to make this status:
-
-
Select the necessary entry, using the double click
-
Go to the “Revenue” tab
-
Click the “Confirm Pricing” button
-
-
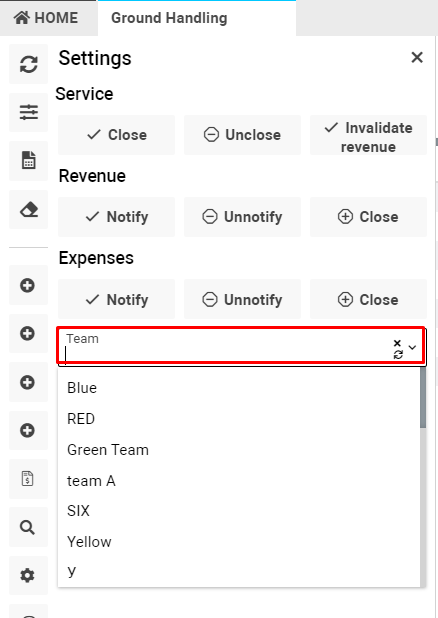
You have an opportunity to make filtration by team
Note! This filtration is available only in the “Ground Handling” and “Permissions” interfaces
-
-
Go to the “Settings” tab and select from the drop-down list in the “Team” field the necessary color of the team
-
-
Filtration by dates and year
-
To make filtration by year, select the necessary one in the “Year” field and click the “Search” button. The dates will be automatically changed to “01/01” in the “From” field and “31/12” in the “To” field of the year that was selected
-

-
-
To make filtration by dates, select the necessary period and click the “Search” button. In that condition, the “Year” field will be empty
-

-
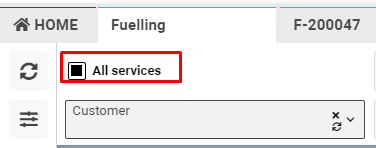
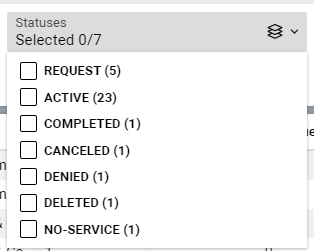
To make the filtration of the flight service by status, tick the necessary fields
-
Make a tick in the “All services” checkbox to see the list of all services during the selected period