What is the import used for
This import is used to add many customers or suppliers at once.
Instead of creating each customer or supplier manually:
-
You fill in an Excel file
customers_import_template_new.xlsx -
You upload the file
-
The system creates customers/suppliers and their contacts automatically
-
This saves time and avoids manual work.
How the import file works
The import file has two parts:
-
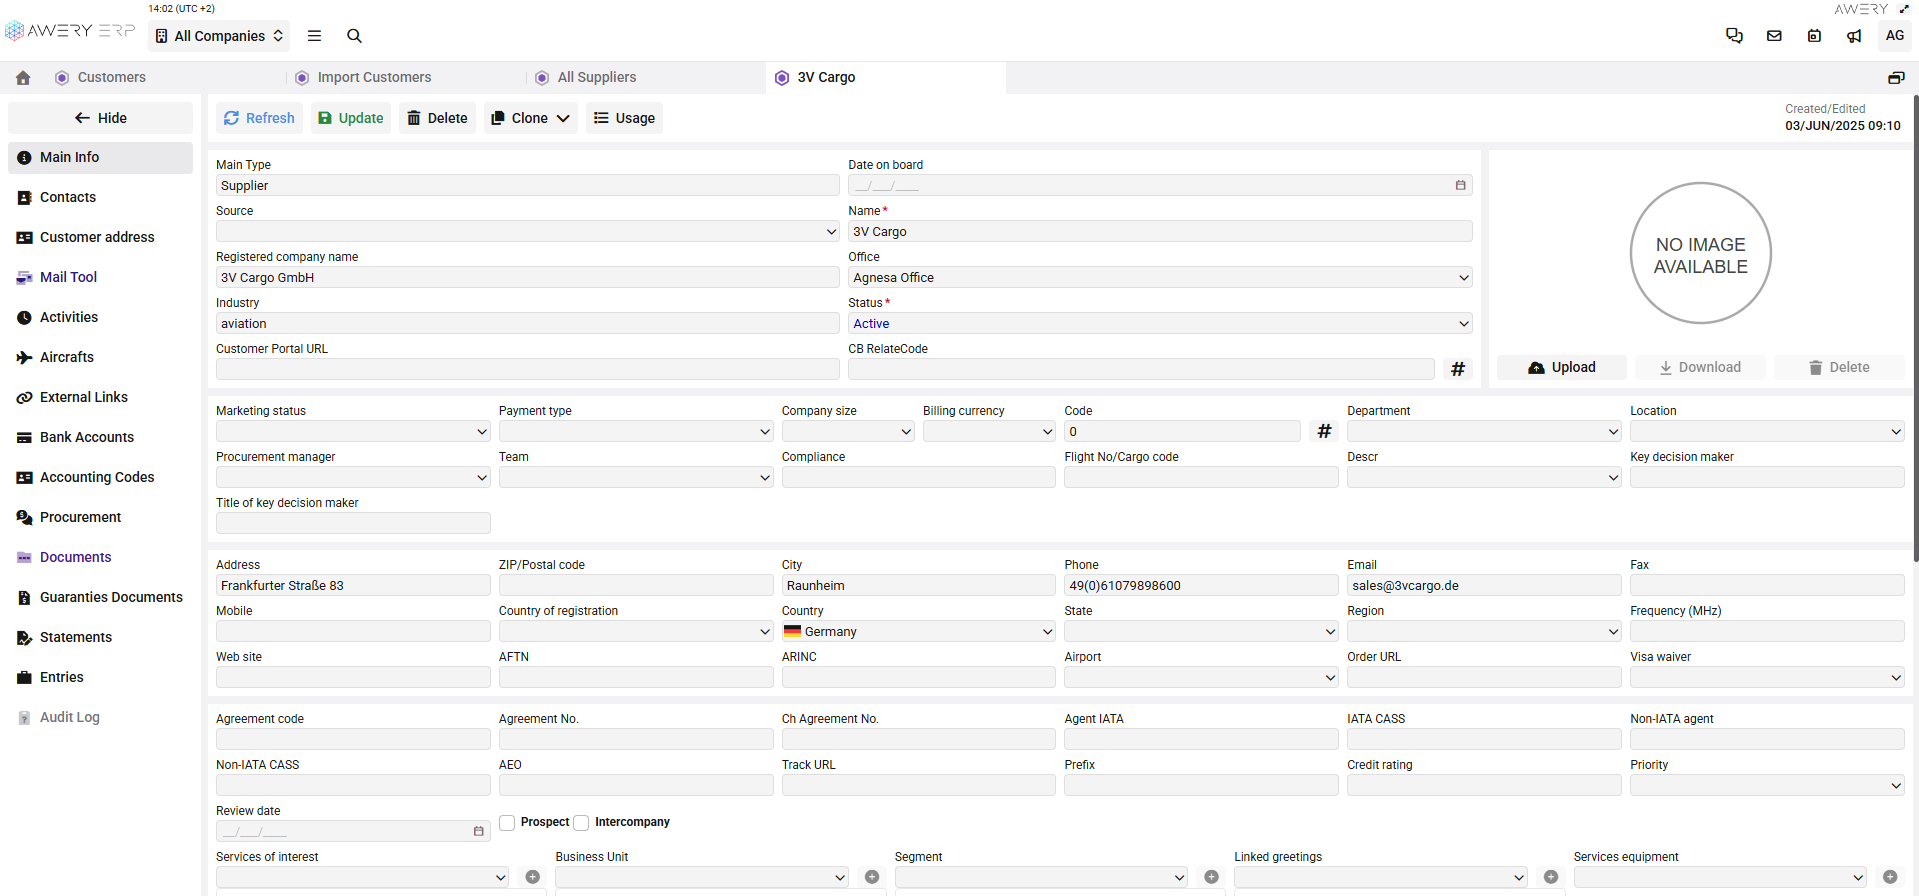
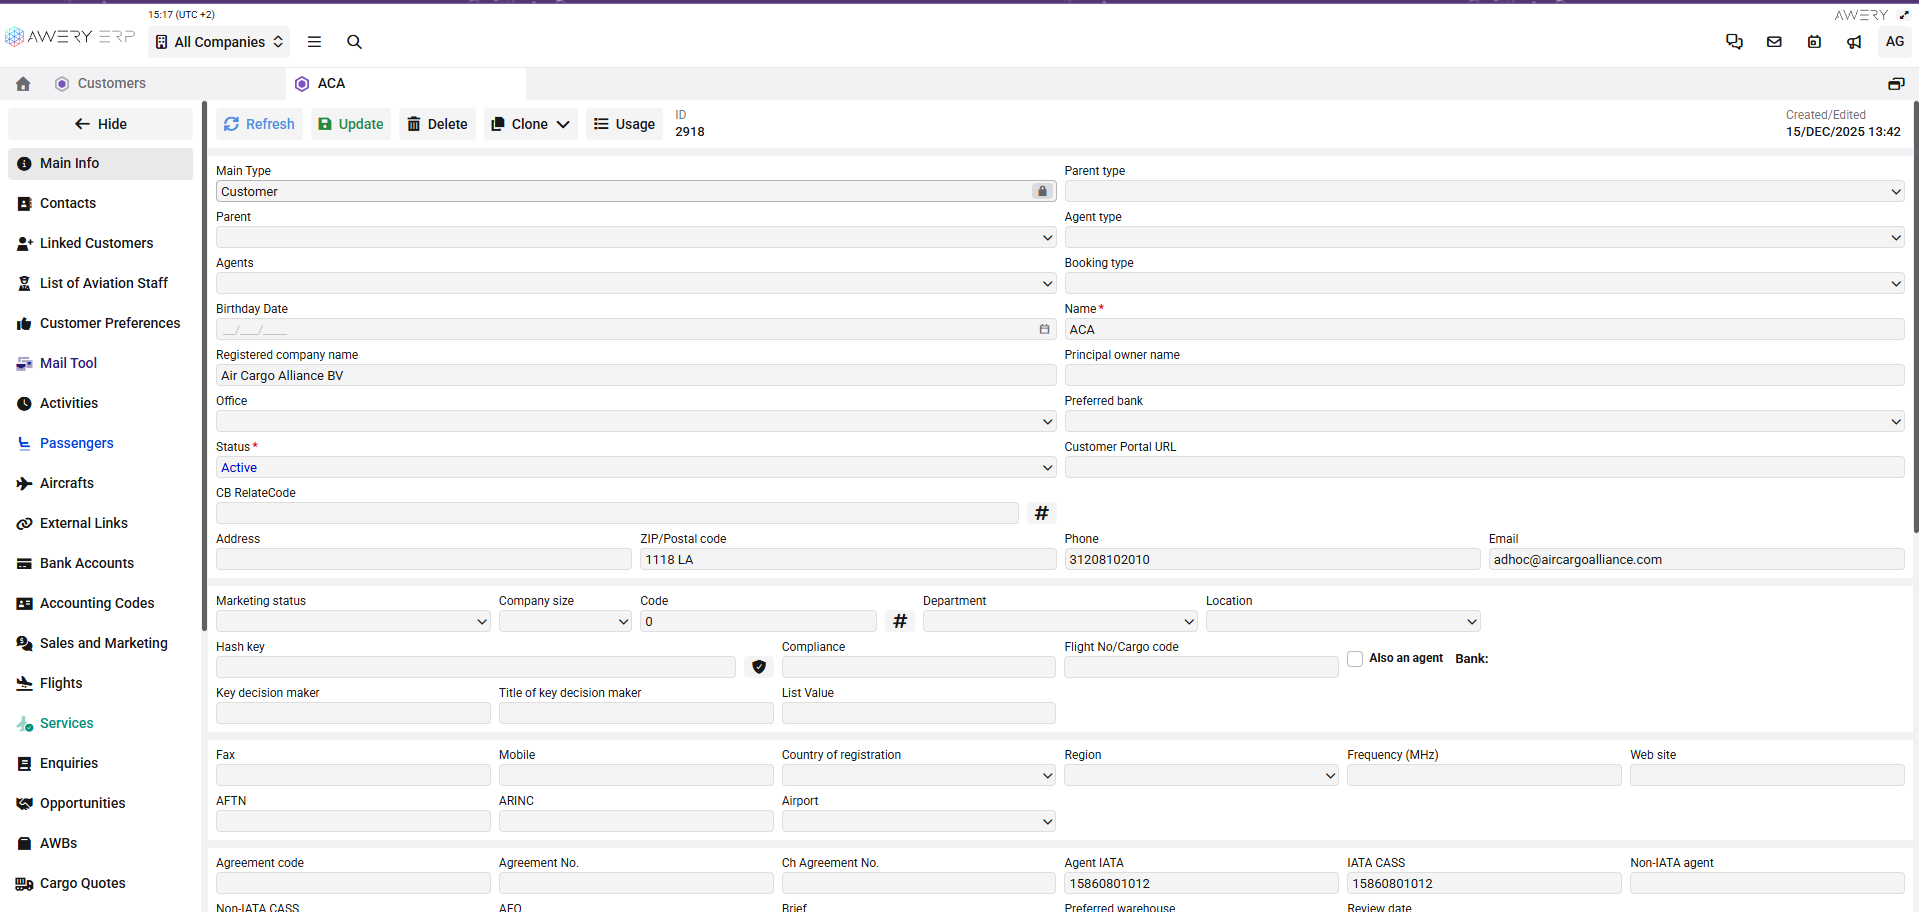
Company data → goes to the
Main Customer/Supplier Info Tab -
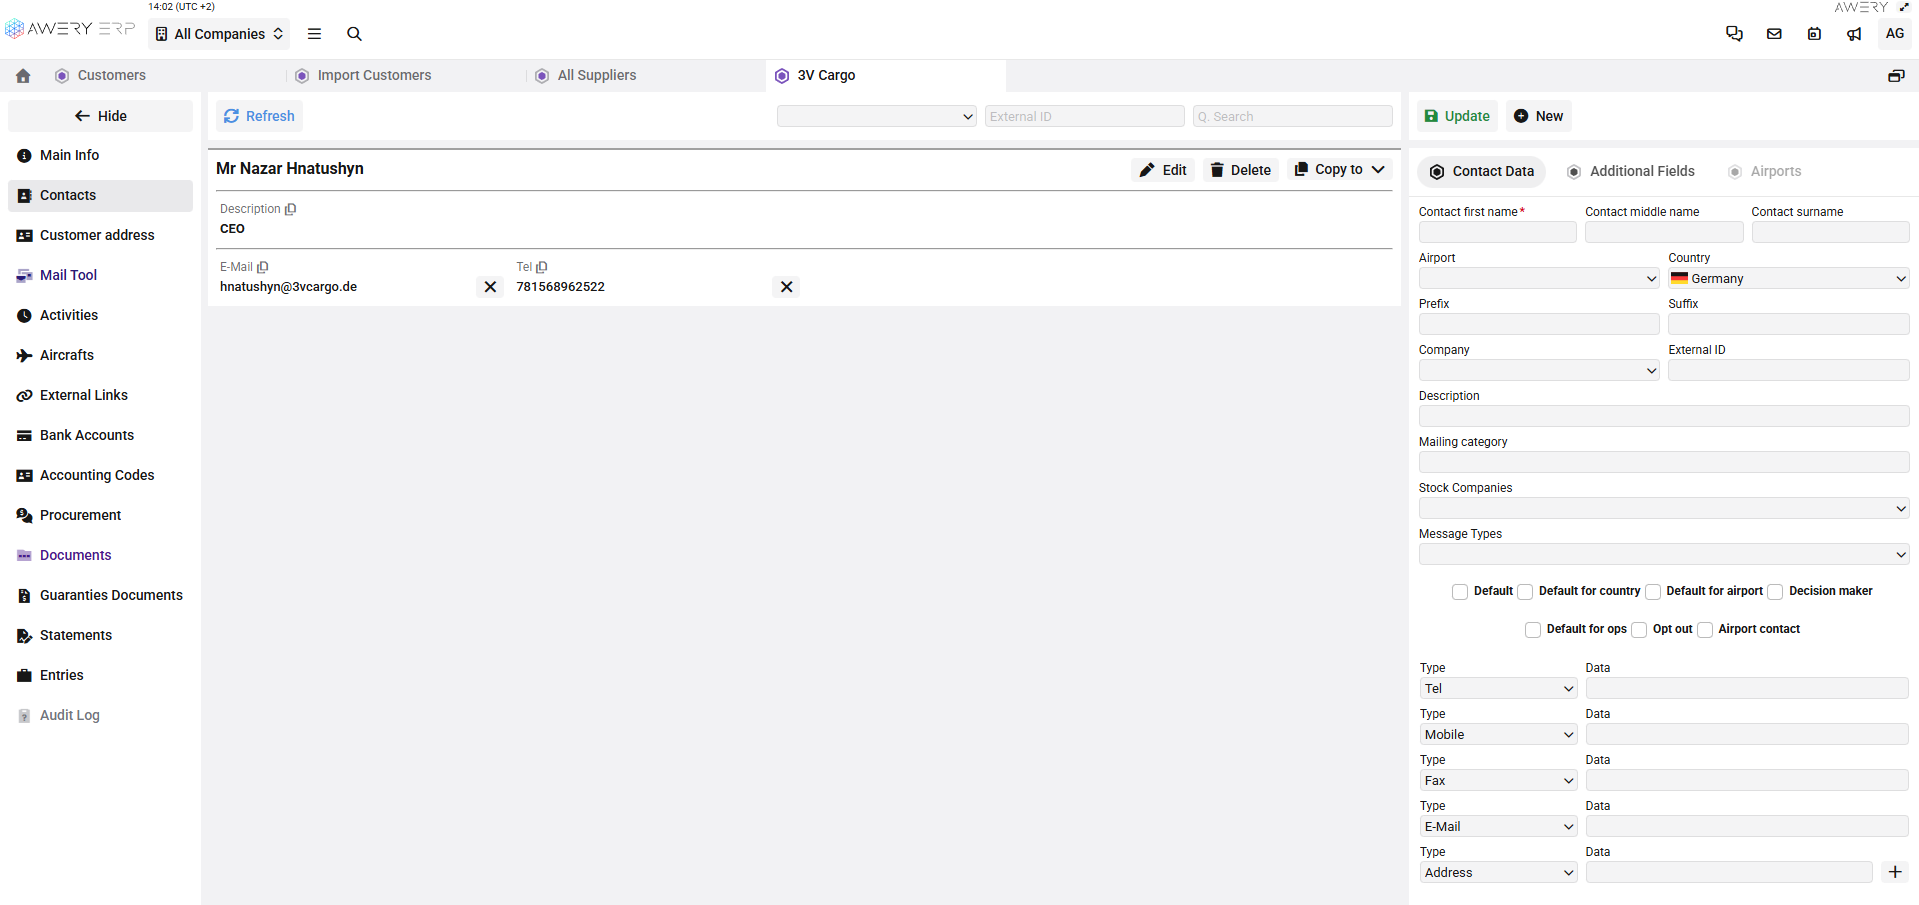
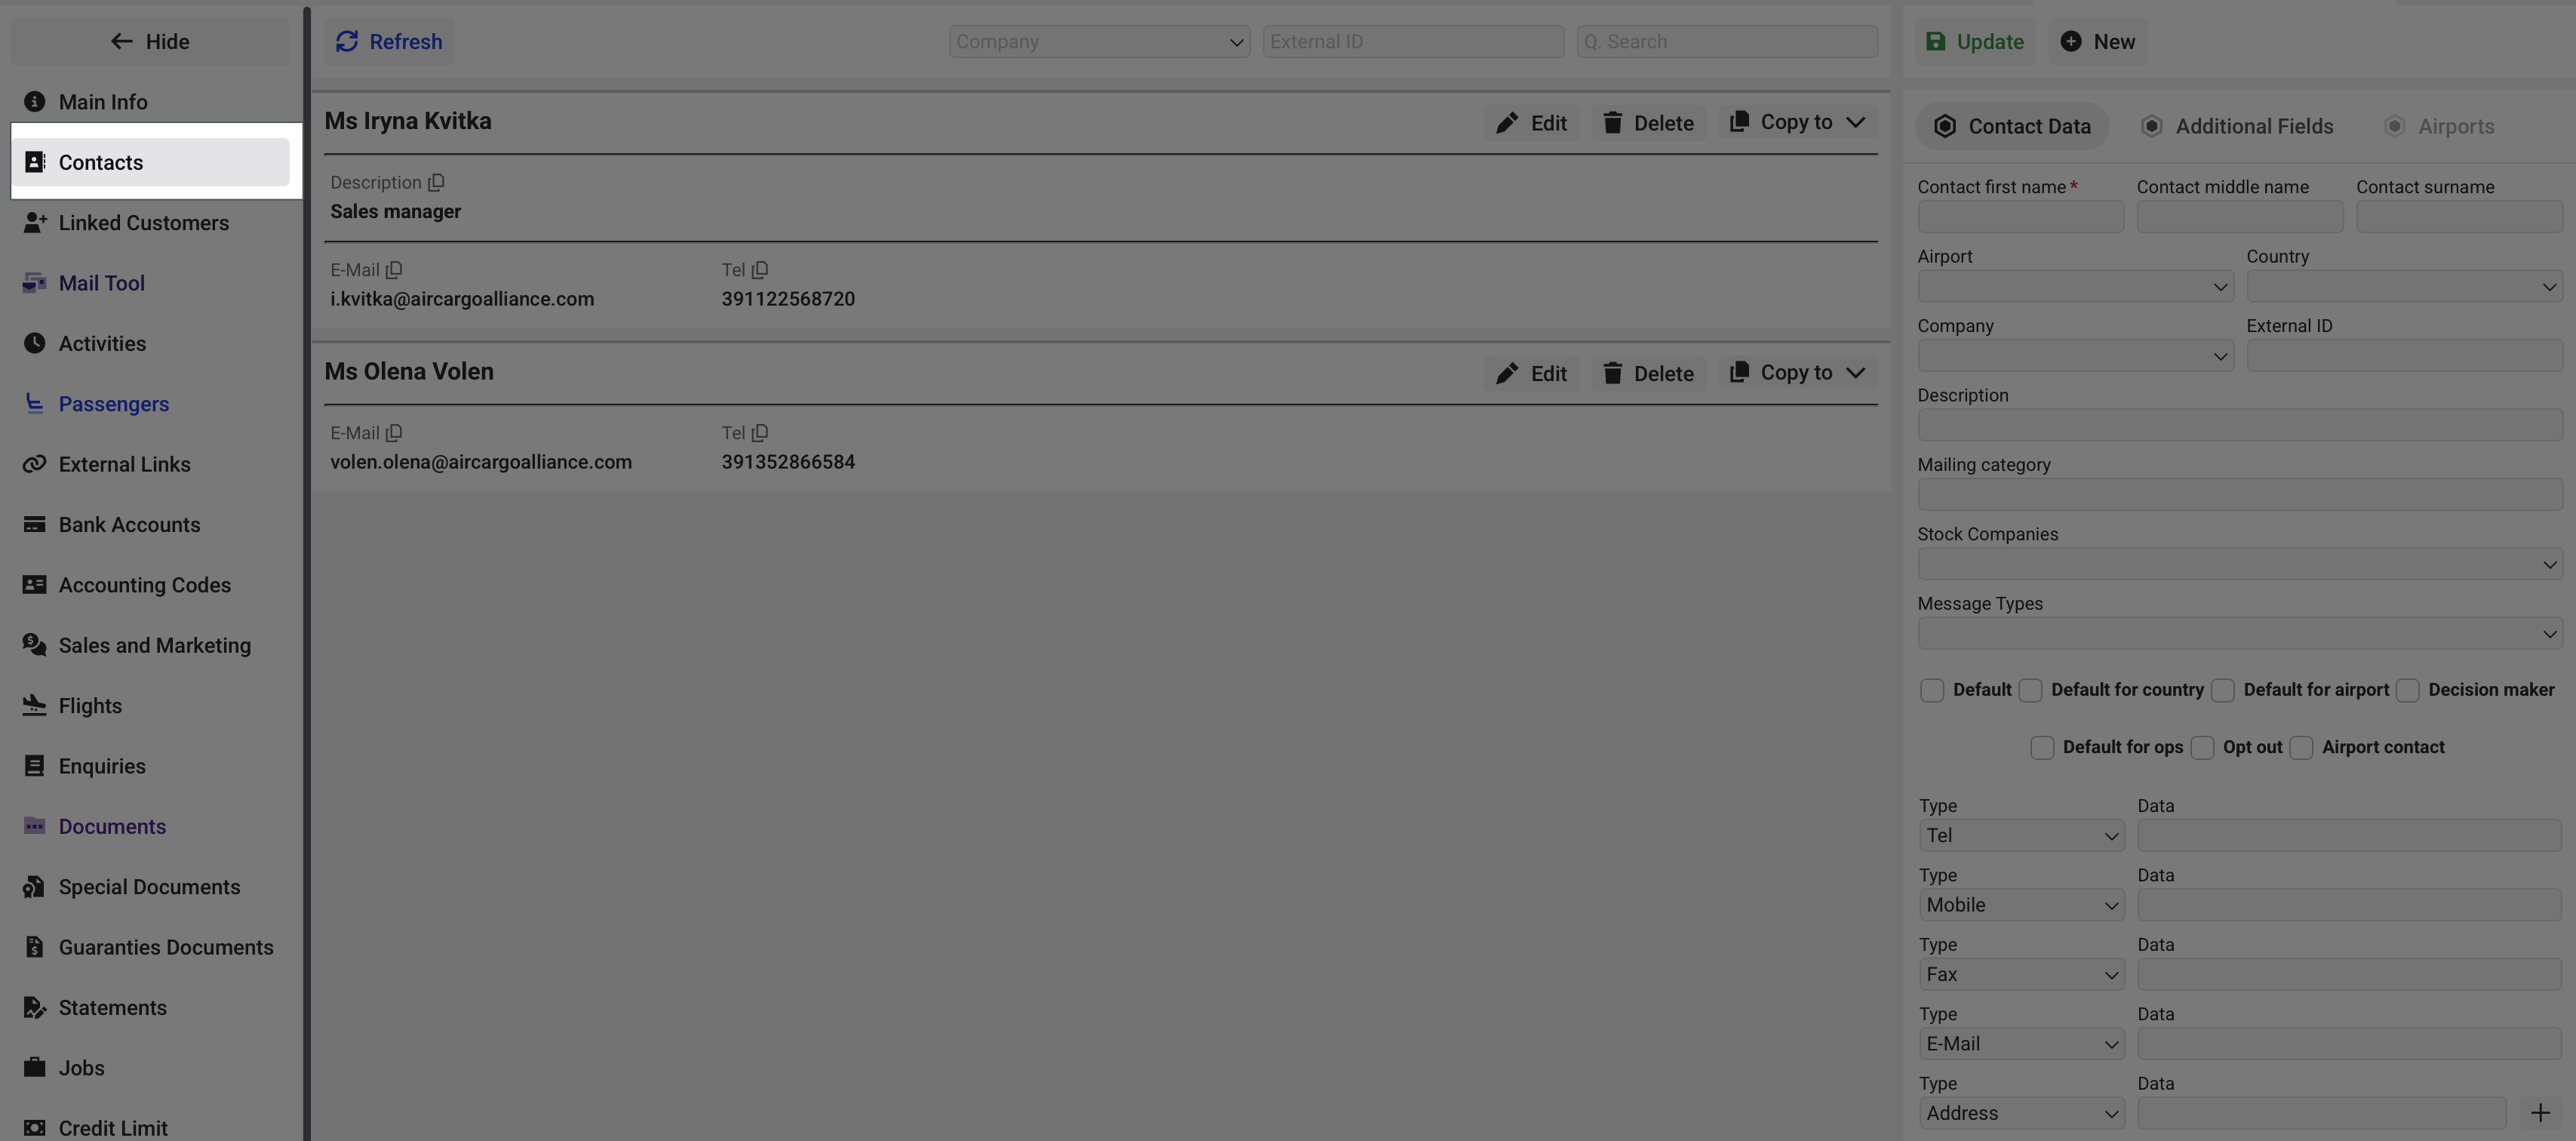
Contact data → goes to the
Contacts Tab
You do not need to split anything manually. The system does this automatically during import.
In the example file:
-
Blue columns = company data =
Customer/Supplier Page -> Main Info Tab


-
Yellow columns = contact data =
Customer/Supplier Page -> Contacts Tab

Customer Page → Main Info Tab example
Customer Page → Contacts Tab example
Company Data Fields
-
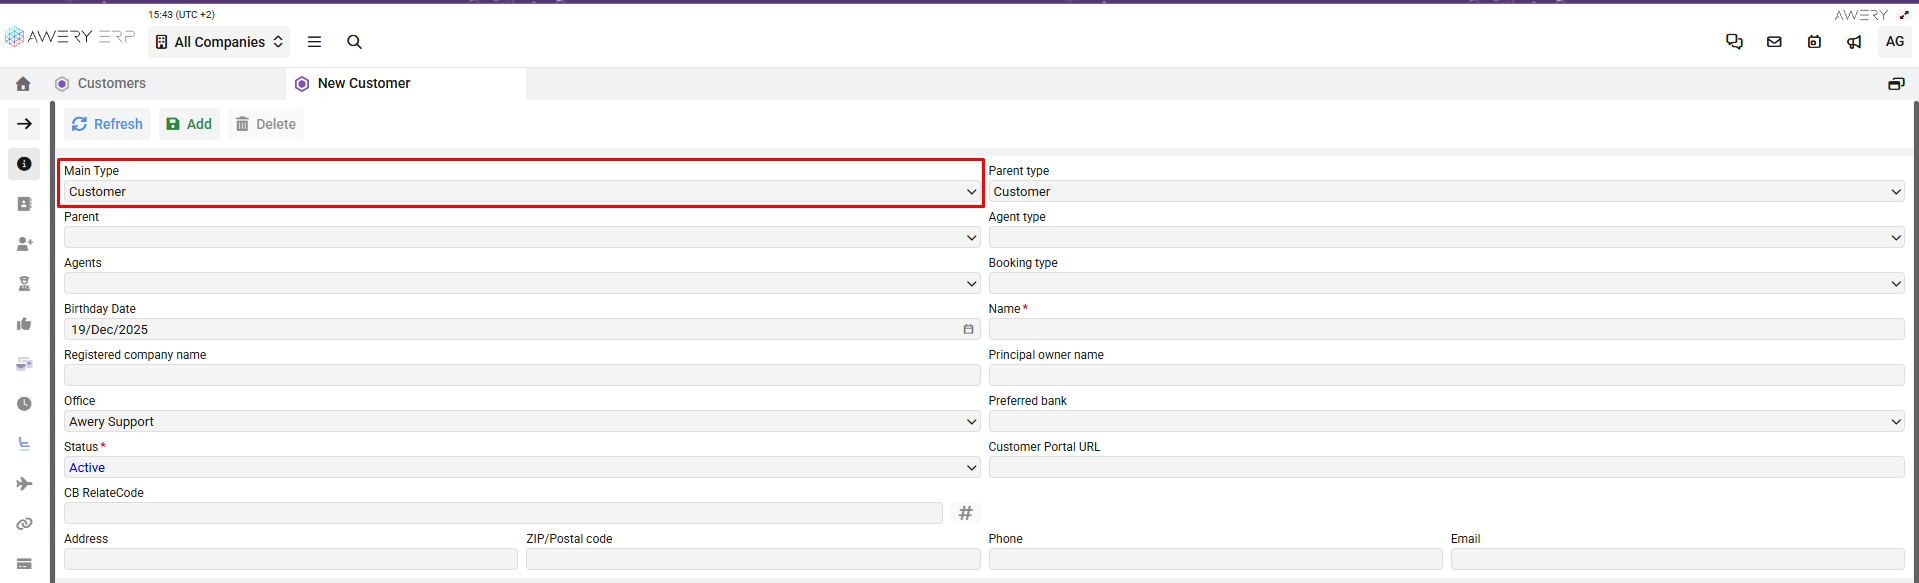
type - the Main Contractor Type:
customer — if you will sell services to this company Customer Page
vendor — if you will receive services from this company Supplier Page

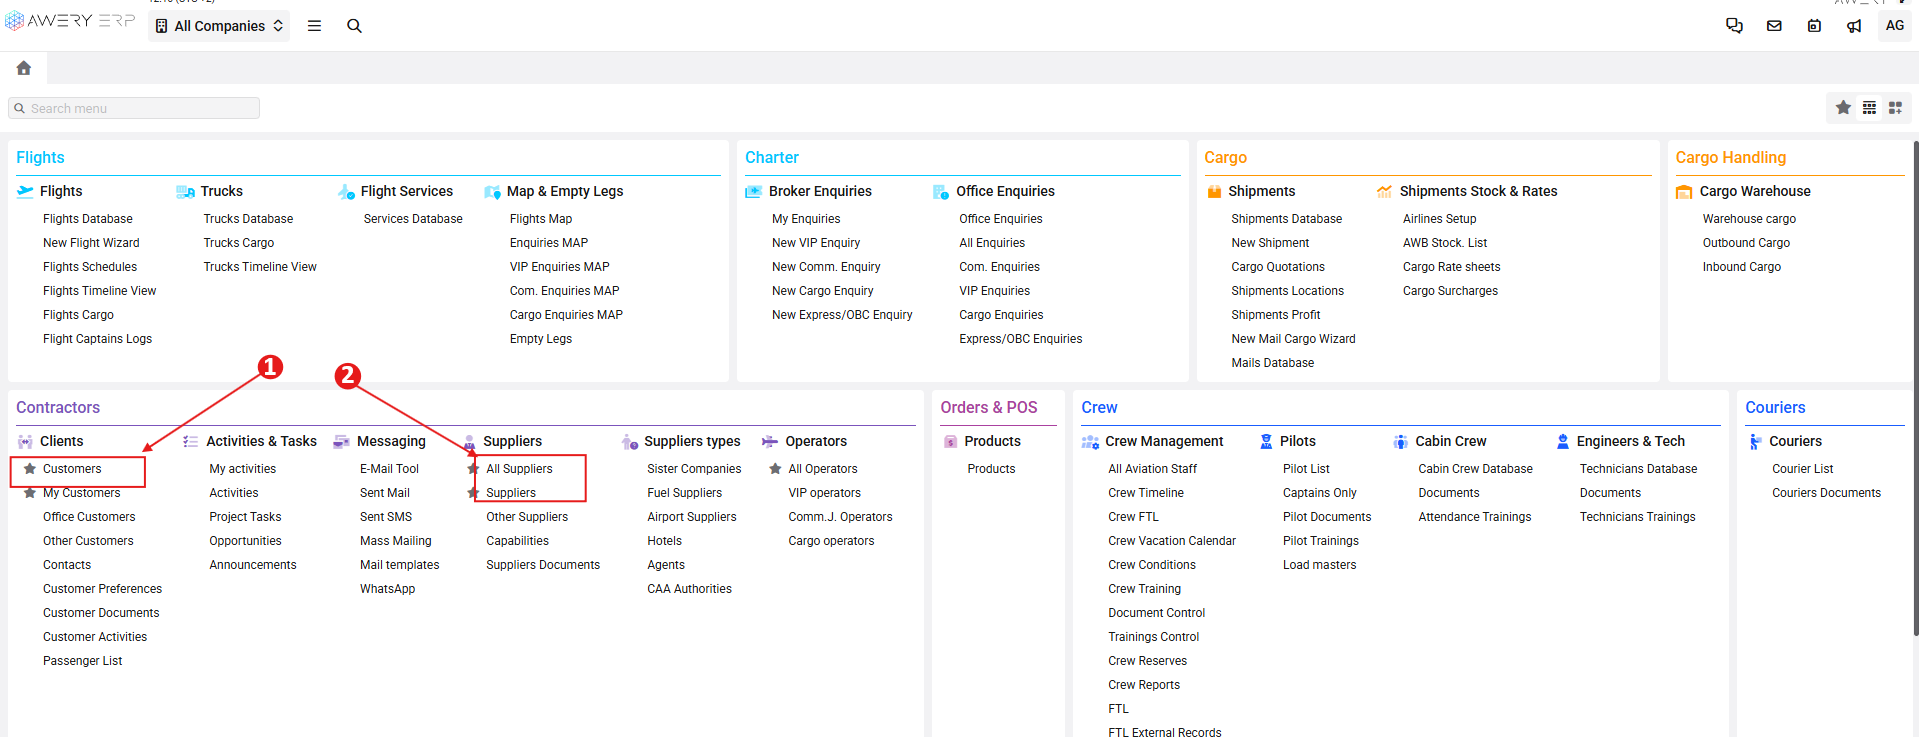
The type is displayed in the system as Customer or Supplier (Vendor).
-
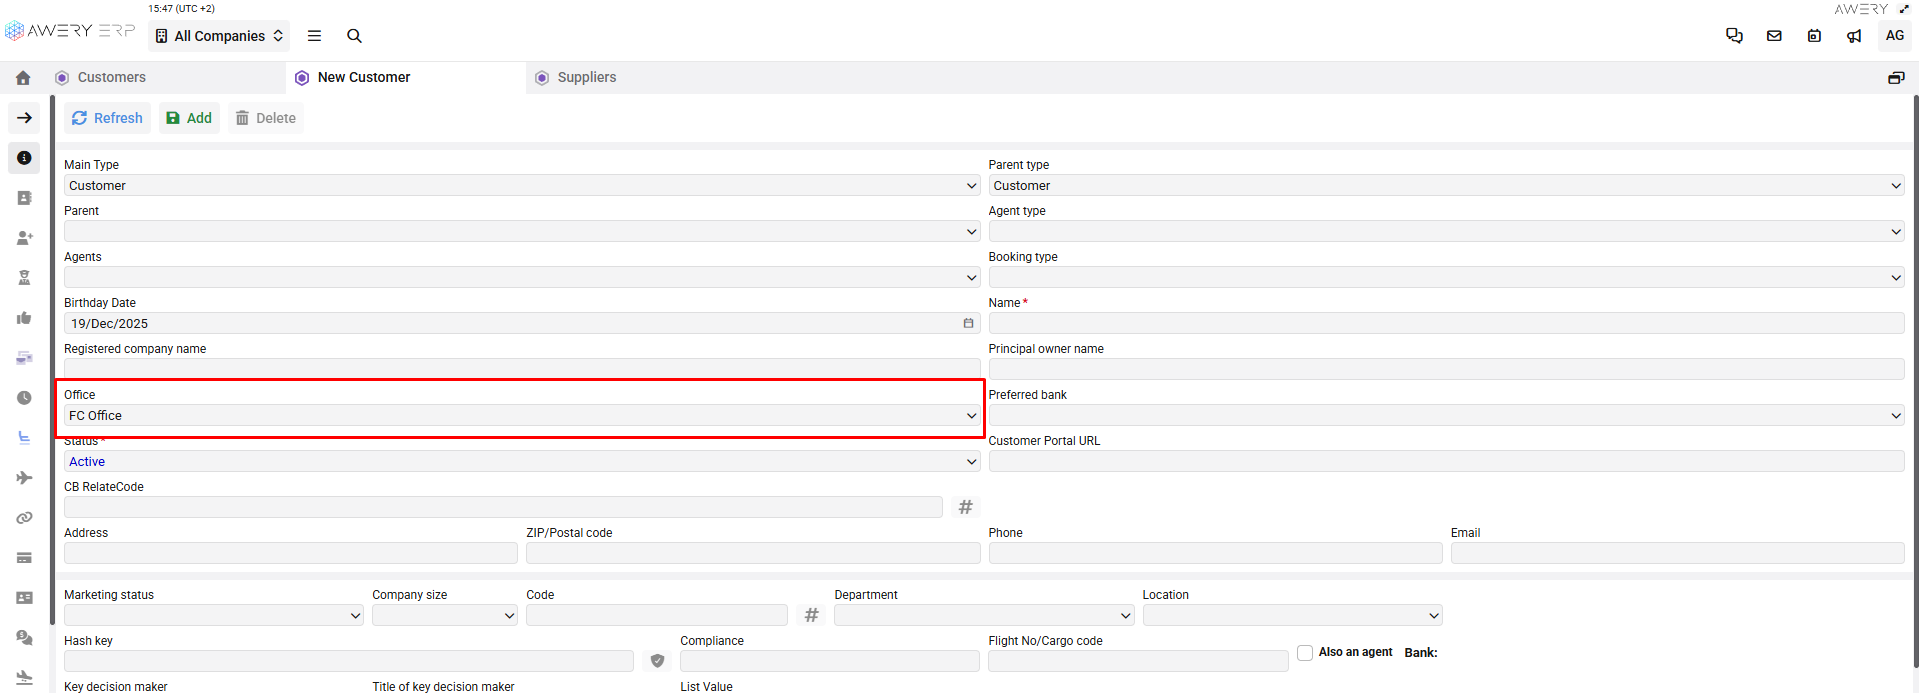
company_id - Office (company) ID

company_id will pull the office name into the office field on the Main Info Tab
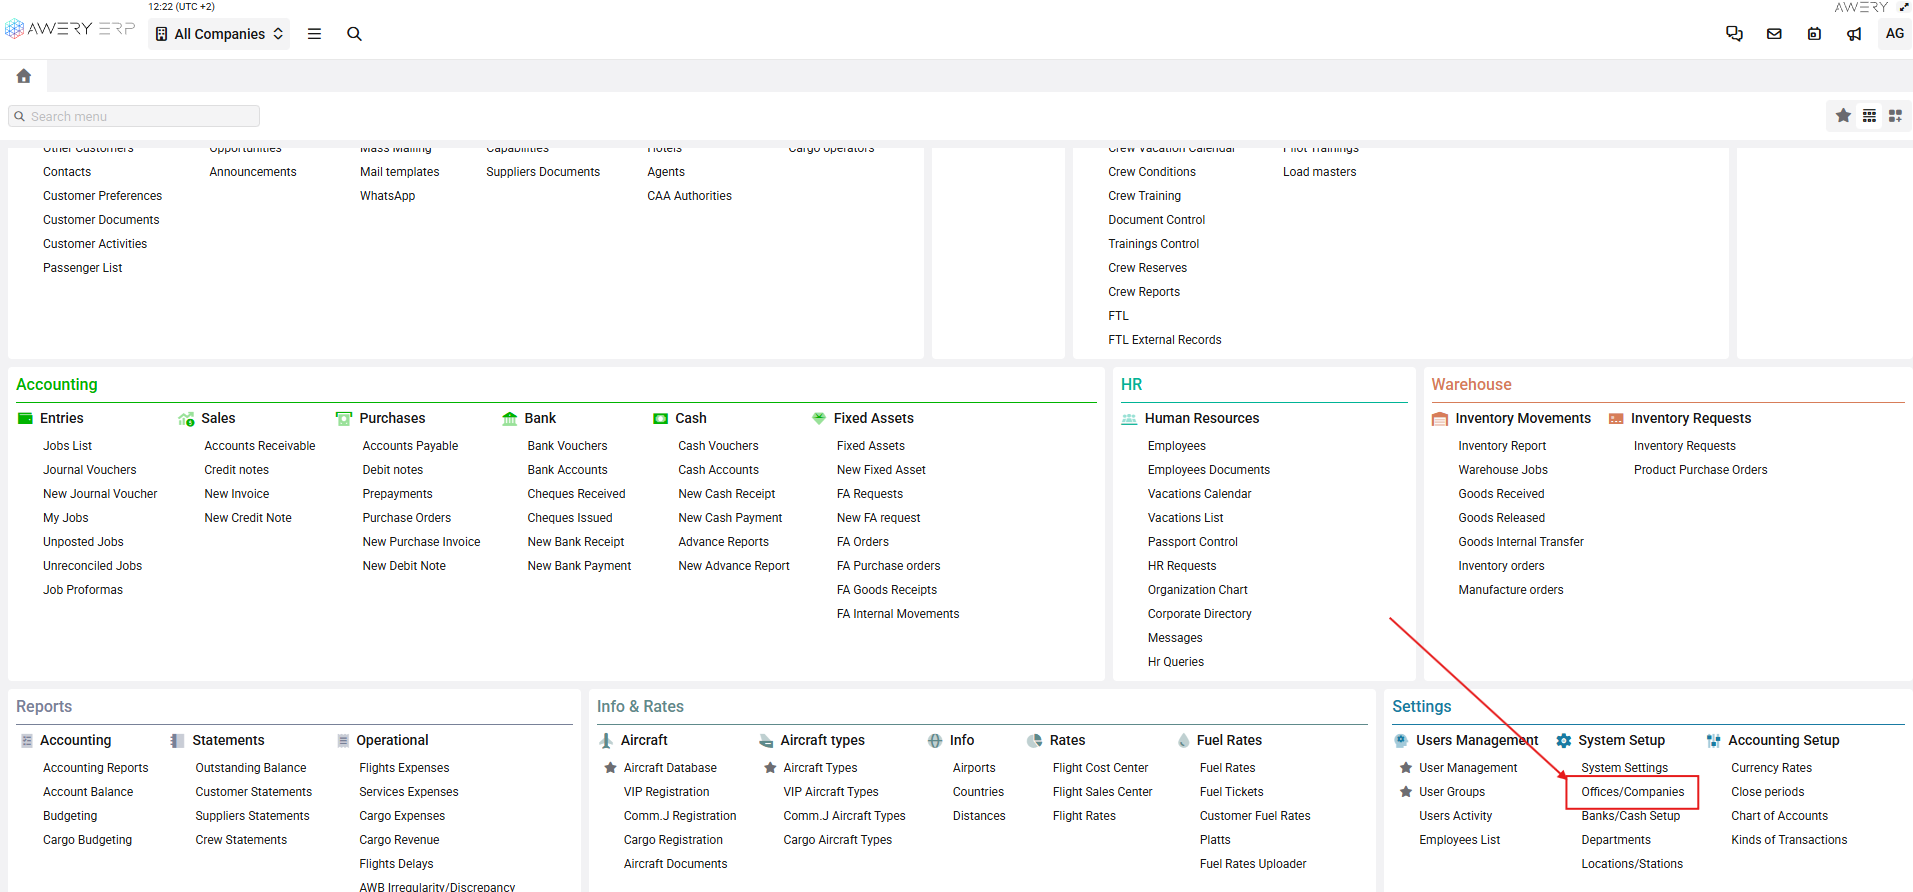
To find the company_id, go to Menu → Settings -> Offices/Companies
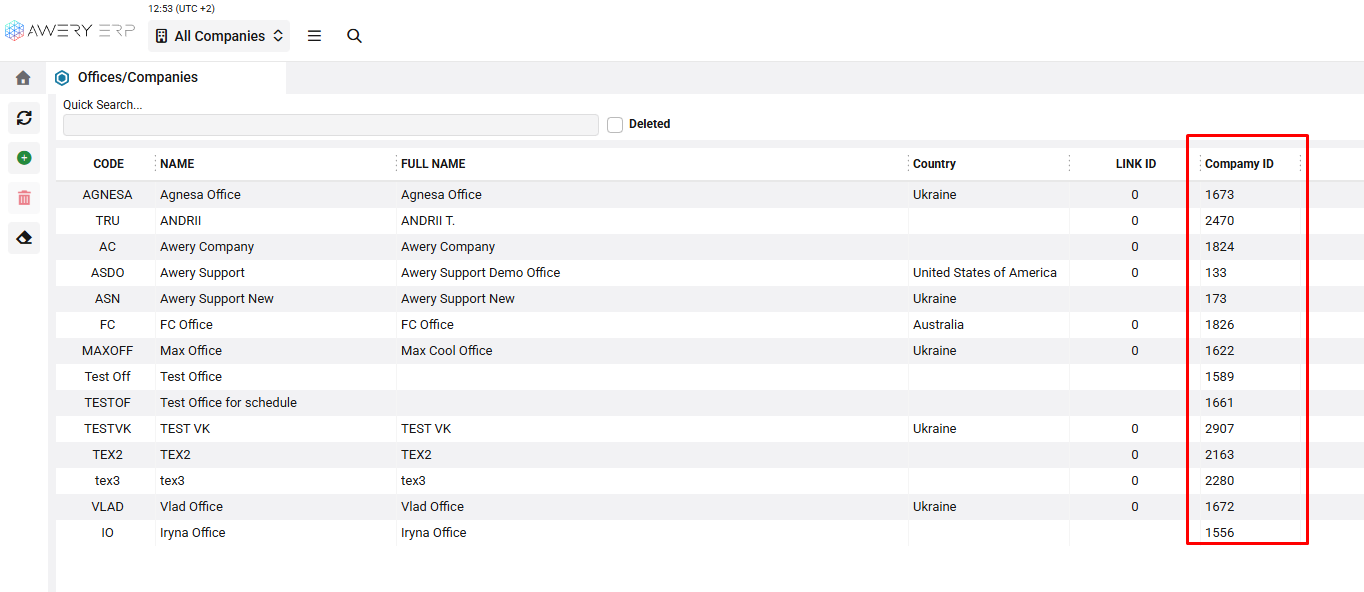
If the Company ID column is unavailable, please contact support to have it enabled for your system.
-
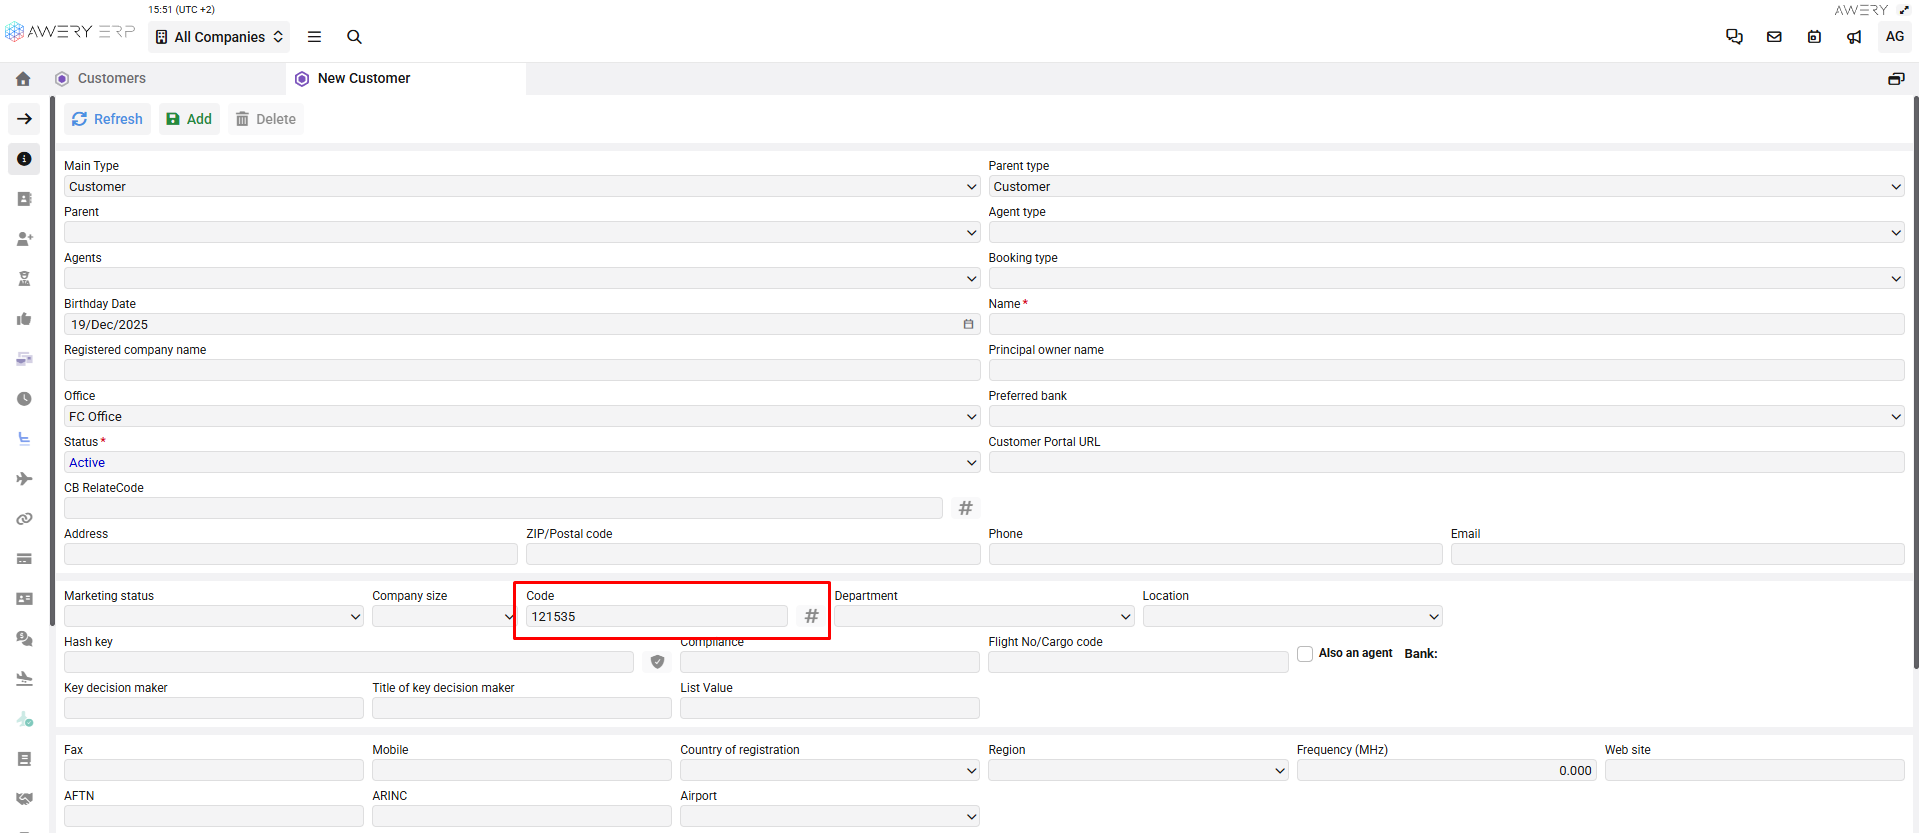
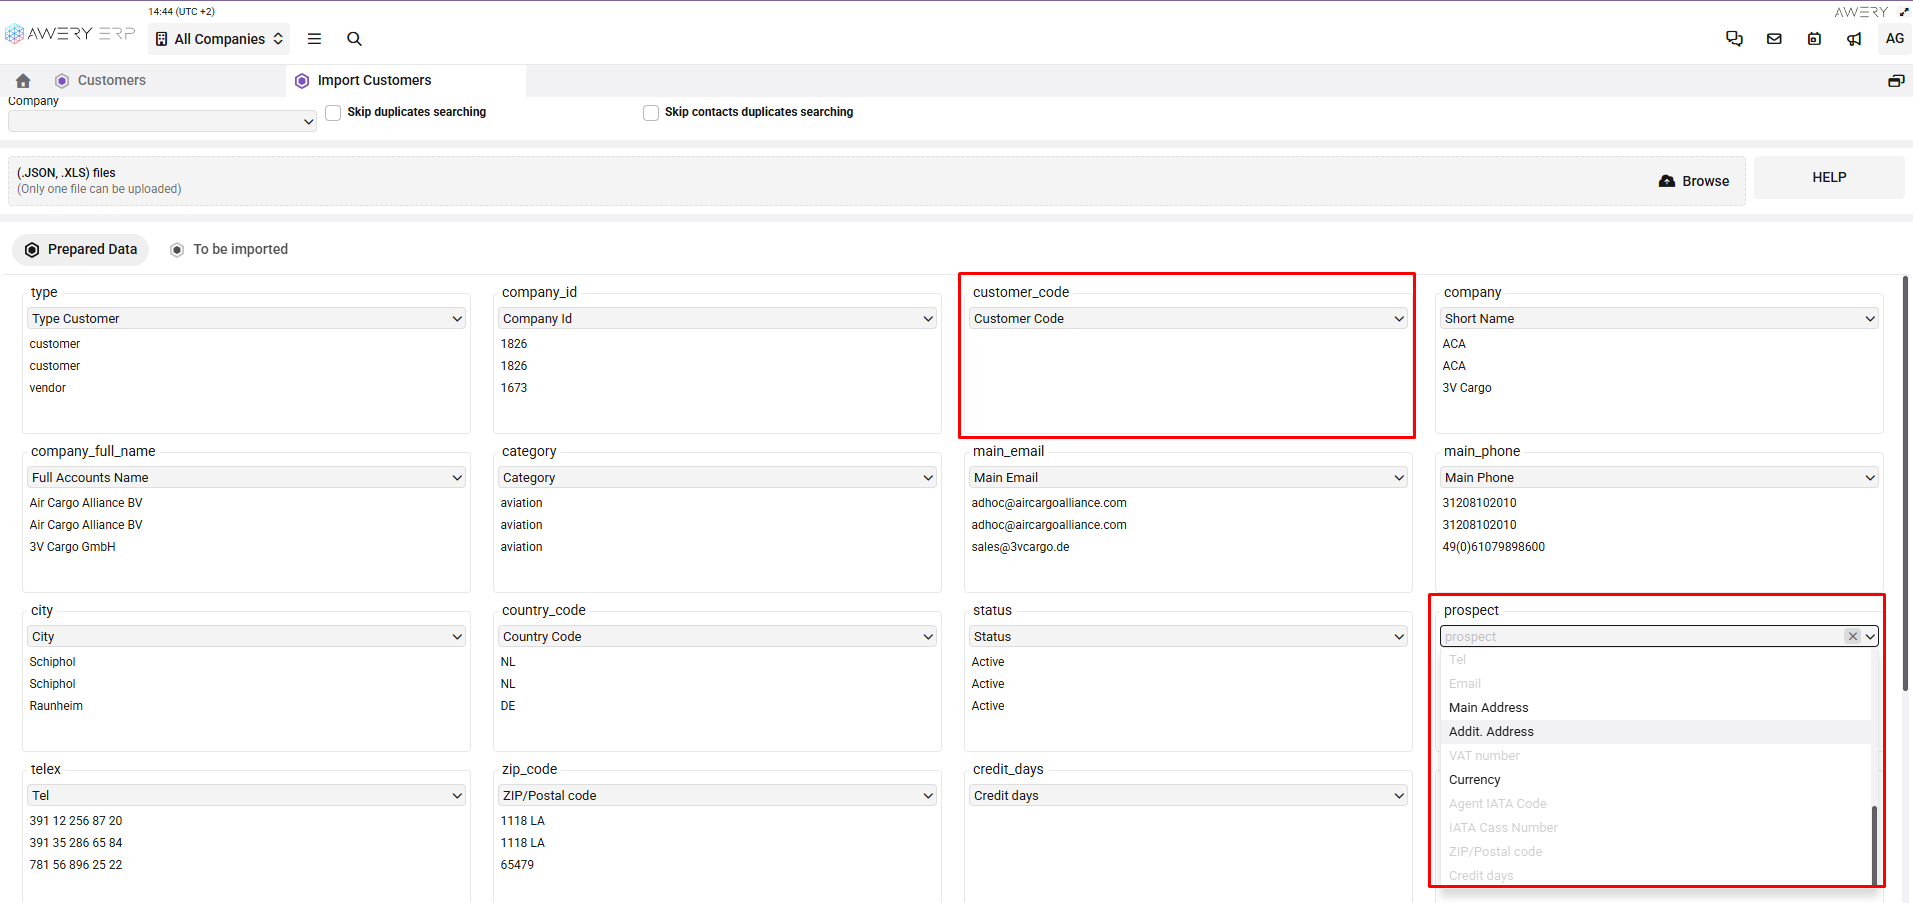
customer_code - an internal code (optional). You can enter it manually or select a random one after creation. Or simply skip this field.
-
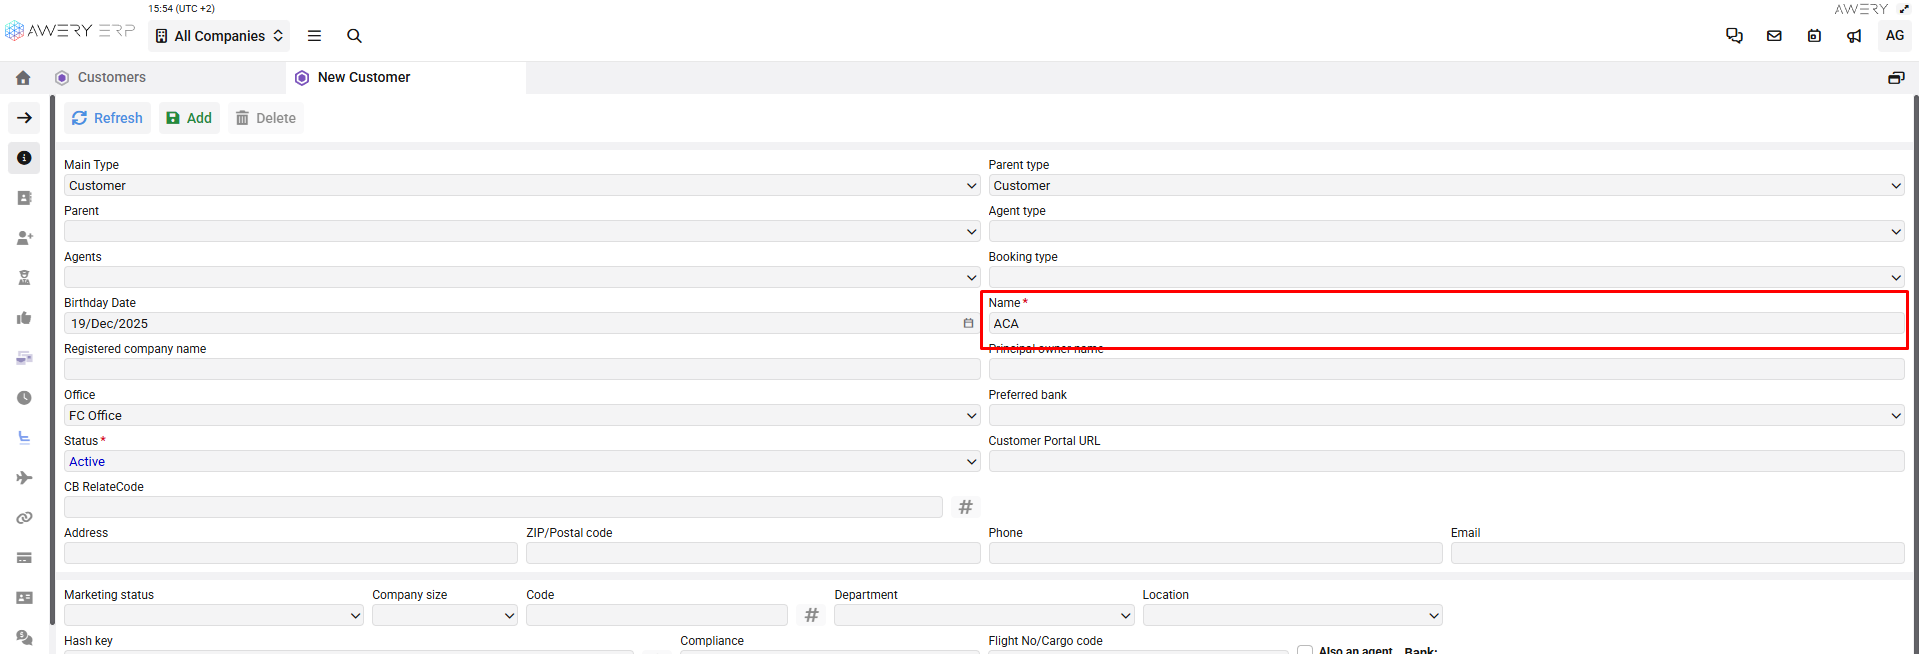
company - short company name.

-
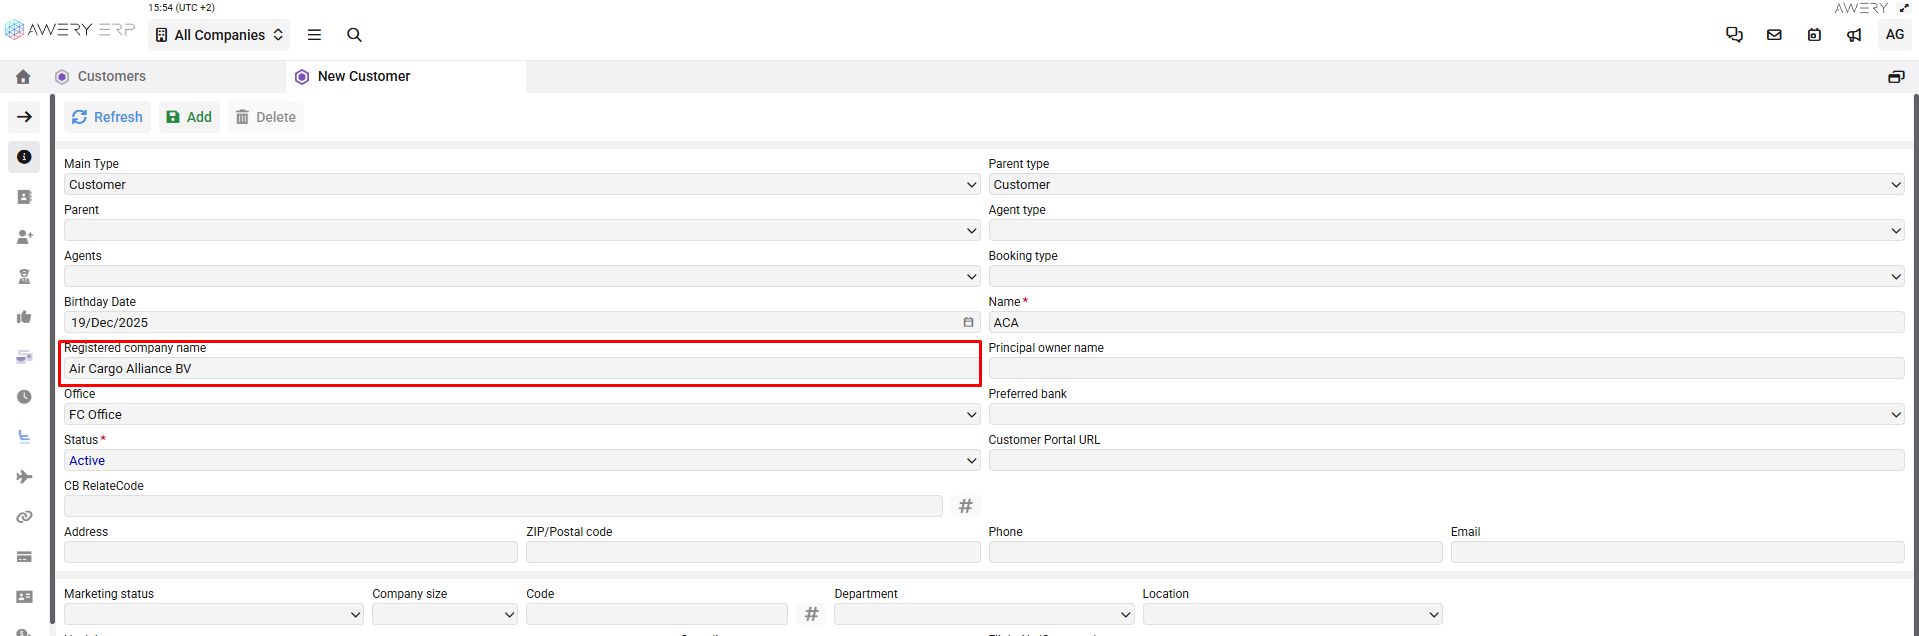
company_full_name - full company name (Registered company name).

-
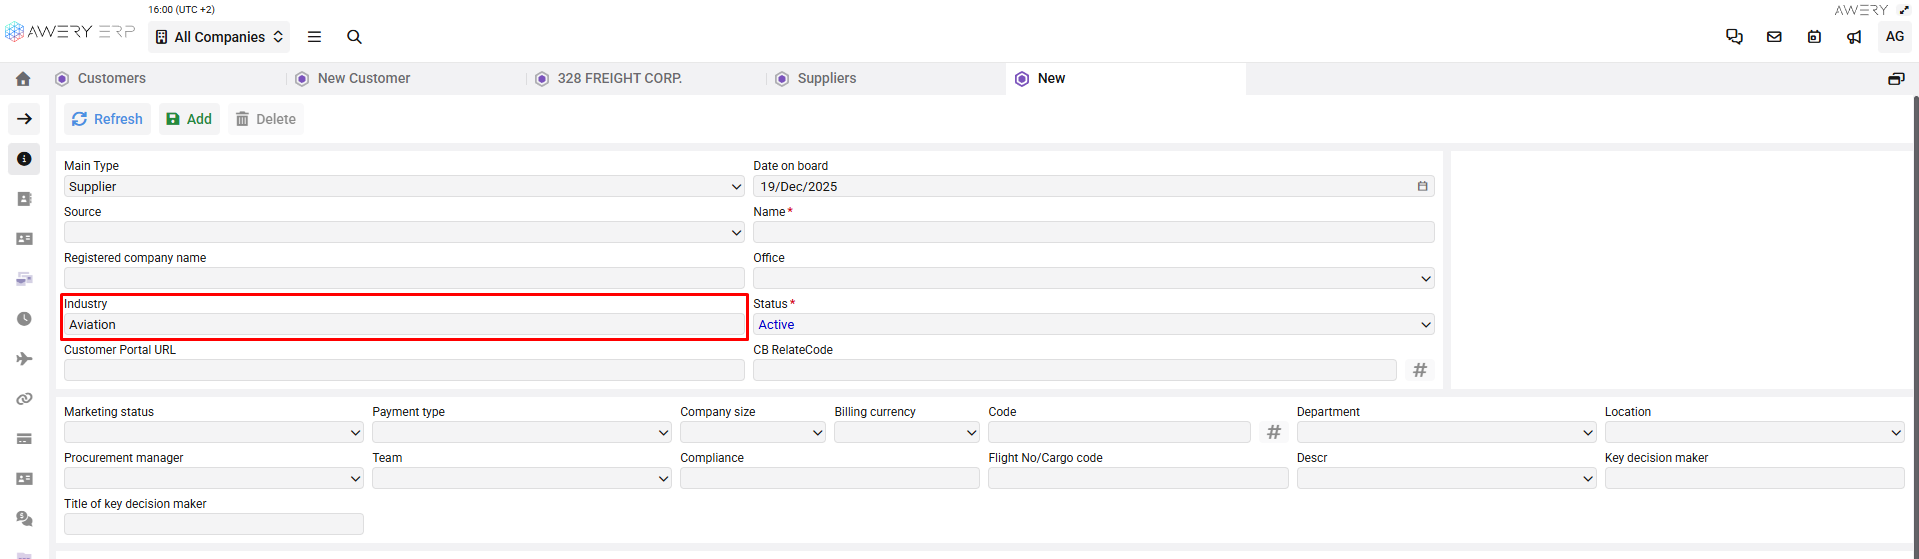
category - free text field.

-
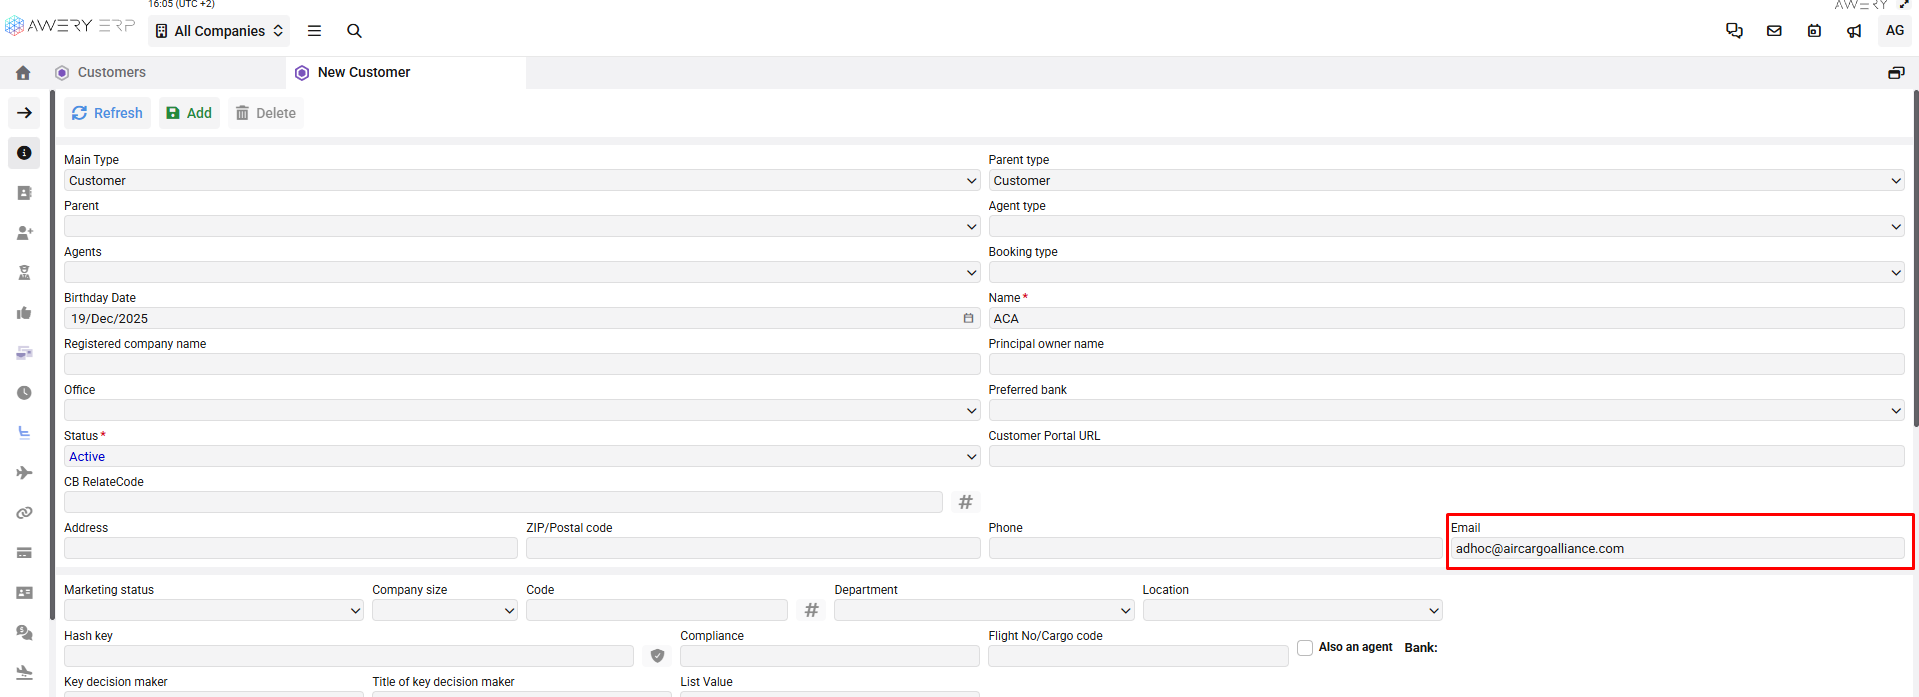
main_email - main company email.

-
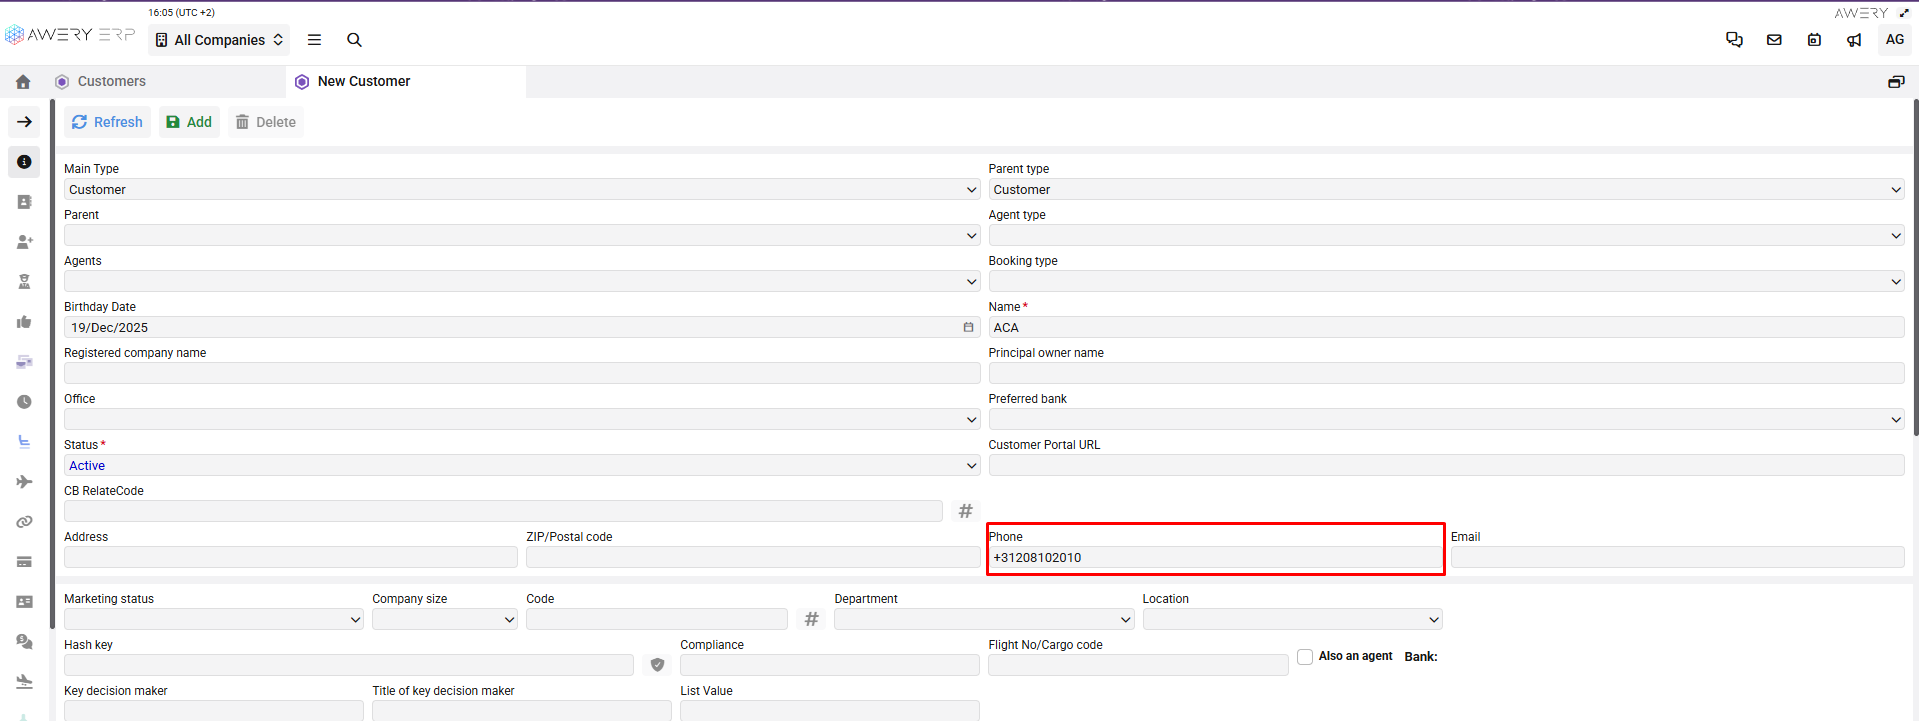
main_phone - main company phone.

-
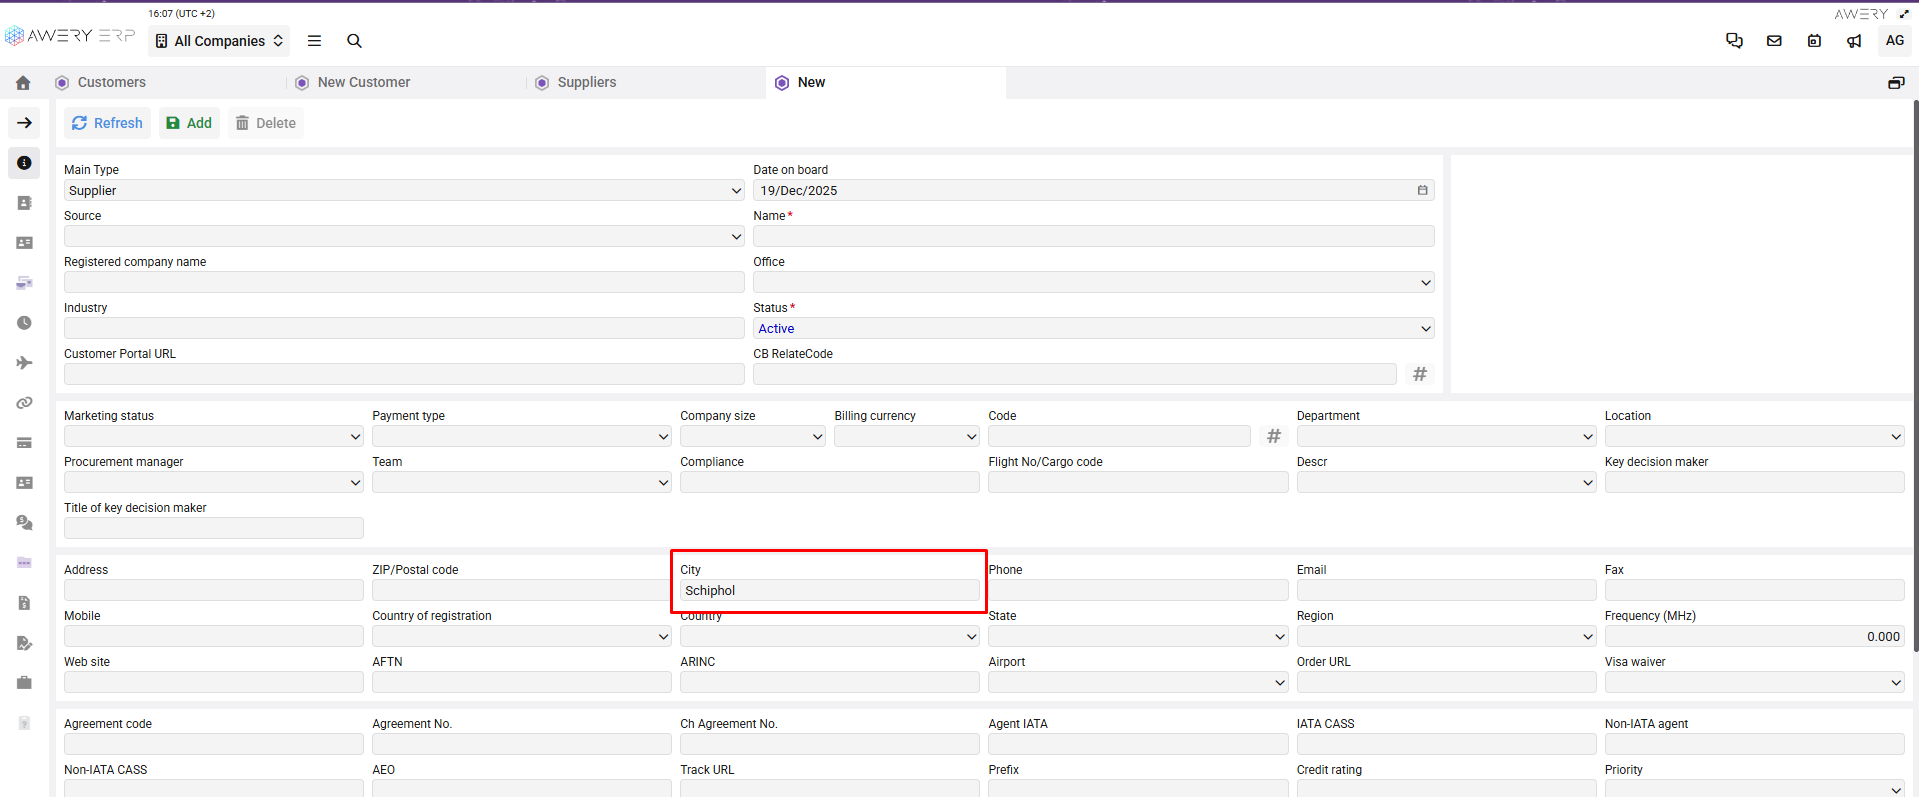
city - company city.

-
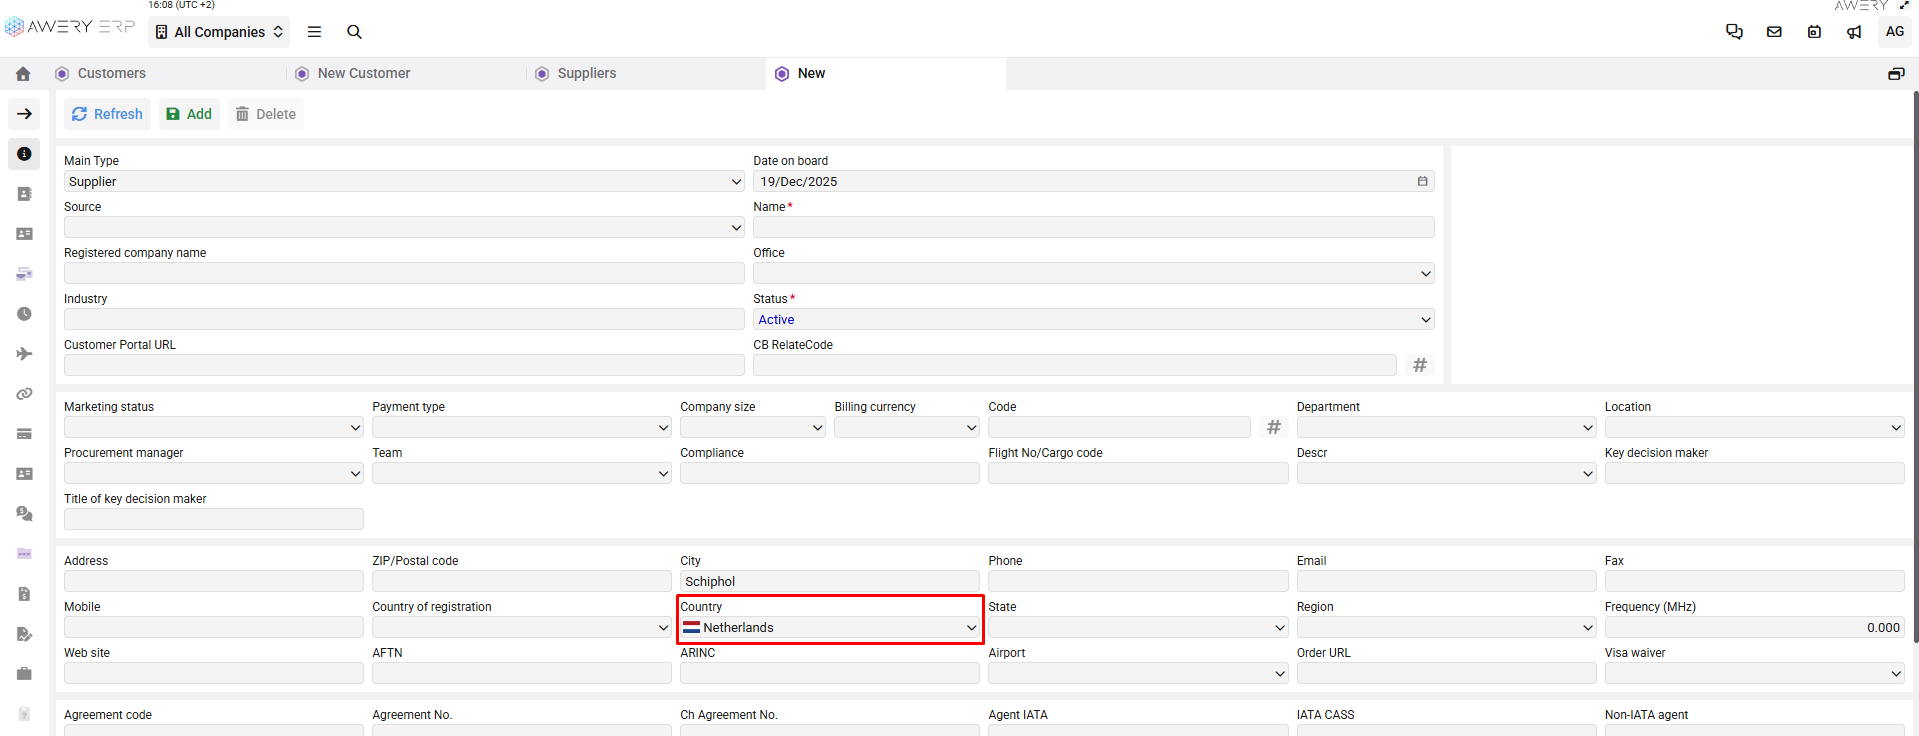
country_code - two-letter ISO country code. On the interface, it will be converted to the full country name.

-
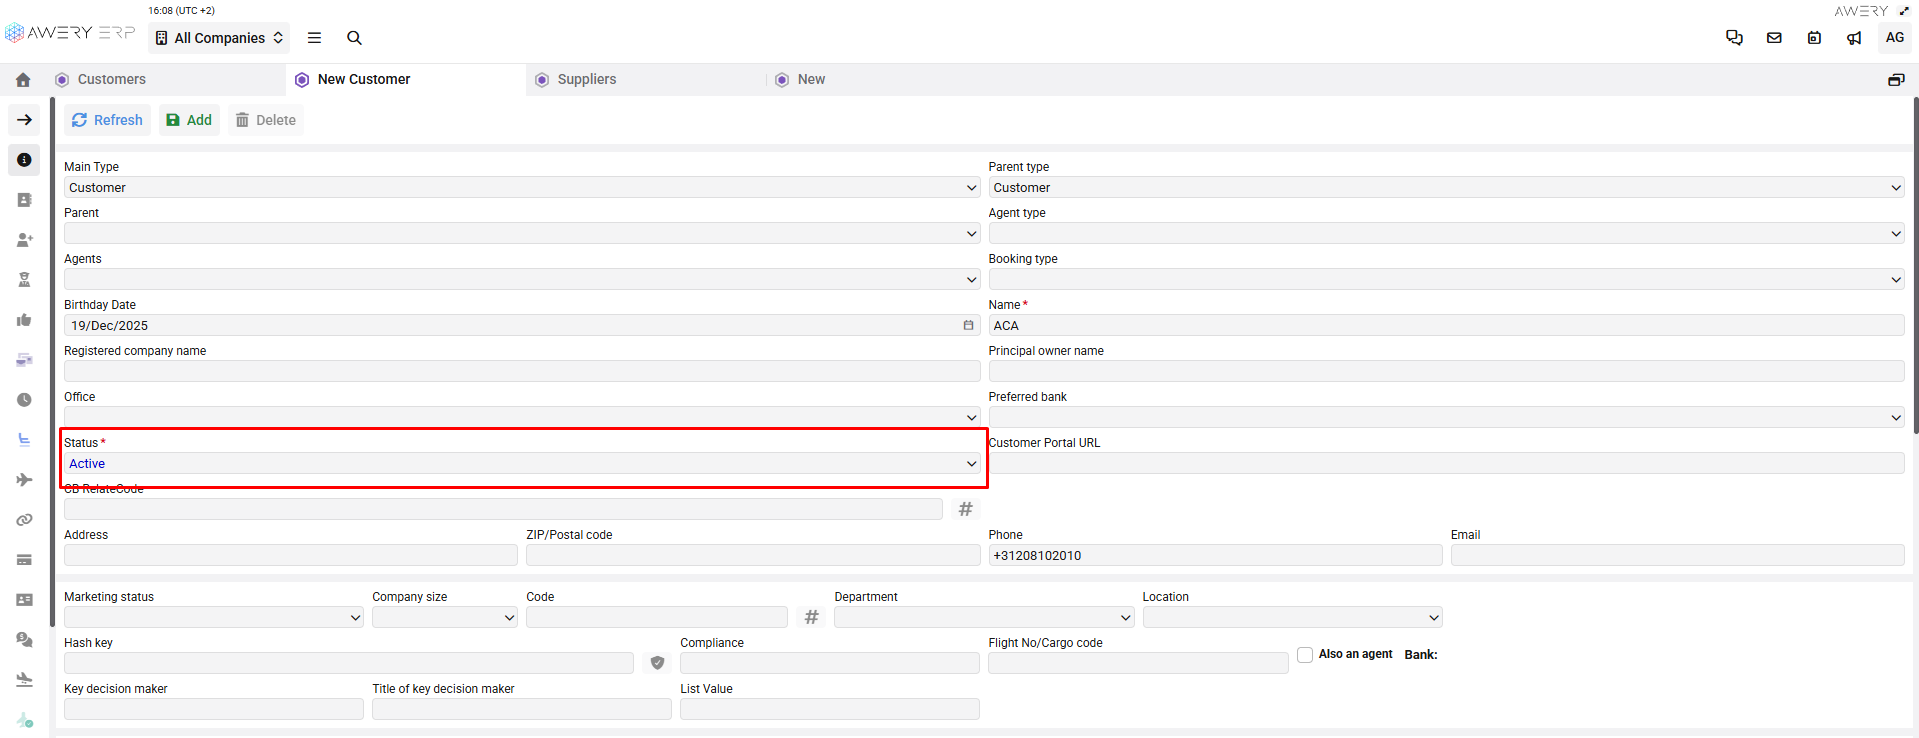
status - the field has a fixed list of statuses.
During import, we recommend selecting the value Active, which can be changed later on the page if needed.

-
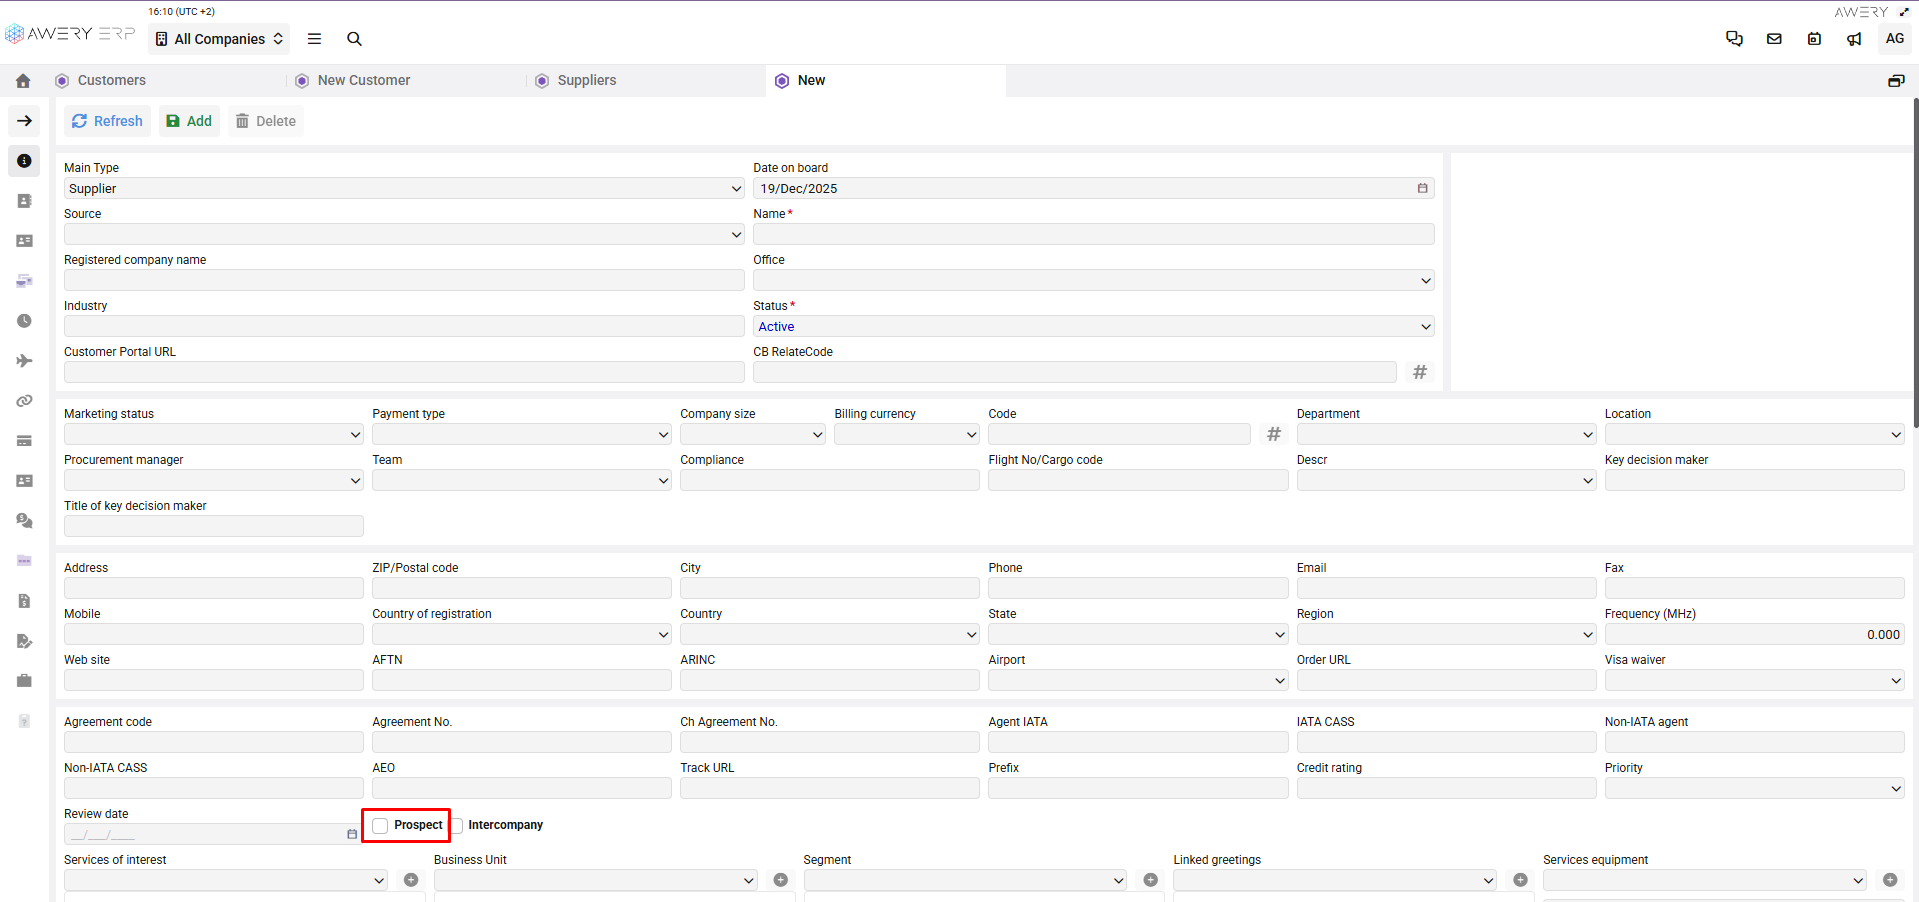
prospect іndicates if the customer is a prospect.
You need to enter the value 1 in the cell to activate/enable the Prospect checkbox.
-
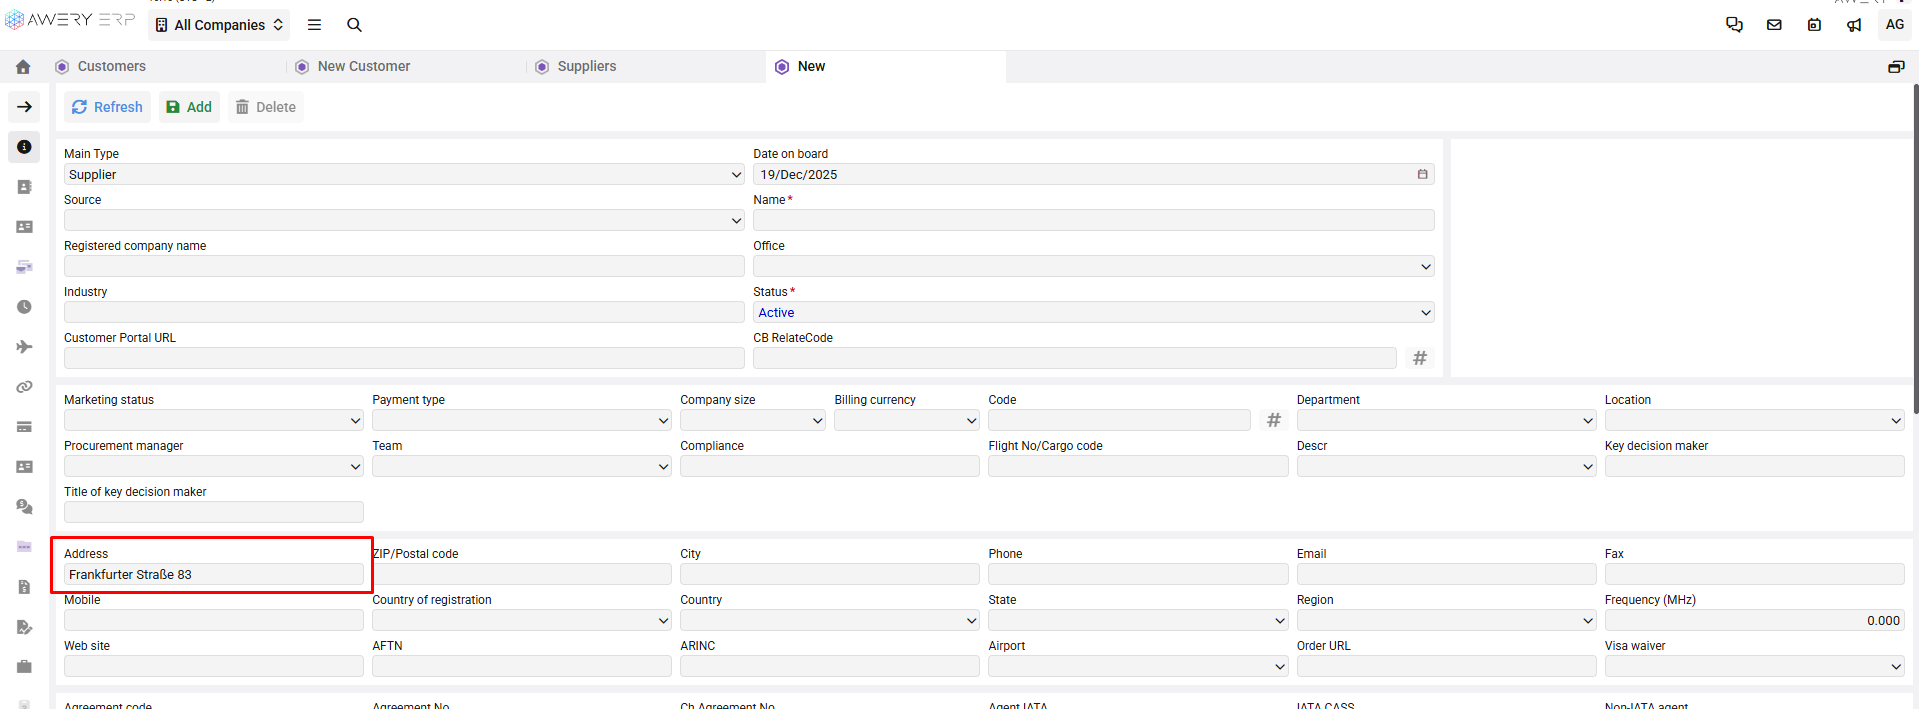
telex - main company address.
Don't let the field name mislead you. The system recognizes this column's value as Main address.

-
zip_code - postal code.

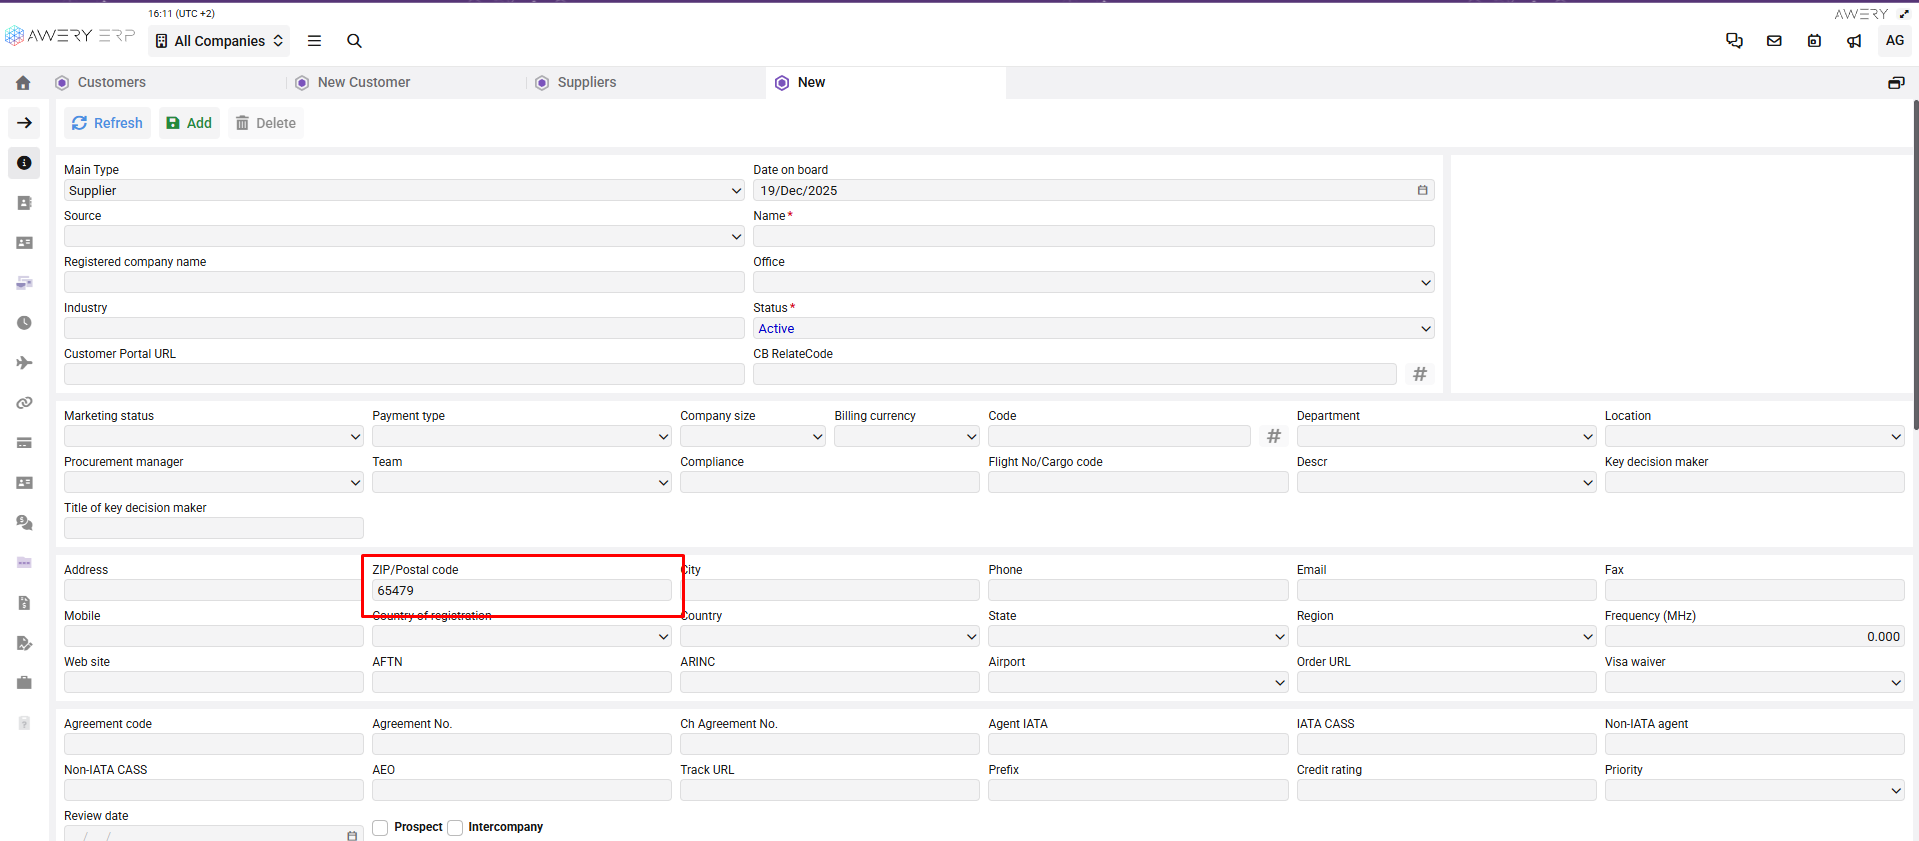
-
credit_days - the number of days granted to the customer or agent to settle their outstanding invoices after receiving them.
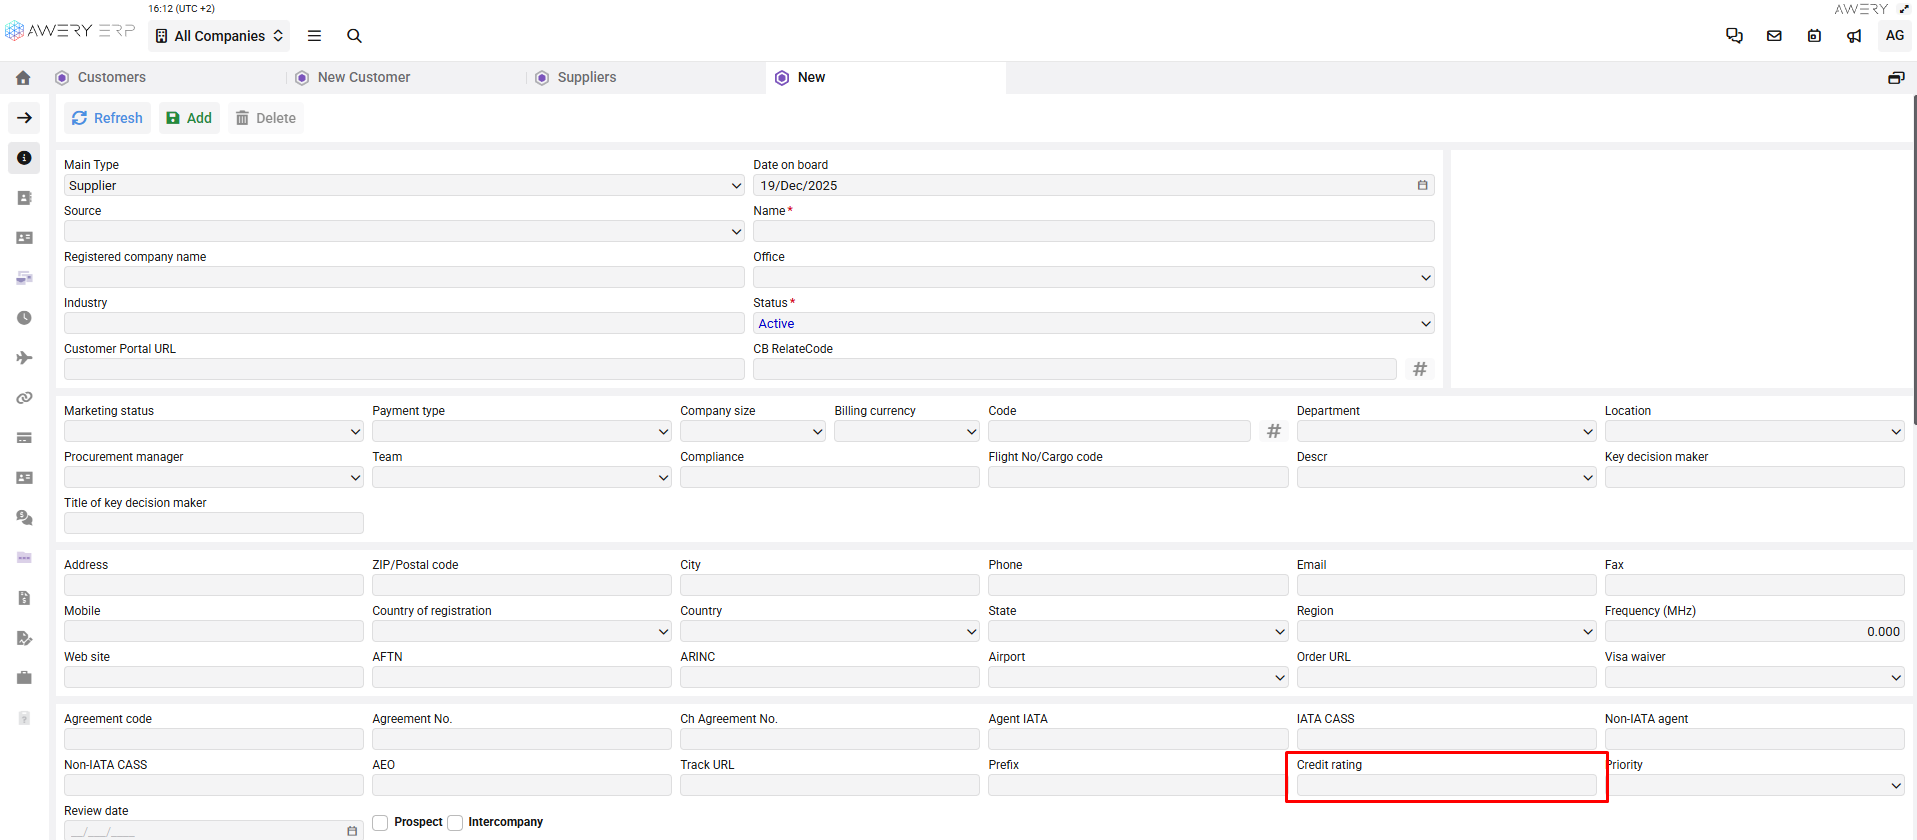
-
vat_id - Value Added Tax number.

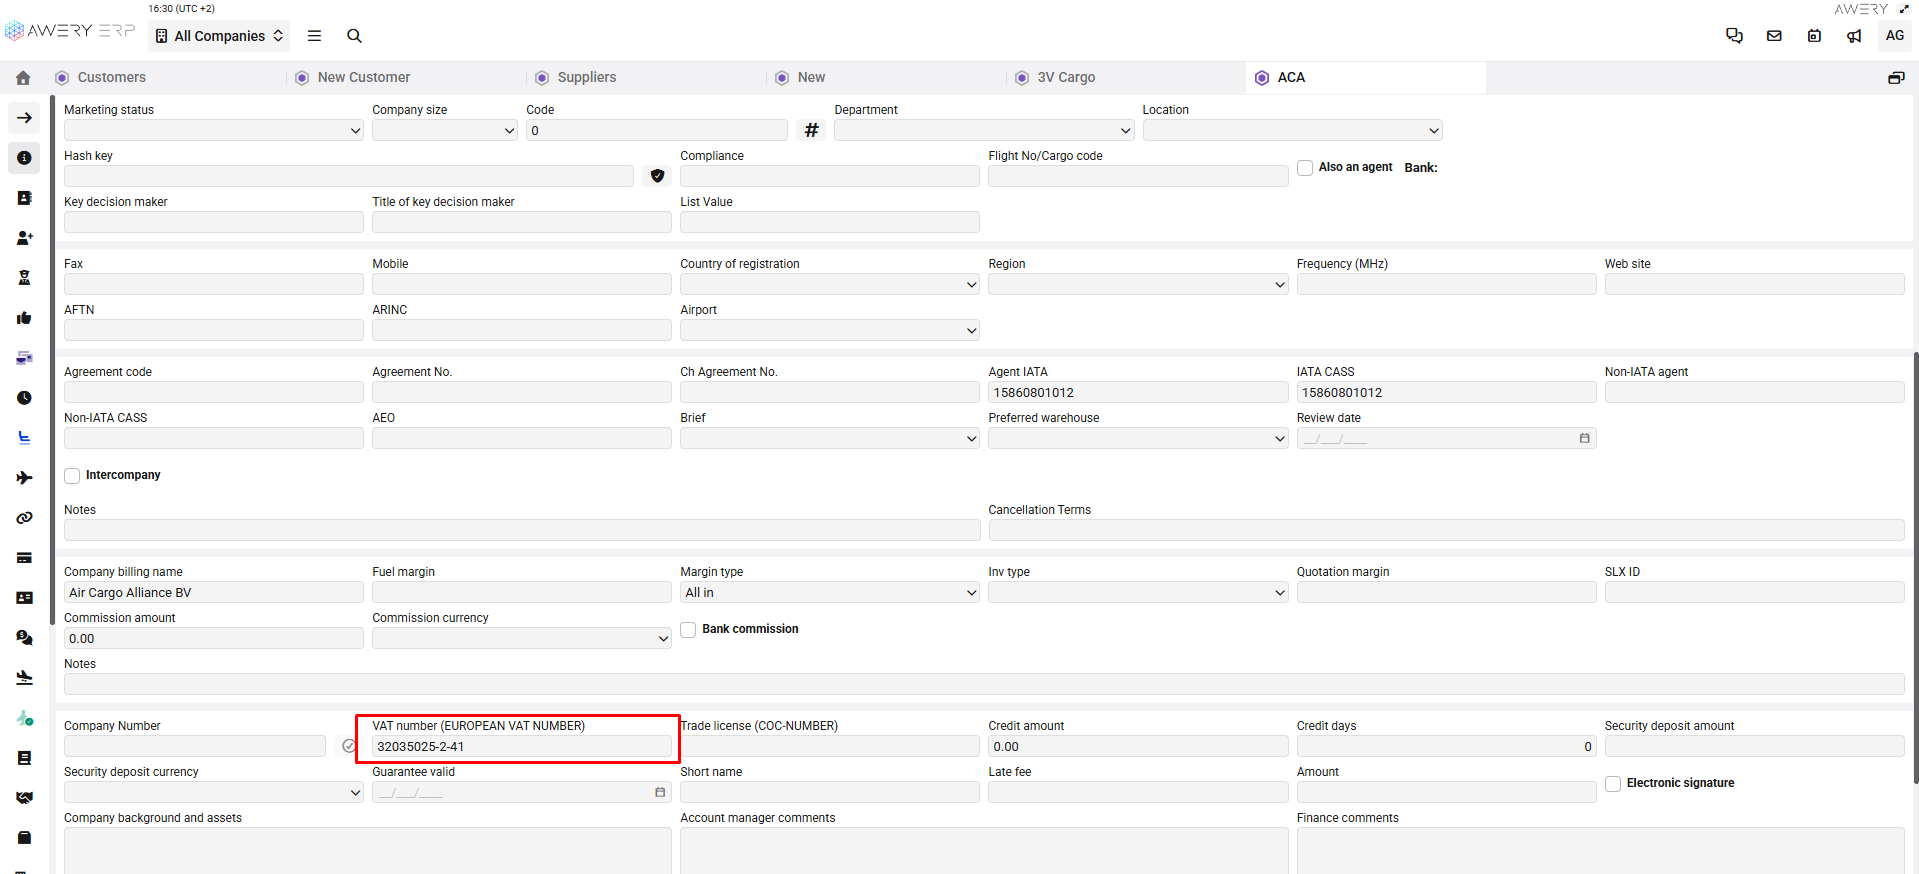
-
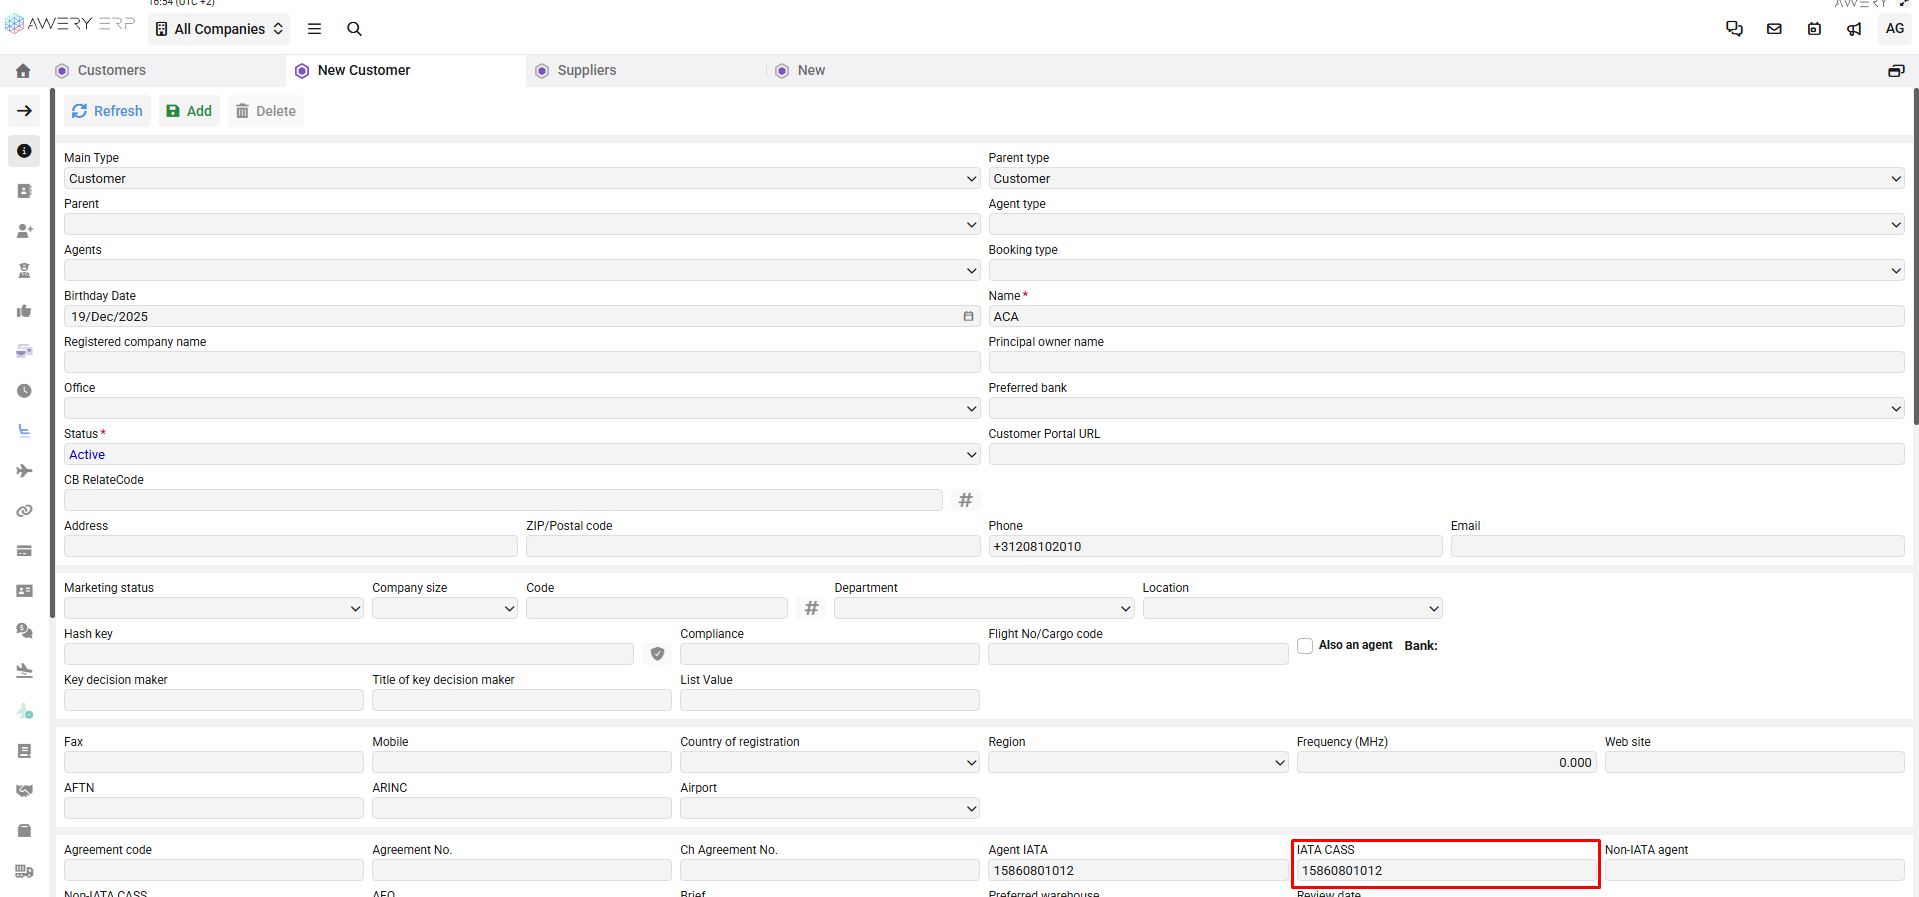
agent_iata_code - IATA code assigned to an agent.
Values of agent_iata_code must be entered without spaces or special characters.

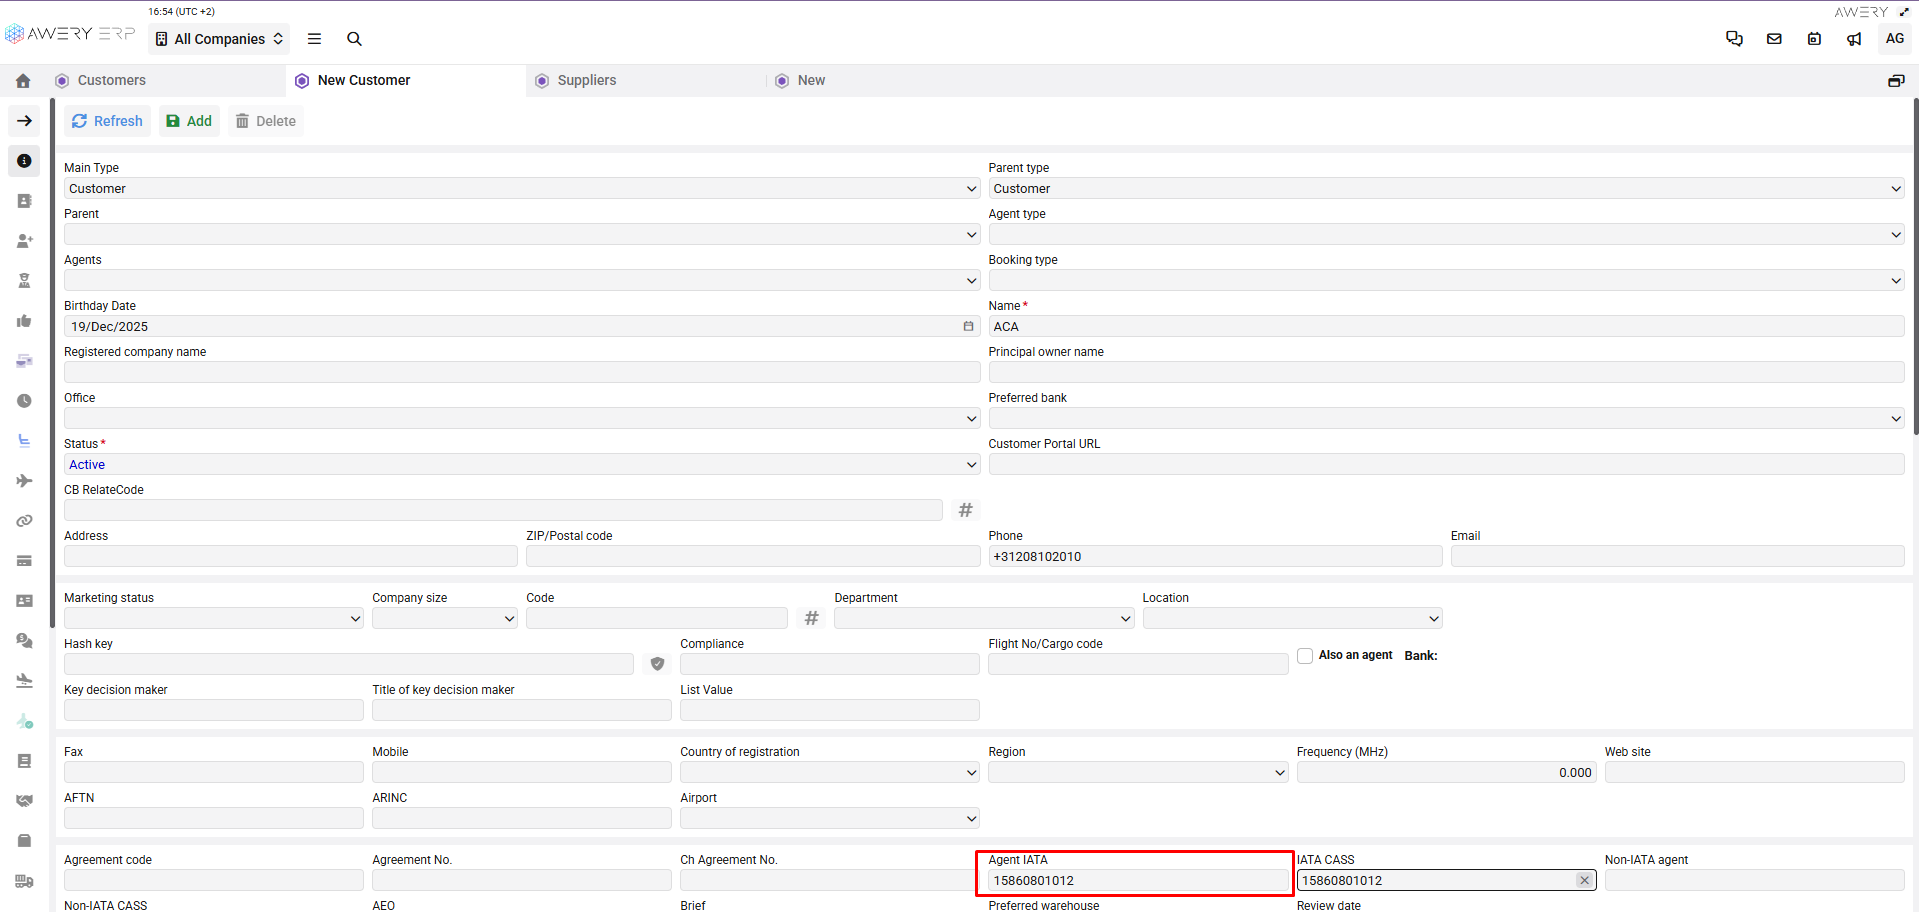
-
iata_cass_number - CASS number (usually the same as IATA)
Values of iata_cass_number must be entered without spaces or special characters.

Contact Data Fields
-
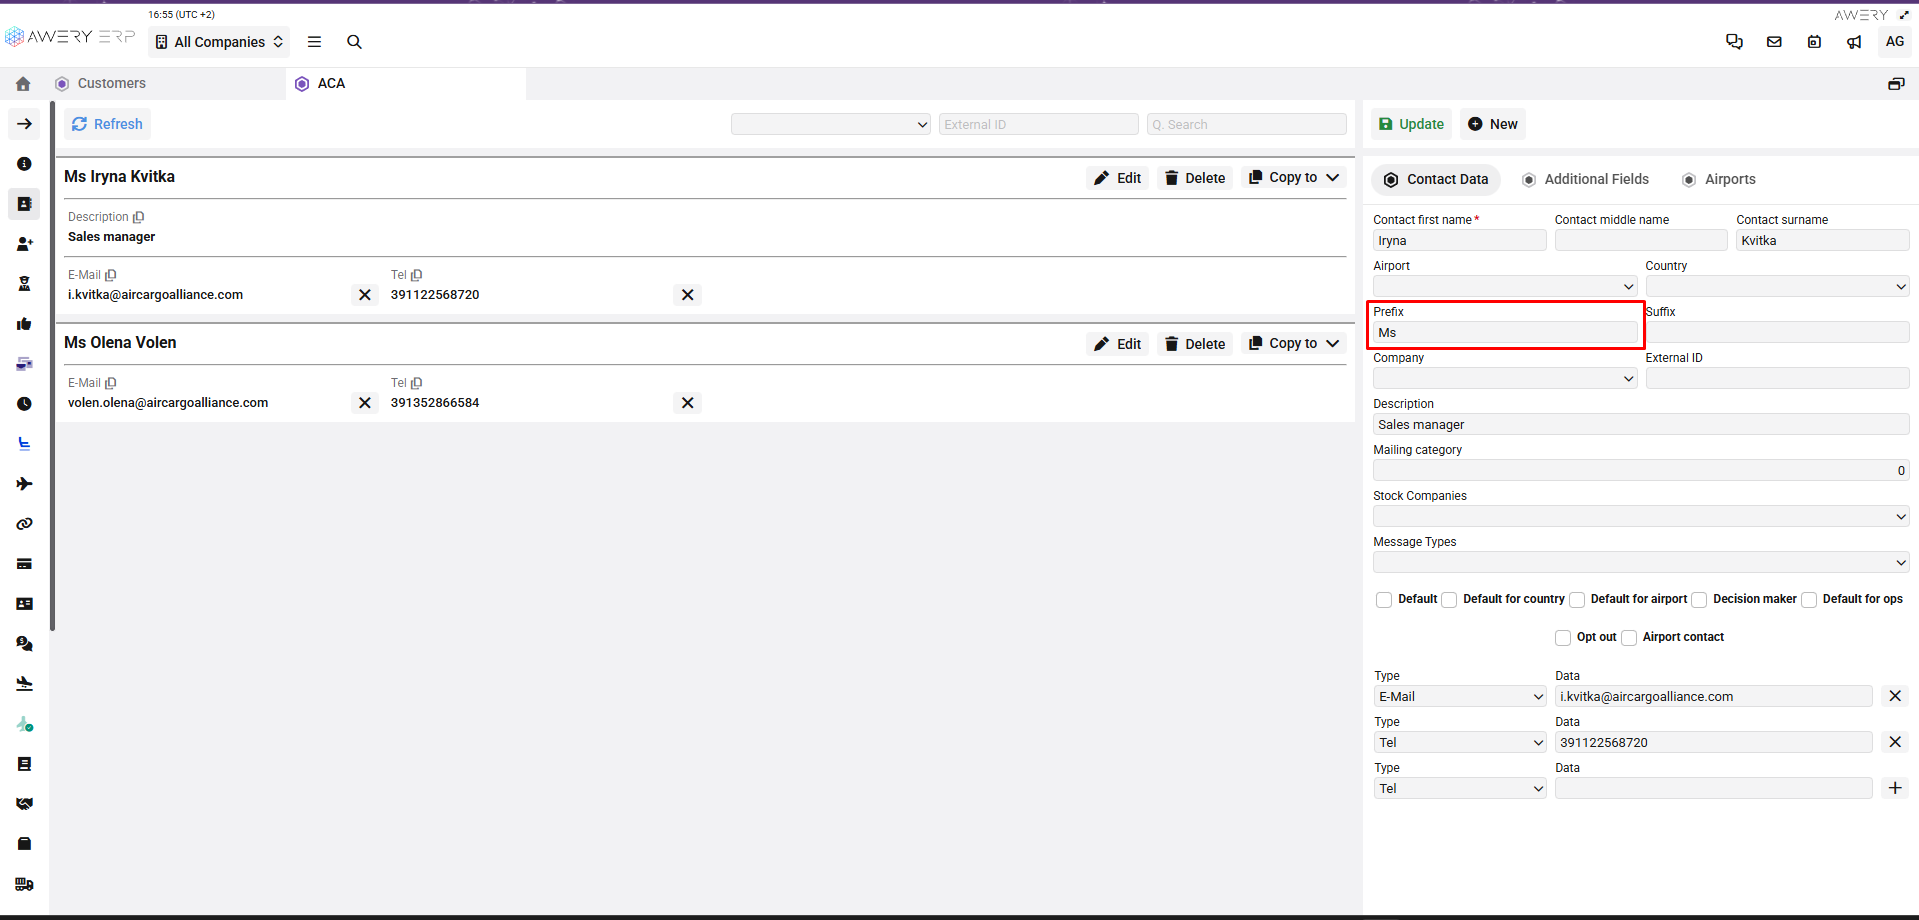
contact_prefix - Mr/Mrs

-
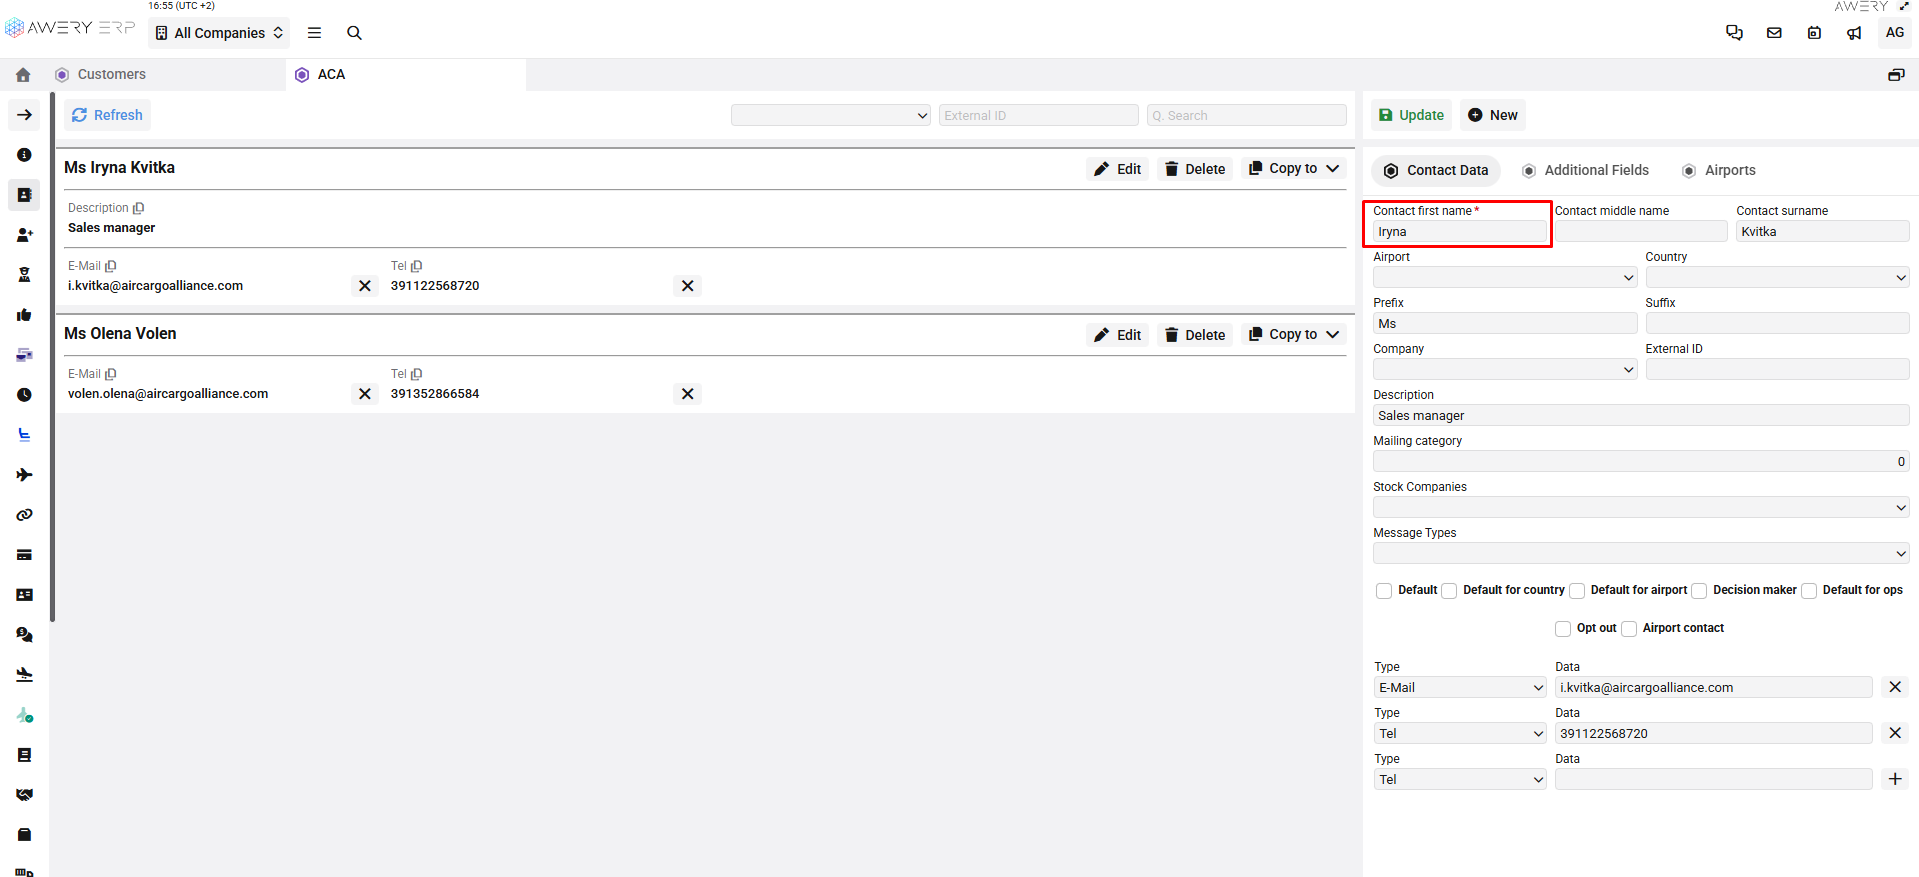
contact_name - first name.

-
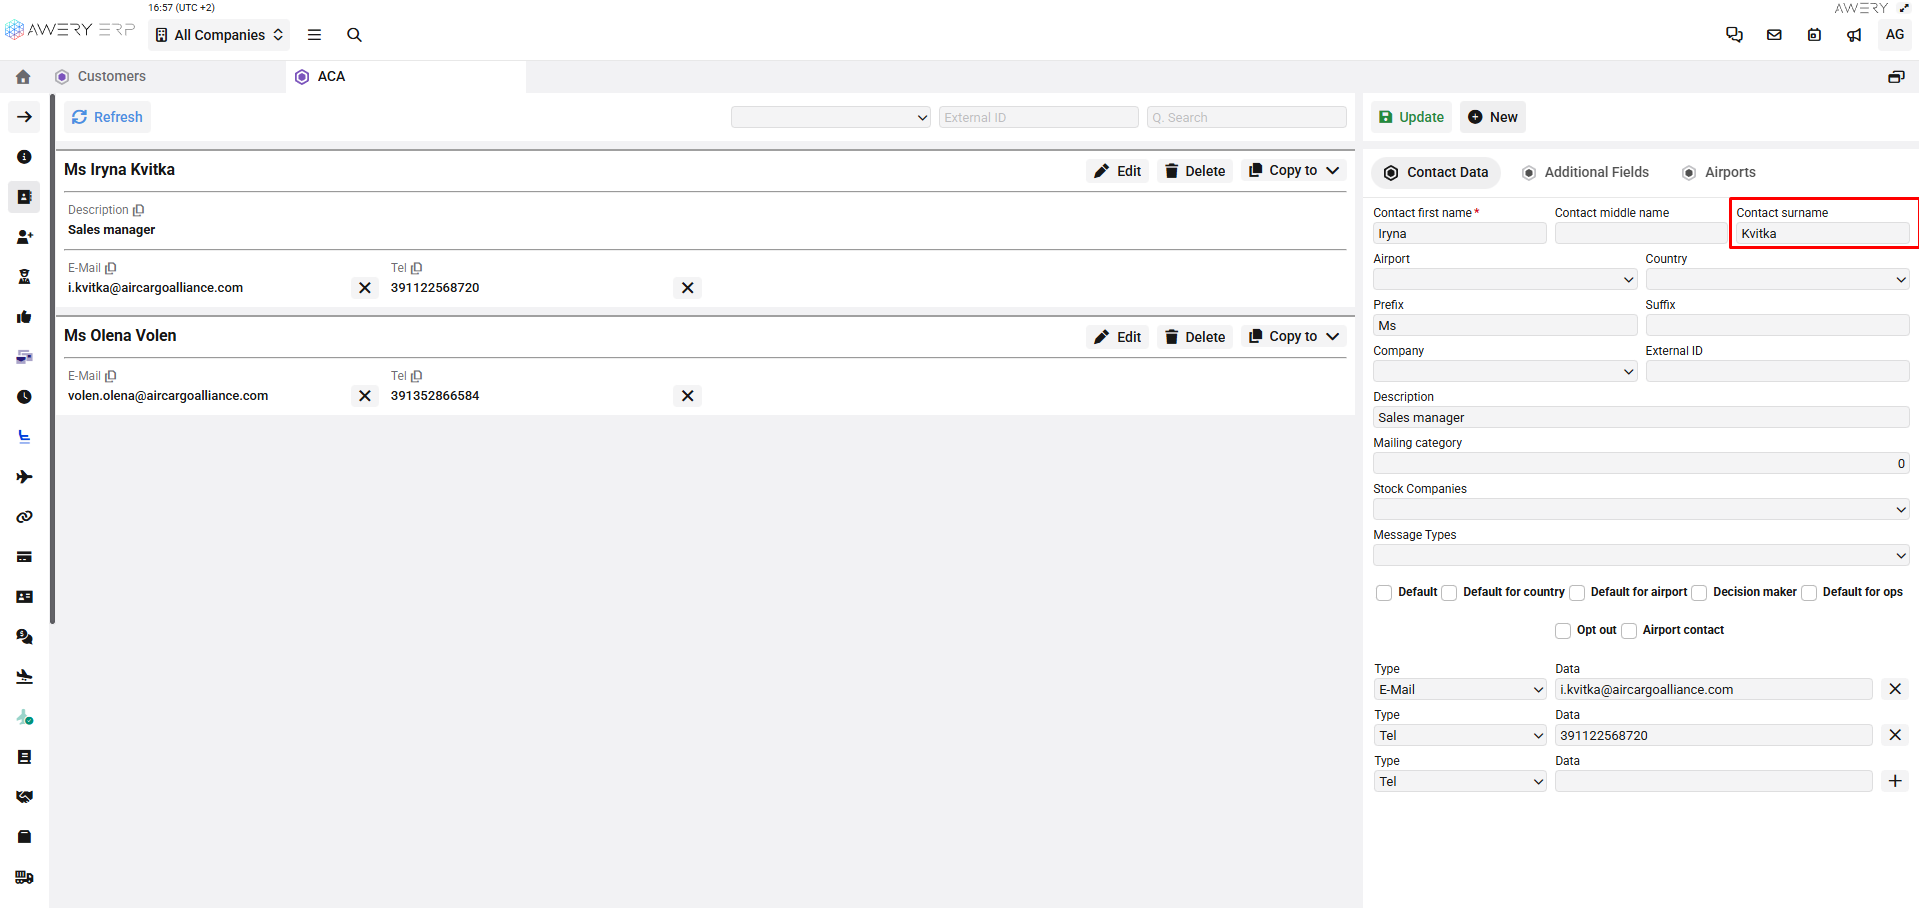
contact_surname - last name.

-
contact_descr - role (Sales, Accounting, etc.)

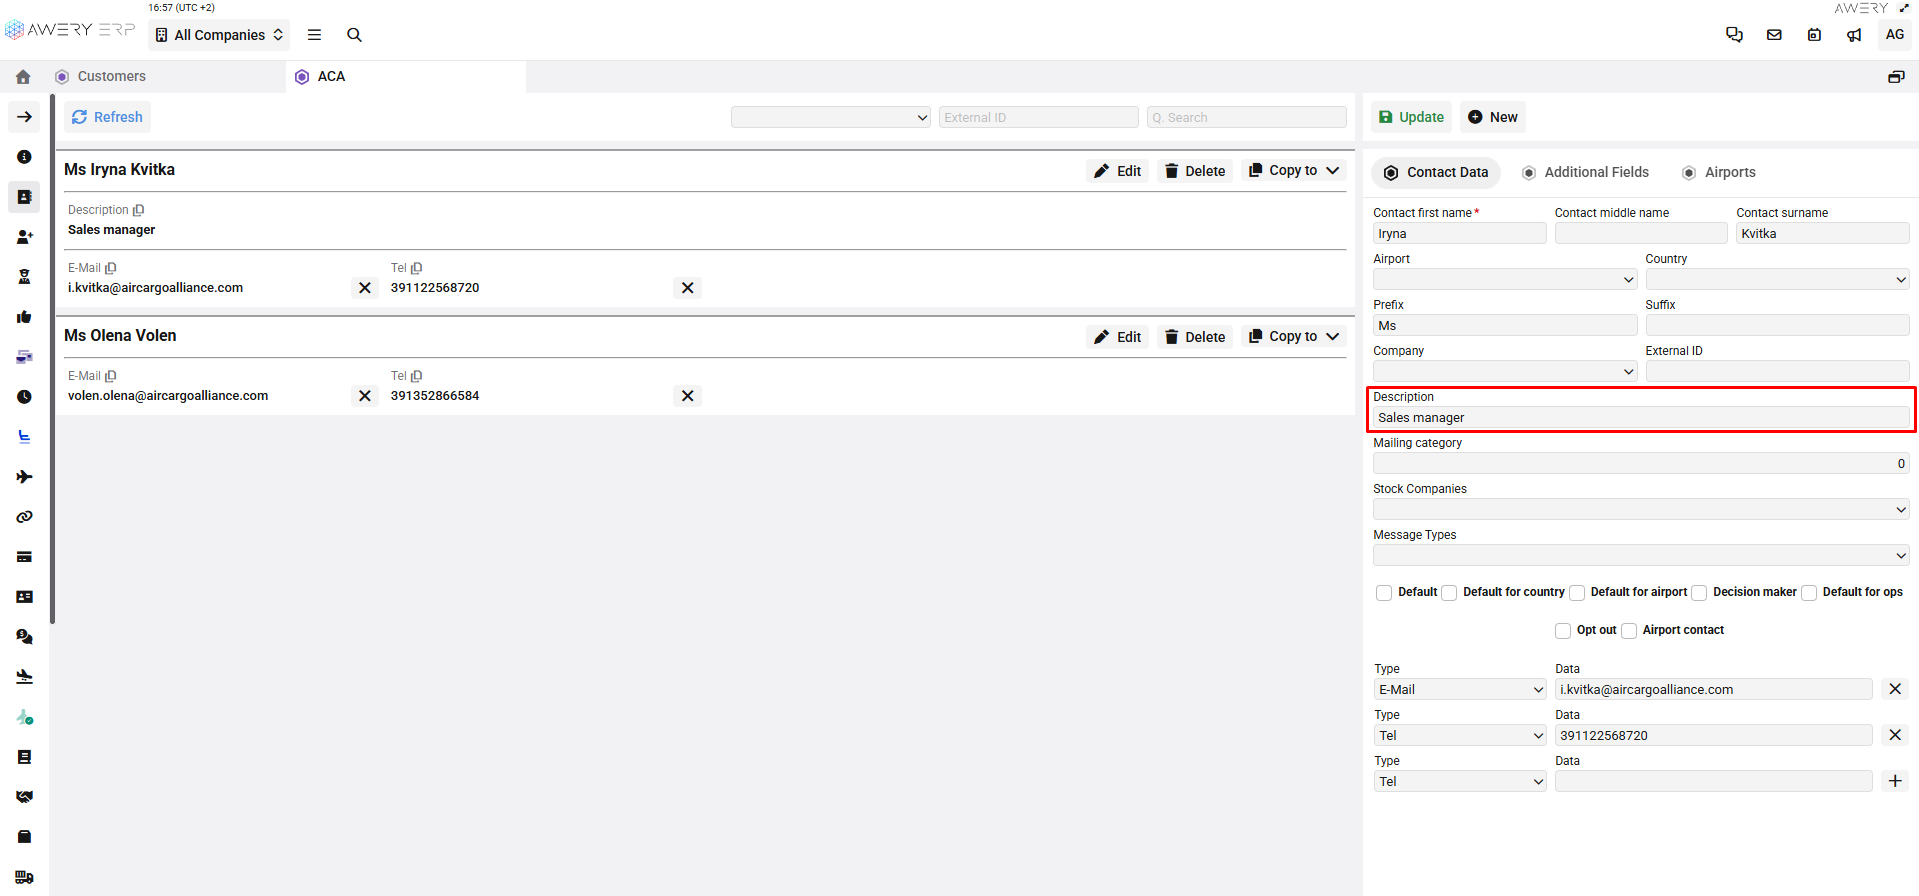
-
tel - contact’s phone.

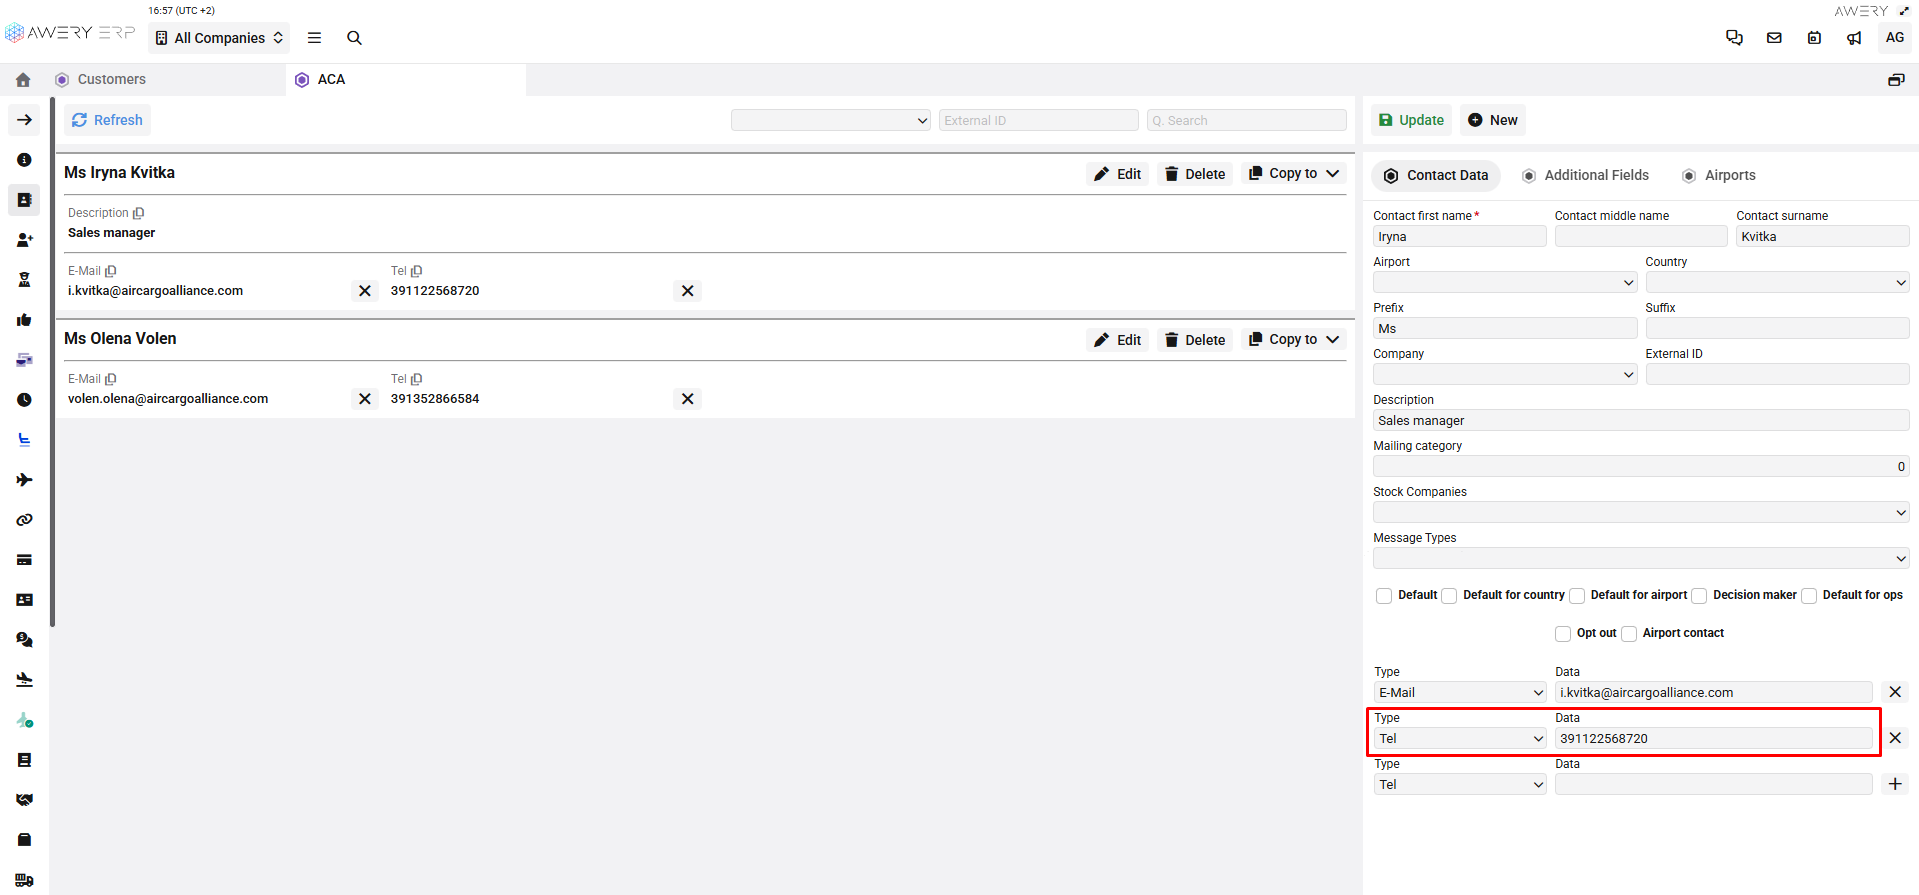
-
Email - contact’s email.

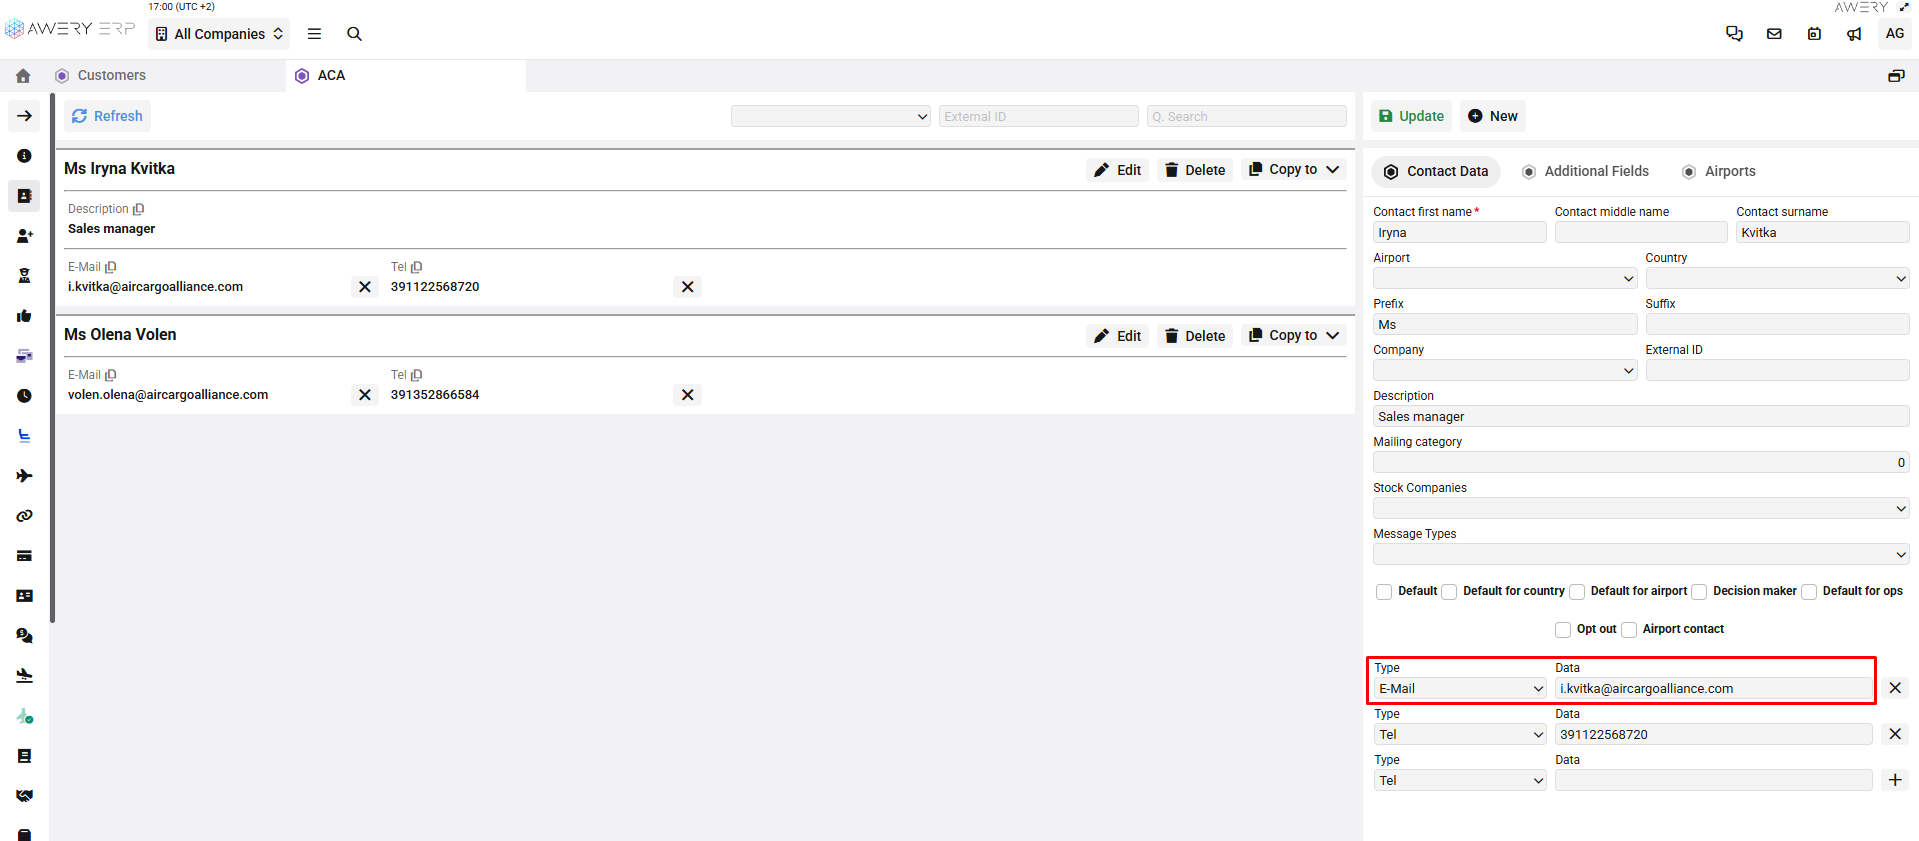
How to import a Customer/Supplier with multiple contacts
If one company has more than one contact person, each contact must be added on a separate row in the import file.
The import template is divided into two color-coded areas:
Blue columns — company information
Yellow columns — contact information
When adding multiple contacts:
All blue columns must contain the same values for each row.
Yellow columns must contain different values for each contact.

This is how the system understands that several contacts belong to the same company.
Before you start importing:
-
Fill in the import file completely.
-
Make sure all required fields are filled in according to the field descriptions.
-
Do not use extra spaces. The system does not recognize values with leading or trailing spaces.
Import process
-
Step 1 - Prepare the file
Fill in the import file with company and contact data.
Make sure the file is completed before opening the import screen.
-
Step 2 - Open import and upload the file
Go to the Customers Page, click the Import icon and upload the prepared file.
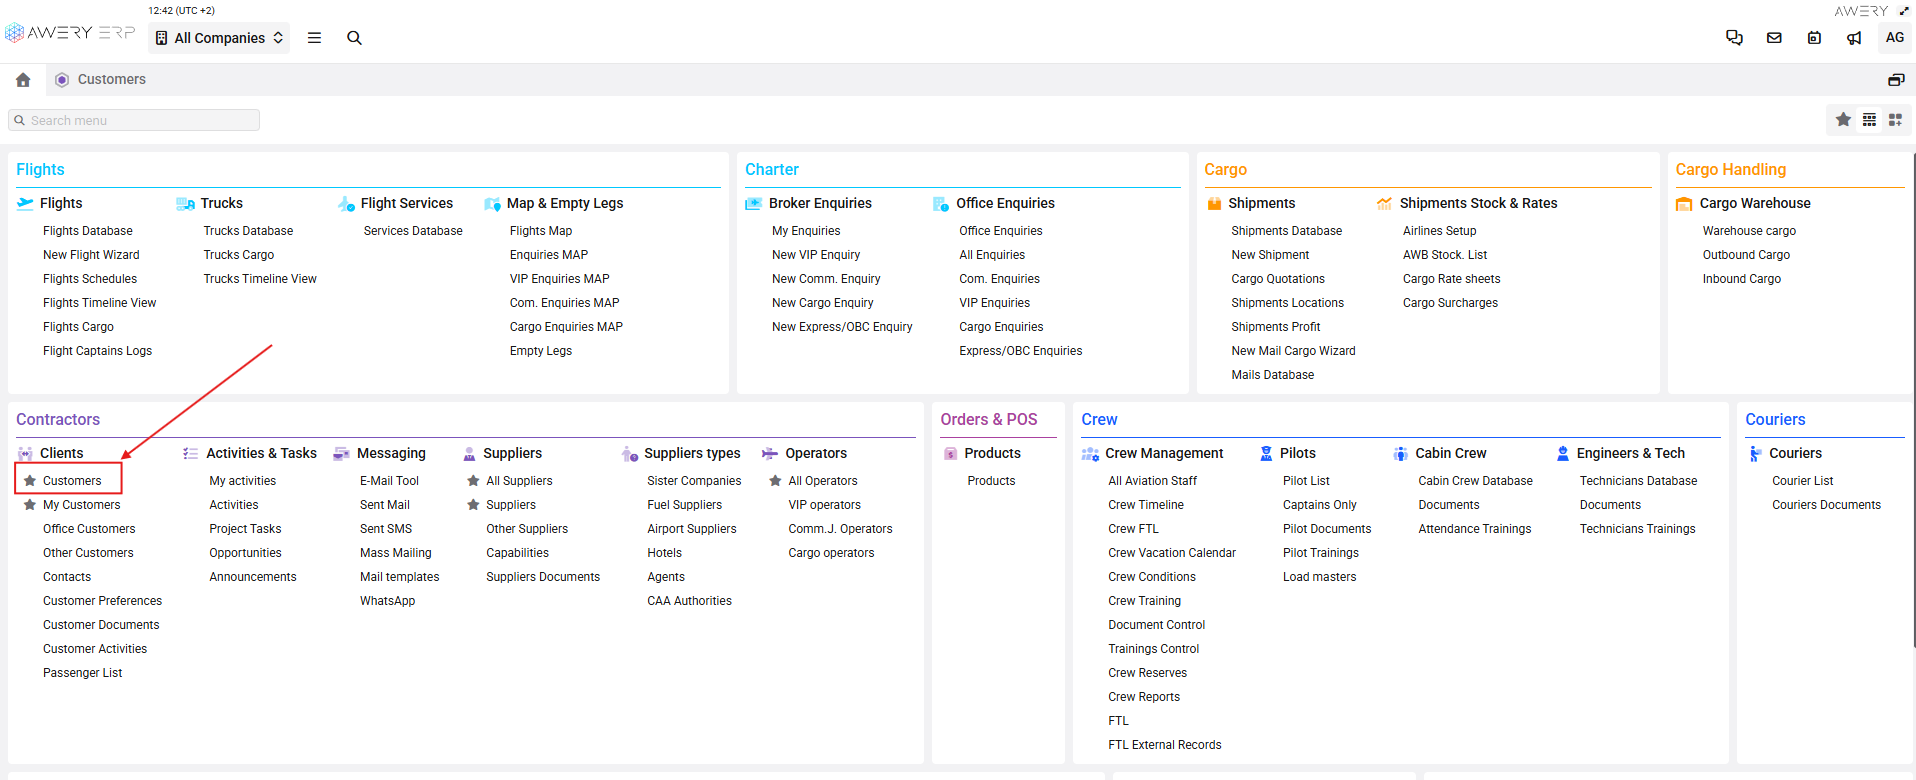
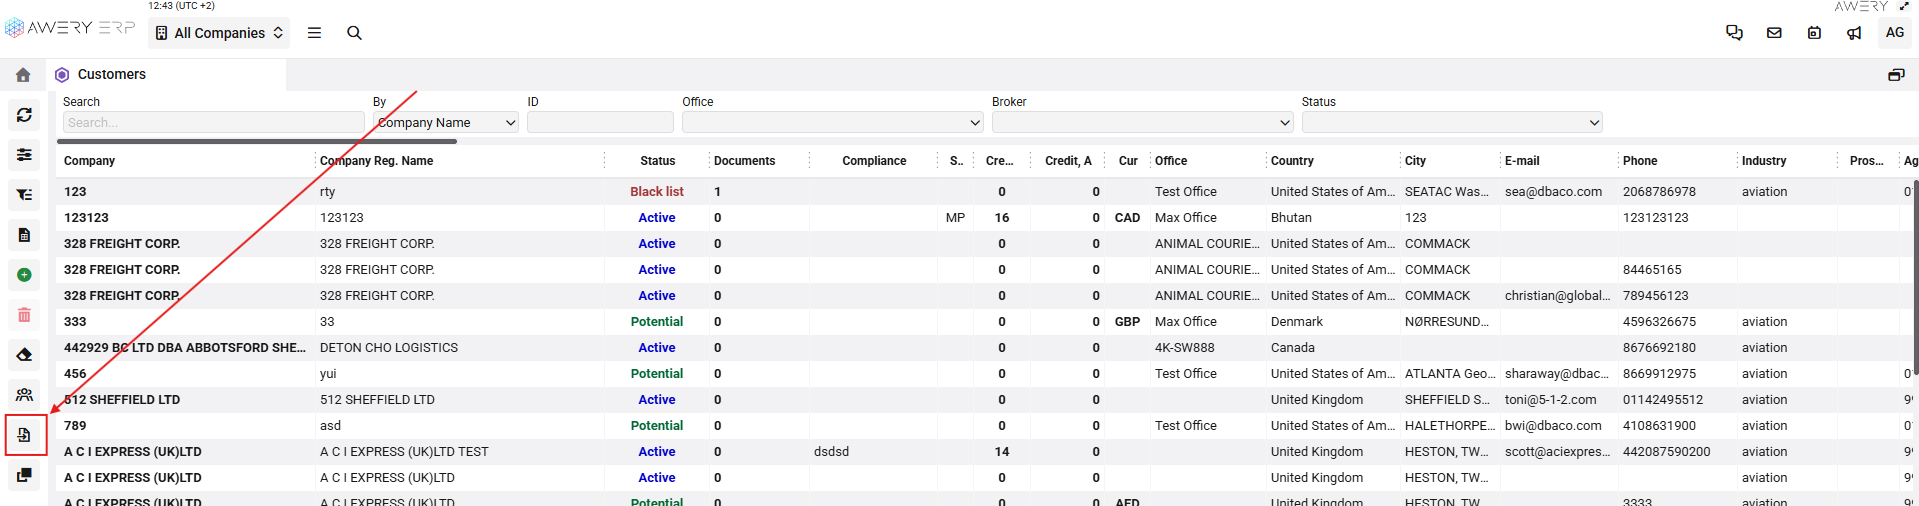
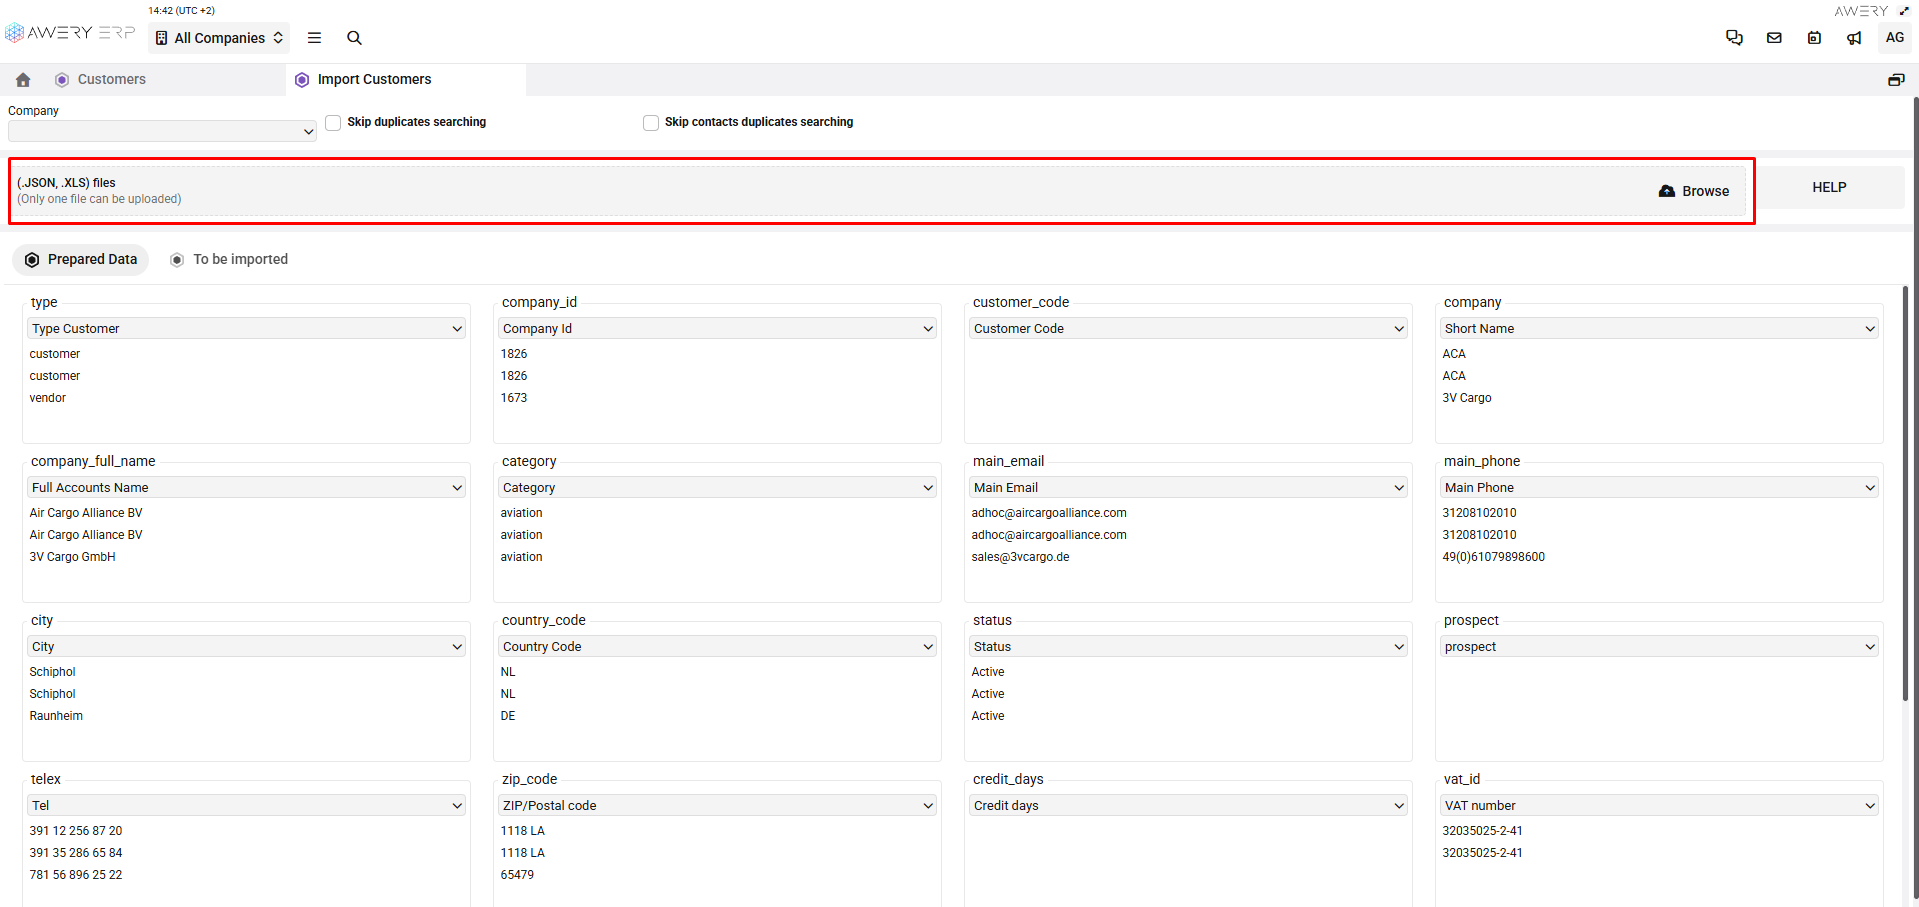
If a certain module is unavailable (import icon, etc.), please contact support.
-
Step 3 - Verify fields
After uploading, a verification page will open. Check that all fields are mapped correctly.
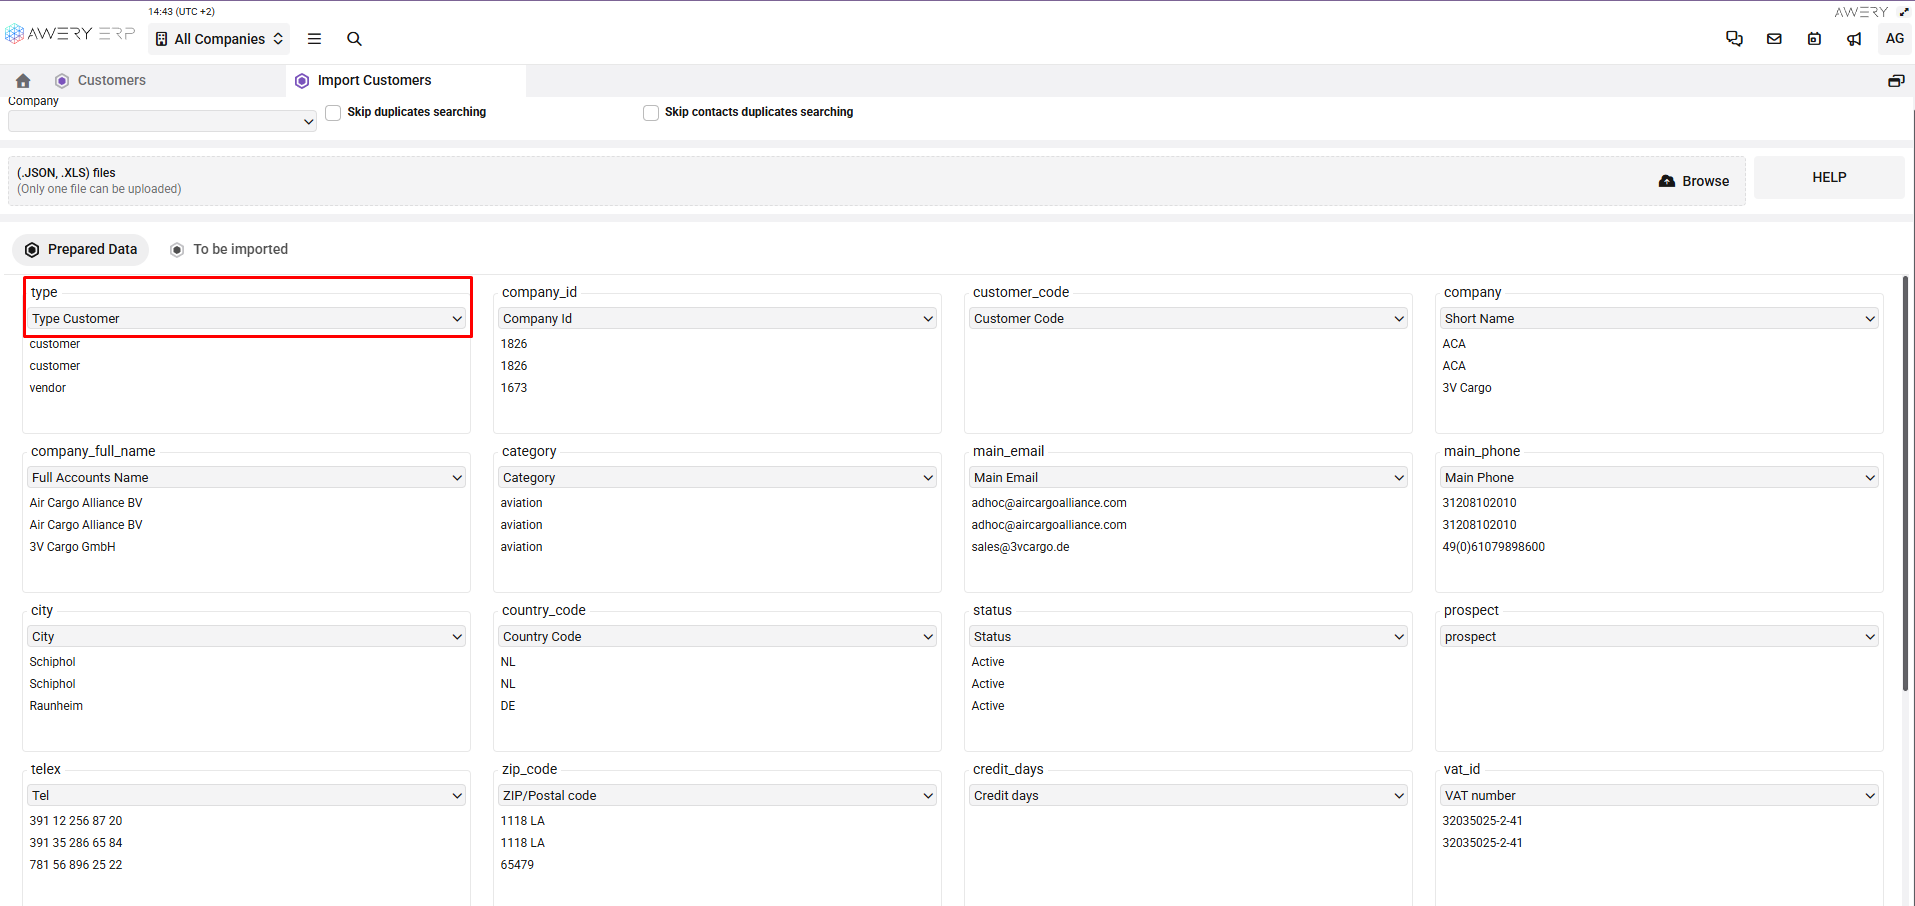
If a field is not selected automatically select it manually, or choose another field if needed.
If some columns are not needed: you can ignore them, or do not map them to any system fields.
-
Step 4 — Import
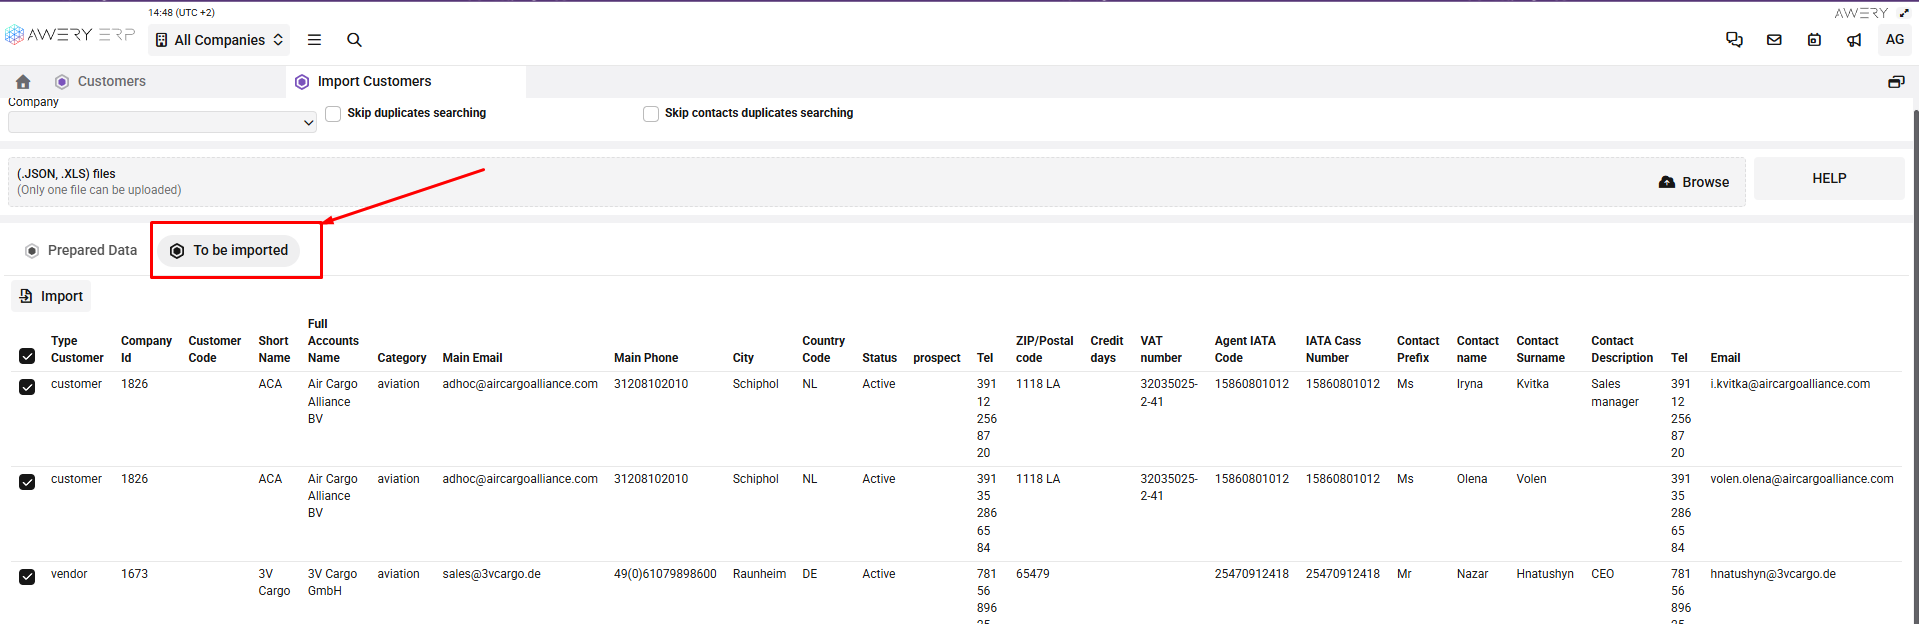
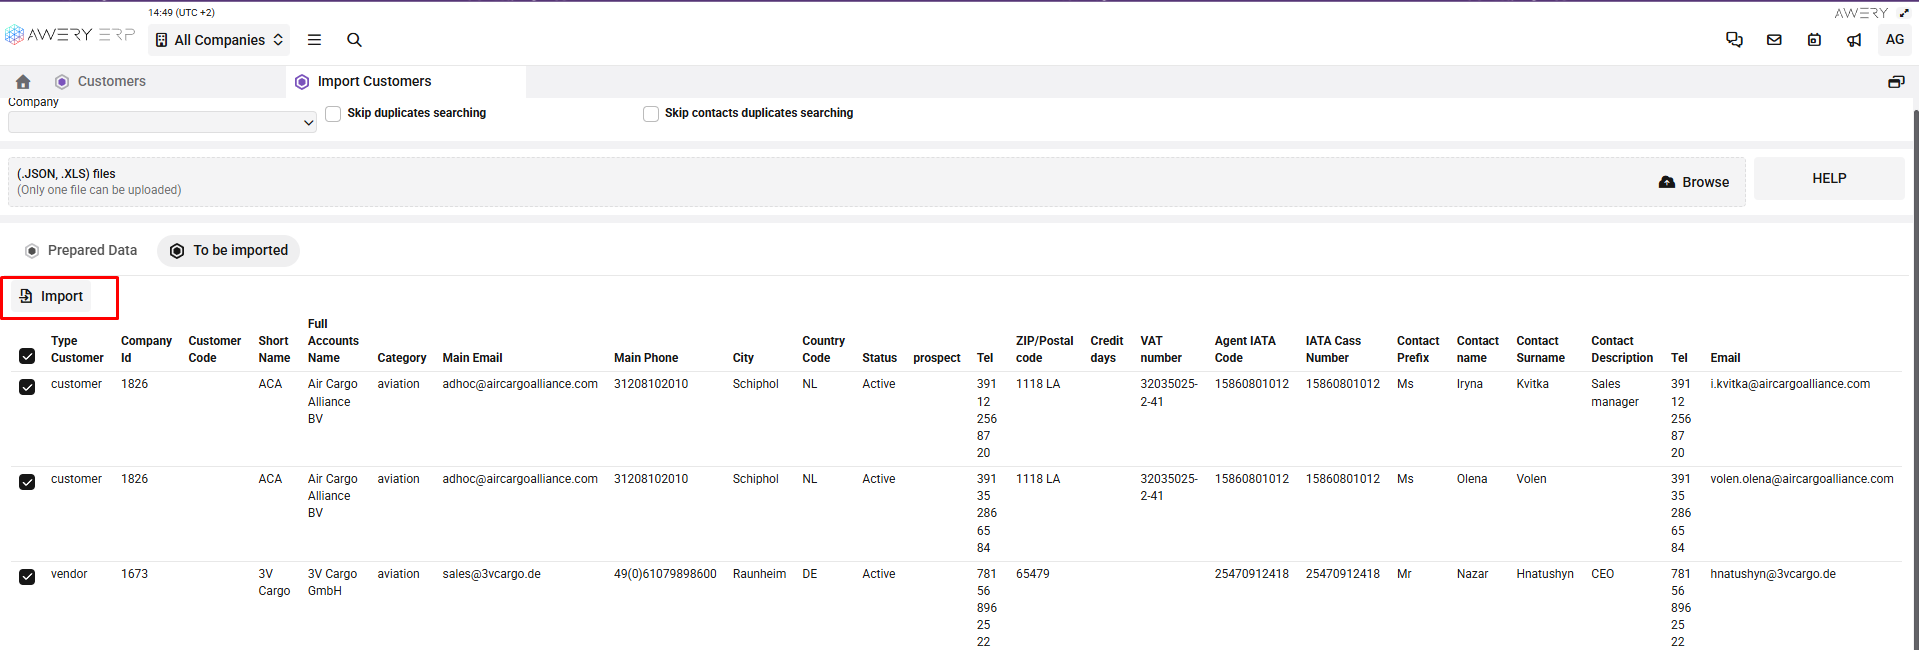
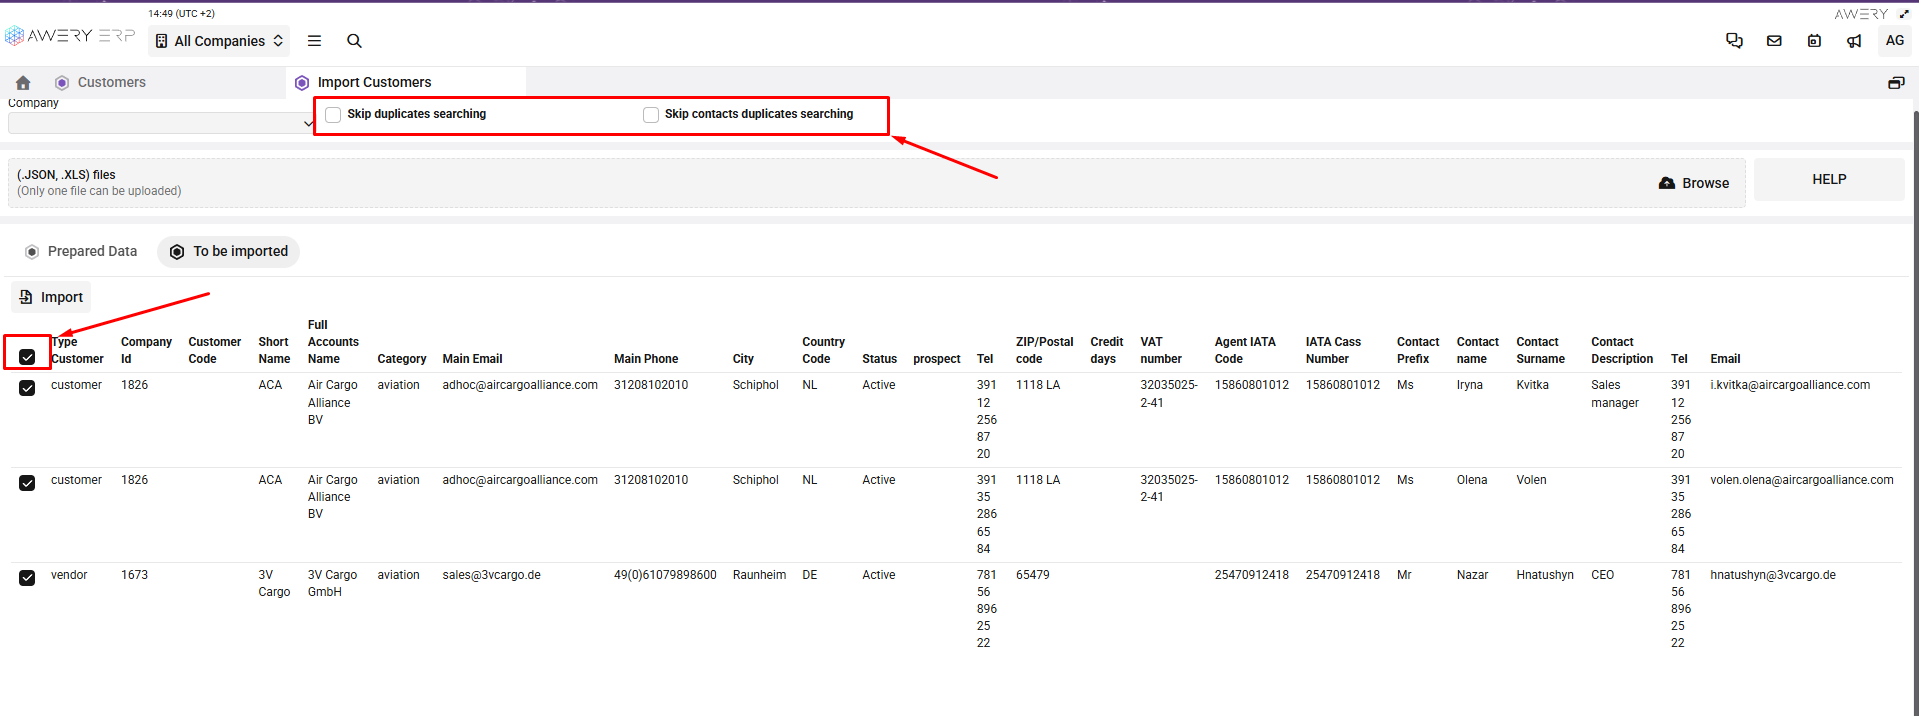
Go to the next tab called To be imported, select all rows, and click Import.
If you are importing many contacts, the Skip duplicates searching and Skip contacts duplicates searching options can be enabled to skip duplicate checks. Please note that enabling these options allows duplicate customer and its contact records to be imported.
When these options are disabled (the default setting), the system checks for duplicate customers and contacts and skips duplicate records during the import.
Result
All customers or suppliers and their contacts will be created in the system.
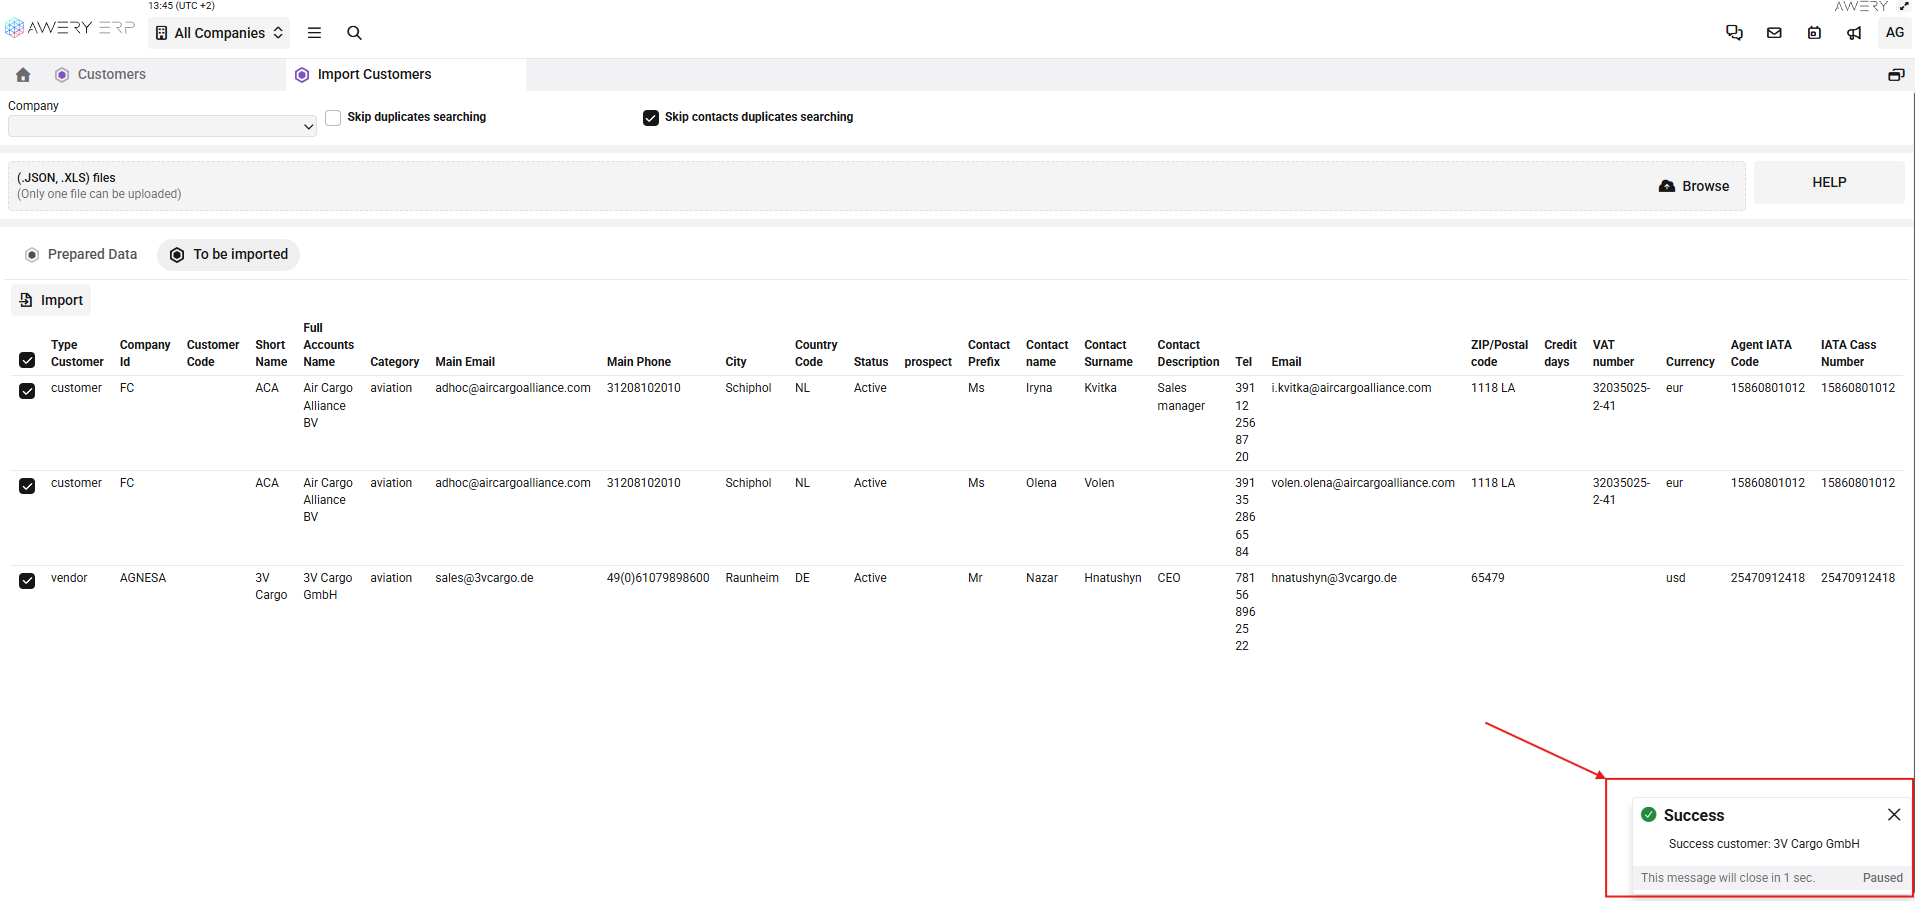
After that, you can go to the Customers/Suppliers Page and check the data and contacts that have been added.