
To access Cheques Issued and view details, follow these steps:
Navigate to Cheques Issued:
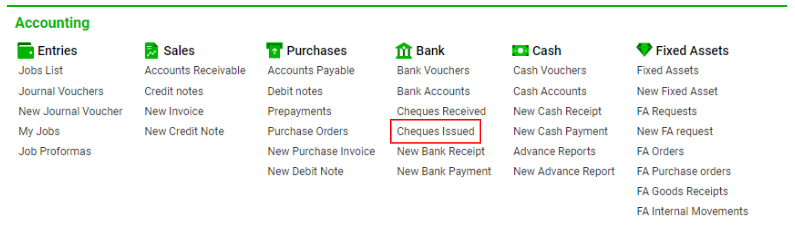
Navigate to the Accounting section and under Bank click the “Cheques Issued” button.
Overview:
On the Cheques Issued interface, you can see all issued cheques created from the Bank Payment Voucher. The Bank Payment Voucher is used when payment is made through the bankers of a business firm.
List Descriptions:
-
Cheque No: The number of the cheque.
-
Office: The company associated with the cheque.
-
Contractor: The name of the customer.
-
Bank: The name of the customer’s bank.
-
Currency: The currency of the cheque.
-
Amount: The amount of the Bank Receipt Voucher.
-
Cheque Date: The date when the cheque was issued.
-
Clear Date: The date when the payment was made (the posting date of the payment document).
-
Left Days: The difference between the clear date and the cheque date.
-
Status: The status of the cheque: Due, Cleared, Cancel, Returned, Void, Due Posted.
-
Description: Comments related to the cheque.
-
Linked Entry: The related job number.
Filtering:
The system allows filtering items by:
-
Cheque No
-
Company
-
Date range
-
Check date
-
Clear date
To view more filters, open the filter bar. Available options include currency, contractor type, customer, customer bank (input field), and statuses.
Reports:
Export data in XLS or PDF formats for reporting purposes.
Click here to open the Bank Payment voucher for this cheque.
Manuals
Cheques can be created from the Bank Receipt Voucher. Refer to "How to create New Issued Cheque" for detailed instructions.
Interior Page of the Cheque Issued:
-
Open the required cheque by double-clicking.
-
Save changes using the "Update" button.
-
Open the related job using the "Open Job" button.
-
Upload files using the Drag & Drop Attachments Tool.
Please note, that uploaded files cannot be deleted. Uploading a new file will automatically replace the old one.