
Accessing Site Categories
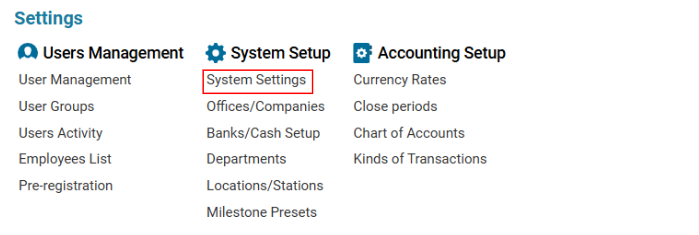
Navigate to the Settings section and under the System Setup Section click the “System Settings” Button. Then under the E-Commerce Section click the “Site Categories" button.

Overview
This section allows users to create and manage Site Categories for organizing products and services within an e-commerce platform.
Only selected categories will be displayed in the Site Categories list.
Main Functionalities
-
Data Table Columns
-
Name: The name of the site category.
-
Descr: A short description of the category.
-
Prior: Priority ranking of the category.
-
Link: A direct link to the category.
How to Create a Site Category
-
Open the Site Categories list.
-
Click the "+" button to open a blank form.
-
Enter the Category Name.
-
Provide a Description (optional).
-
Set the Priority (if needed).
-
Add a Link to the category.
-
In the Parent Selector, choose a Parent Category (if applicable).
-
This will create a hierarchy where your new category is a subcategory of an existing one.
-
-
Click Save to confirm the entry.
How to Delete a Site Category
-
Select the Category from the list.
-
Click the Delete button.
File Management for Site Categories
Once a Site Category is created, you can upload and manage files related to it.
Uploading Files
-
Select the Category to which you want to upload files.
-
Click the Upload Files button.
Renaming a File
-
Select the file you want to rename.
-
Enter a new name in the Name Field.
-
Click the Rename button.
Downloading or Opening a File
-
Select the file.
-
Click the Download/Open button.
Deleting a File
-
Select the file.
-
Click the Delete button.
Where You Can Use Site Categories
-
Product Management: Site Categories are available in the Product List under the Info Tab in the Site Category Selector.
-
Filtering Orders: Use Site Categories to filter the Order Presets List.