New Flight Wizard (How to create a flight)
Use New Flight Wizard to create a new flight.
How to open
Home → Flights → New Flight Wizard
Home → Flights Database → New
Overview
Perimission_Name indicates that certain options can be shown or hidden, or allowed or restricted, based on user permissions. This means access to specific features or actions within the system is controlled depending on the permission level granted to the user.
The page allows you to create new flights in the system. You can access the New Flight Wizard from both the Home page and the Flights Database page.
Header
At the top of the page, you will find the following information:

Create Flight button - by clicking on the button, a flight will be created.
New button - the newly created flight page will open by clicking on the button.
Generate Flight No - by clicking on the button flight number will be generated and saved for a new flight. By default, the flight number is generated automatically for the new flight.
canGenerateFlightNoFlight Ref. No - generated flight number by the Generate Flight No button. Also, you can enter the number manually.
No follow tick - you can mark a flight as No Follow by the tick.
viewNoFollowTickPositioning tick - you can mark a flight as Positioning (the flight for transfer crew to the airport where they go from to his flight) by the tick.
showPositioningTickAuto Movement Updates tick - in case you need a live track flight you can mark this tick.
liveTrackFlightShow Split Sectors tick - all split sectors will be shown by the tick.
MTOW (kg/lbs) - the unit of max takeoff weight.
Route Paste button - by clicking on the button you will see a form to paste flight sectors - you can copy and fill data into the field and click the Generate button. After it, you will see created flight sectors.
showFlightRouteConsole
Main page
On the main page you can see two blocks - main flight data and flight sectors.
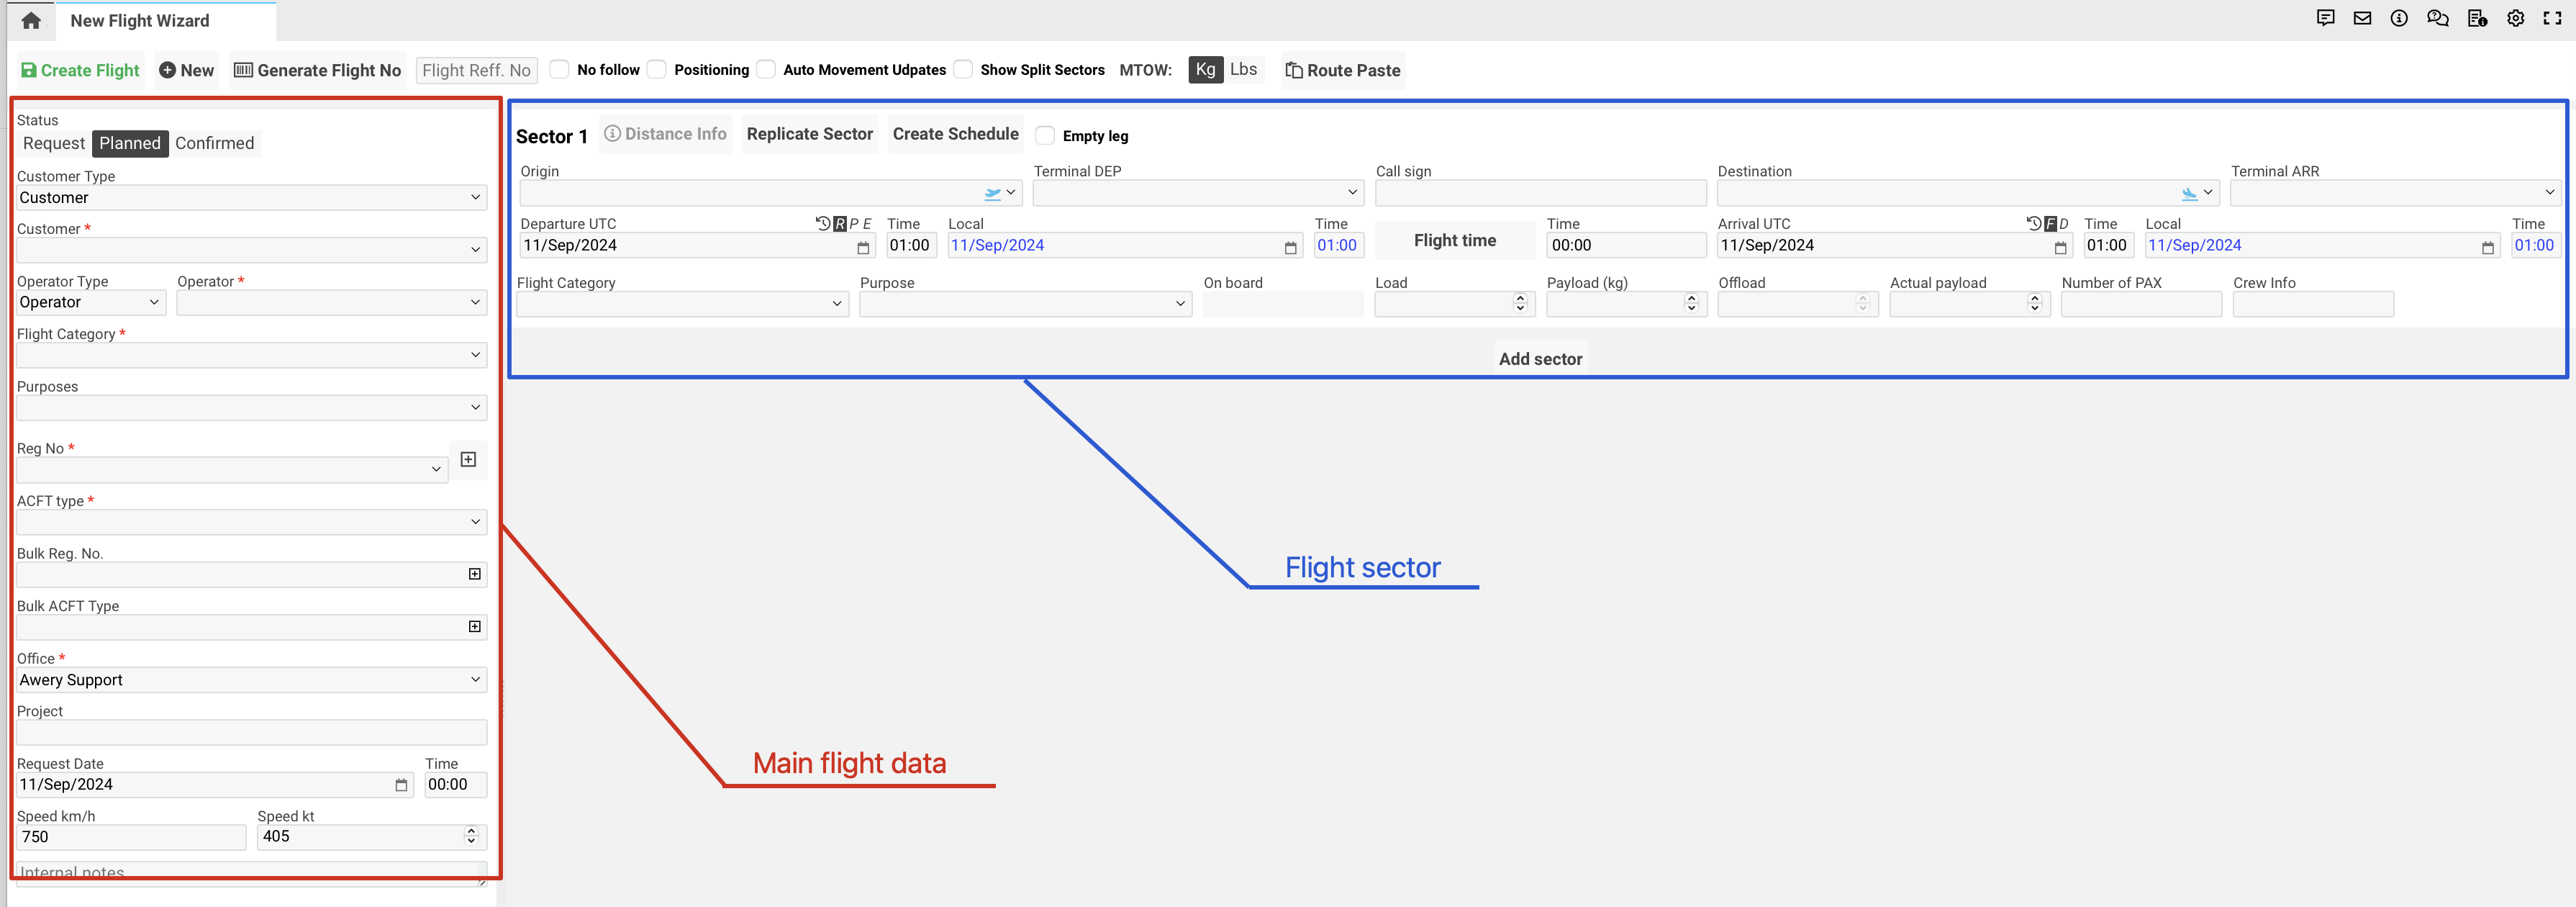
Main flight data (* - obligatory fields)
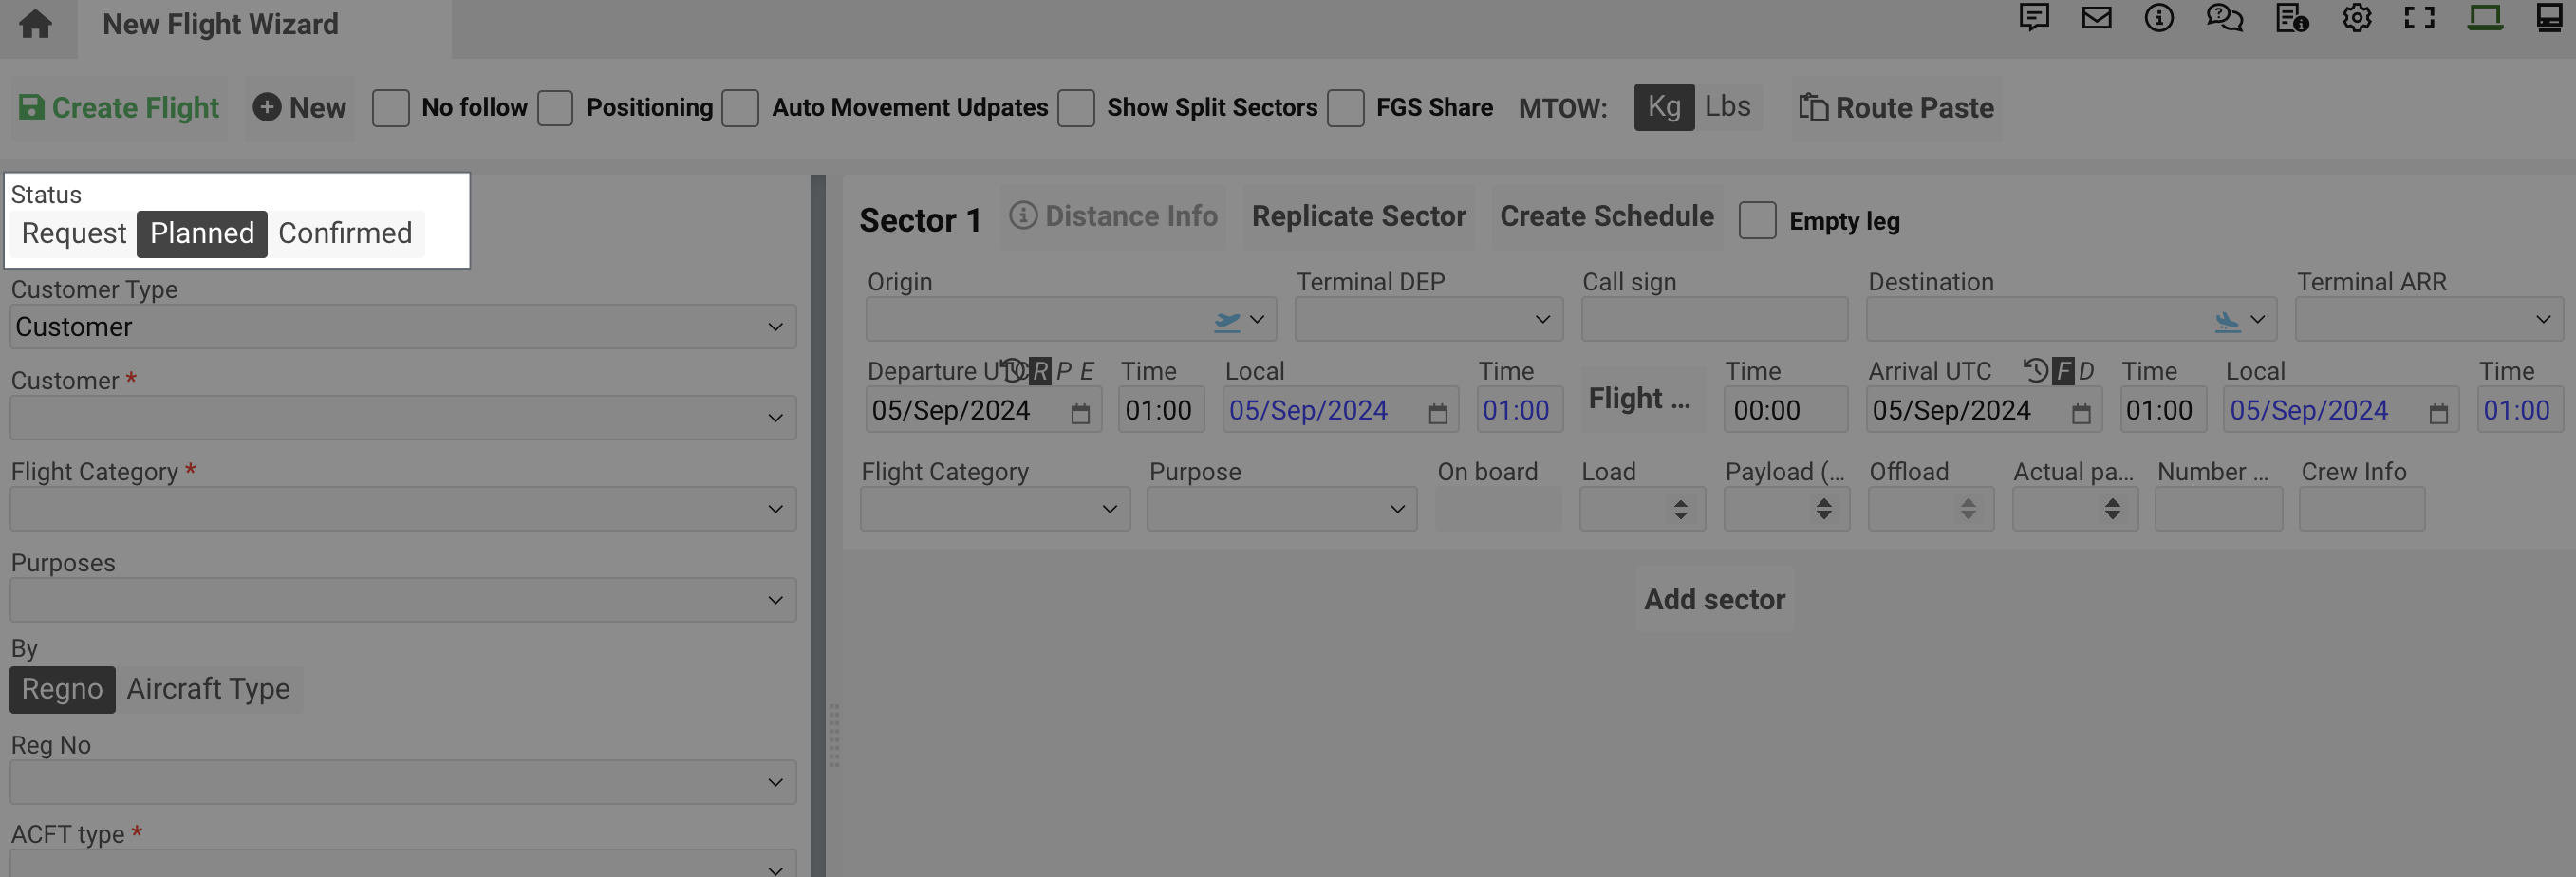
Choose the Status of the flight:
Request - not a confirmed flight, just a request from the Customer
Planned - all agreed, contract not signed
Confirmed - contract for flight is signed
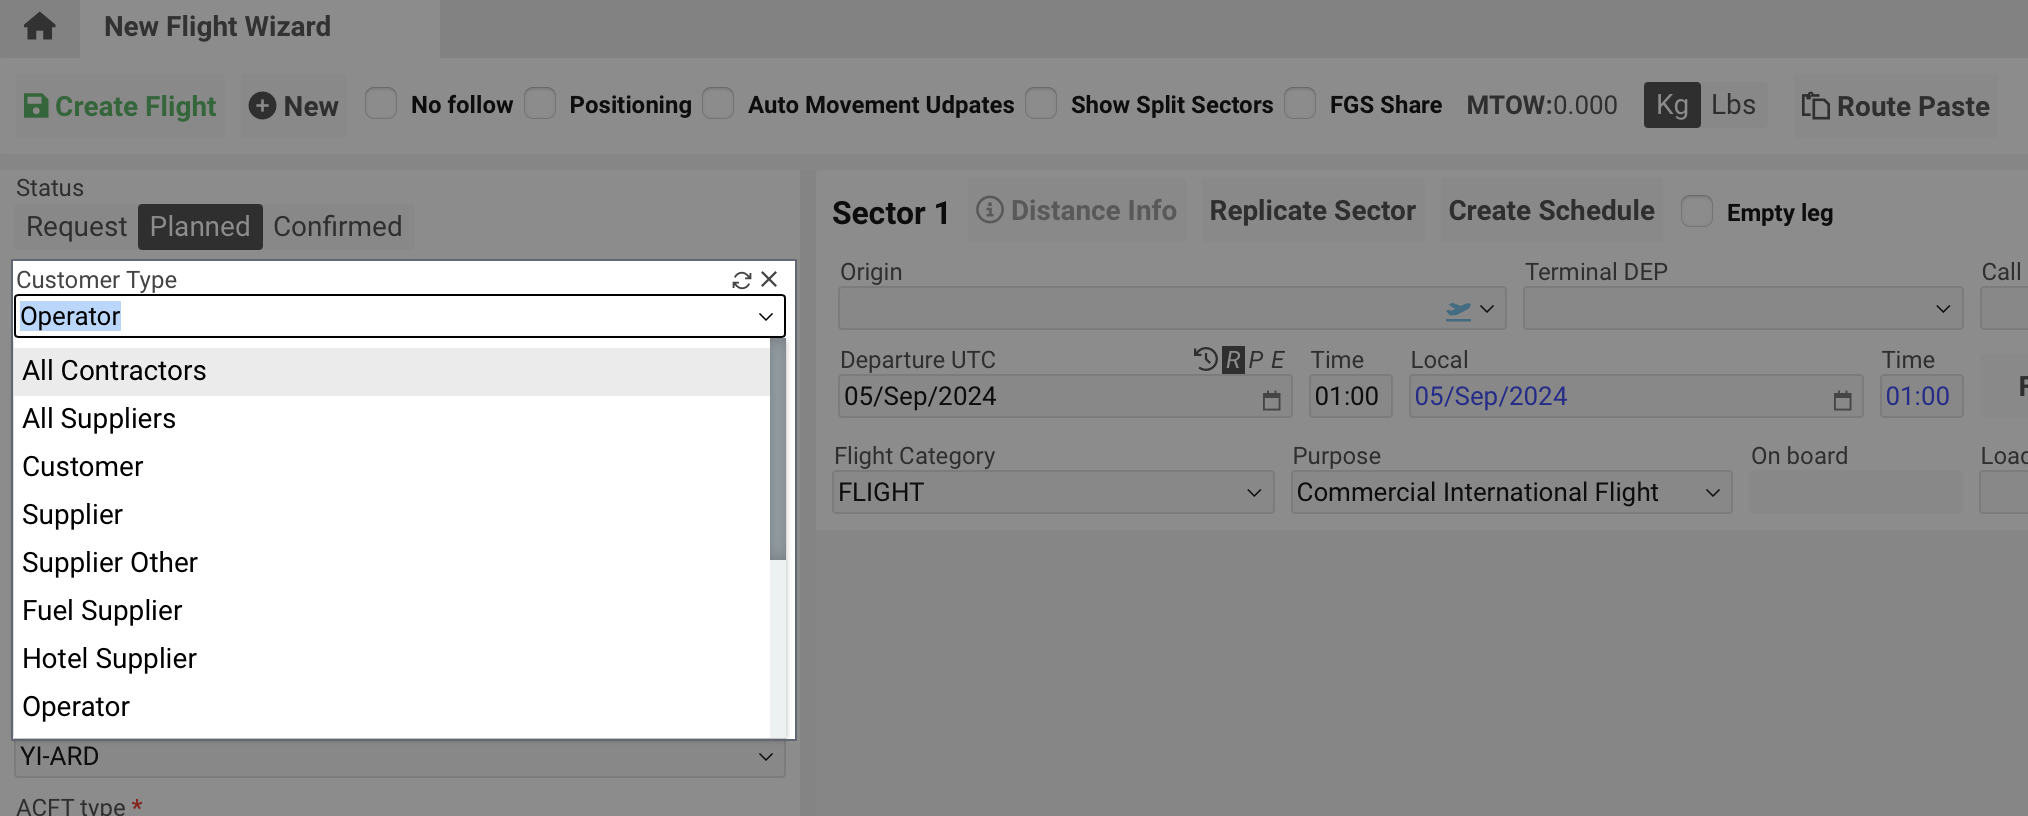
Choose the Customer Type from a drop-down list. showFlightWizardCustomerAndType
Choose a Customer from a drop-down list. selectCustomerObligatory
After the Customer is chosen you can:
Open its profile card
Refresh the list
Delete the selected Customer

Choose Operator Type and Operator* from drop-down lists. needToSelectOperator
Field Operator can be filled in three ways:
An operator will be automatically picked up from
Can be chosen manually if no is chosen
If needed to choose an Operator, but it is missing in the list, Add the Operator
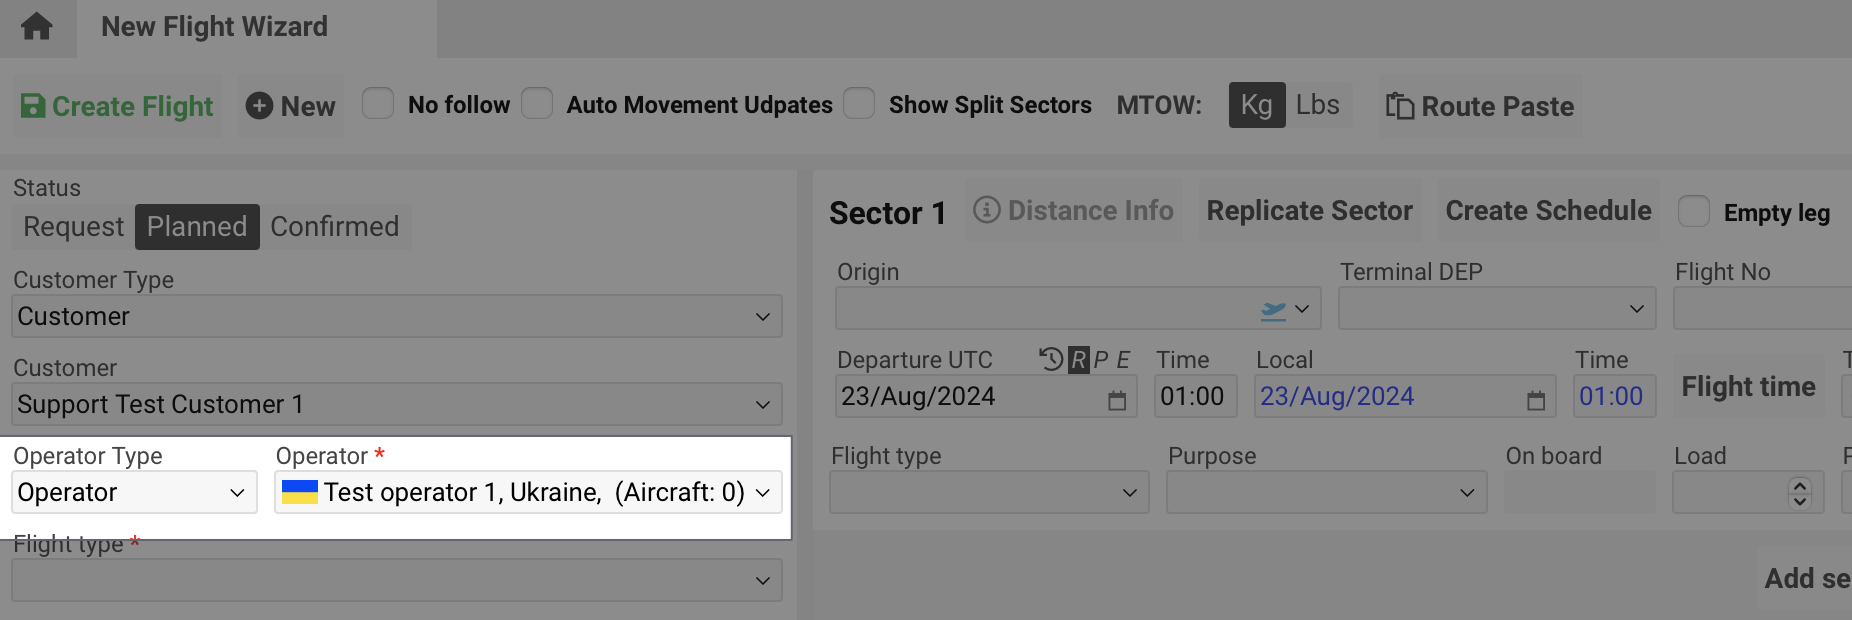
After the operator is chosen you can:
Open its profile card
Refresh the list
Delete chosen one

Choose an appropriate Flight Category* from a drop-down list:
Co-load - flight co-loaded with another company
Flight - the usual flight
Leasing - leased flight
Non Scheduled - Business Jet
Non Scheduled - Cargo
Non Scheduled - Passenger
Non Scheduled - Passenger/Cargo
Private & Corporate Business Jet
Schedule - if the flight will be scheduled
Scheduled - Cargo
Scheduled - Passenger
Scheduled - Passenger/Cargo
Charter - charter flight
Truck - moving by truck
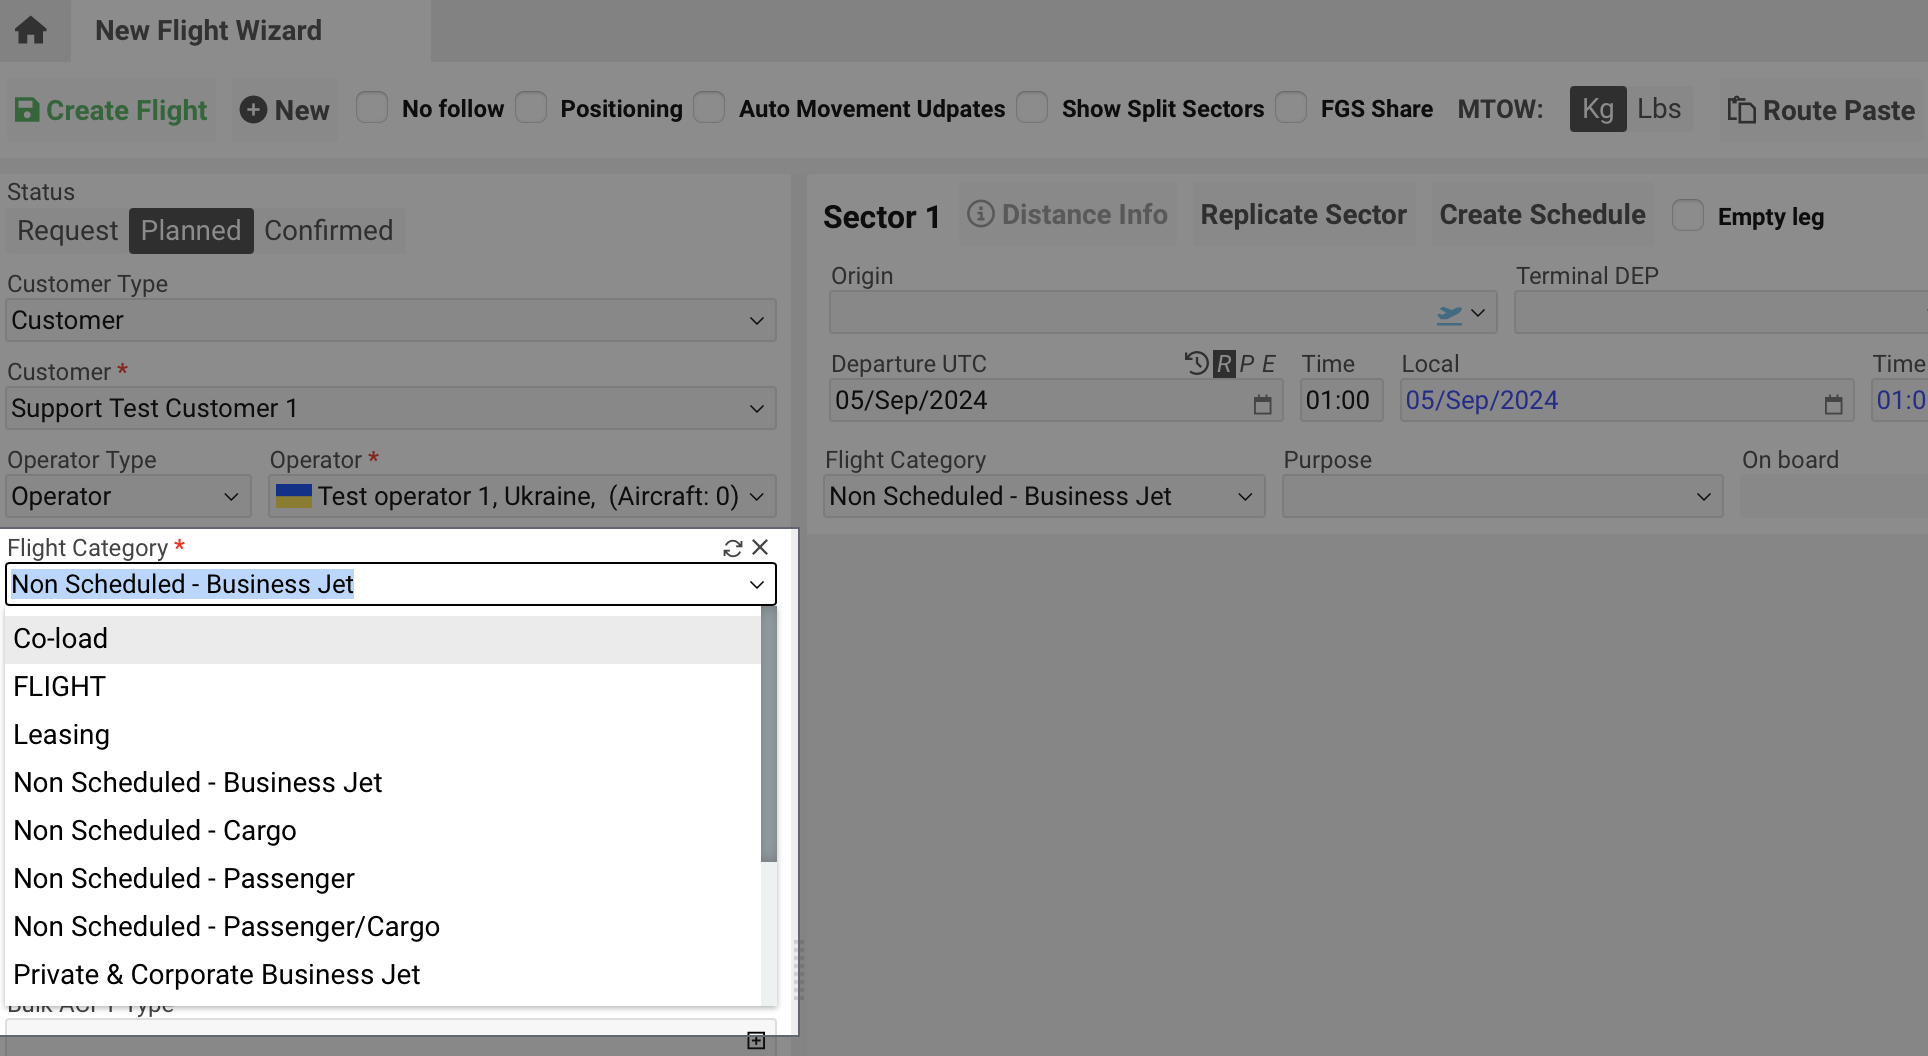
The Flight Categories are customized for your system. Home → System settings → FLIGHTS → Flight Types

Specify the flight Purpose using the preset list. showPurpose - turn off all purpose section, hideMainPurpose - hide only this filed
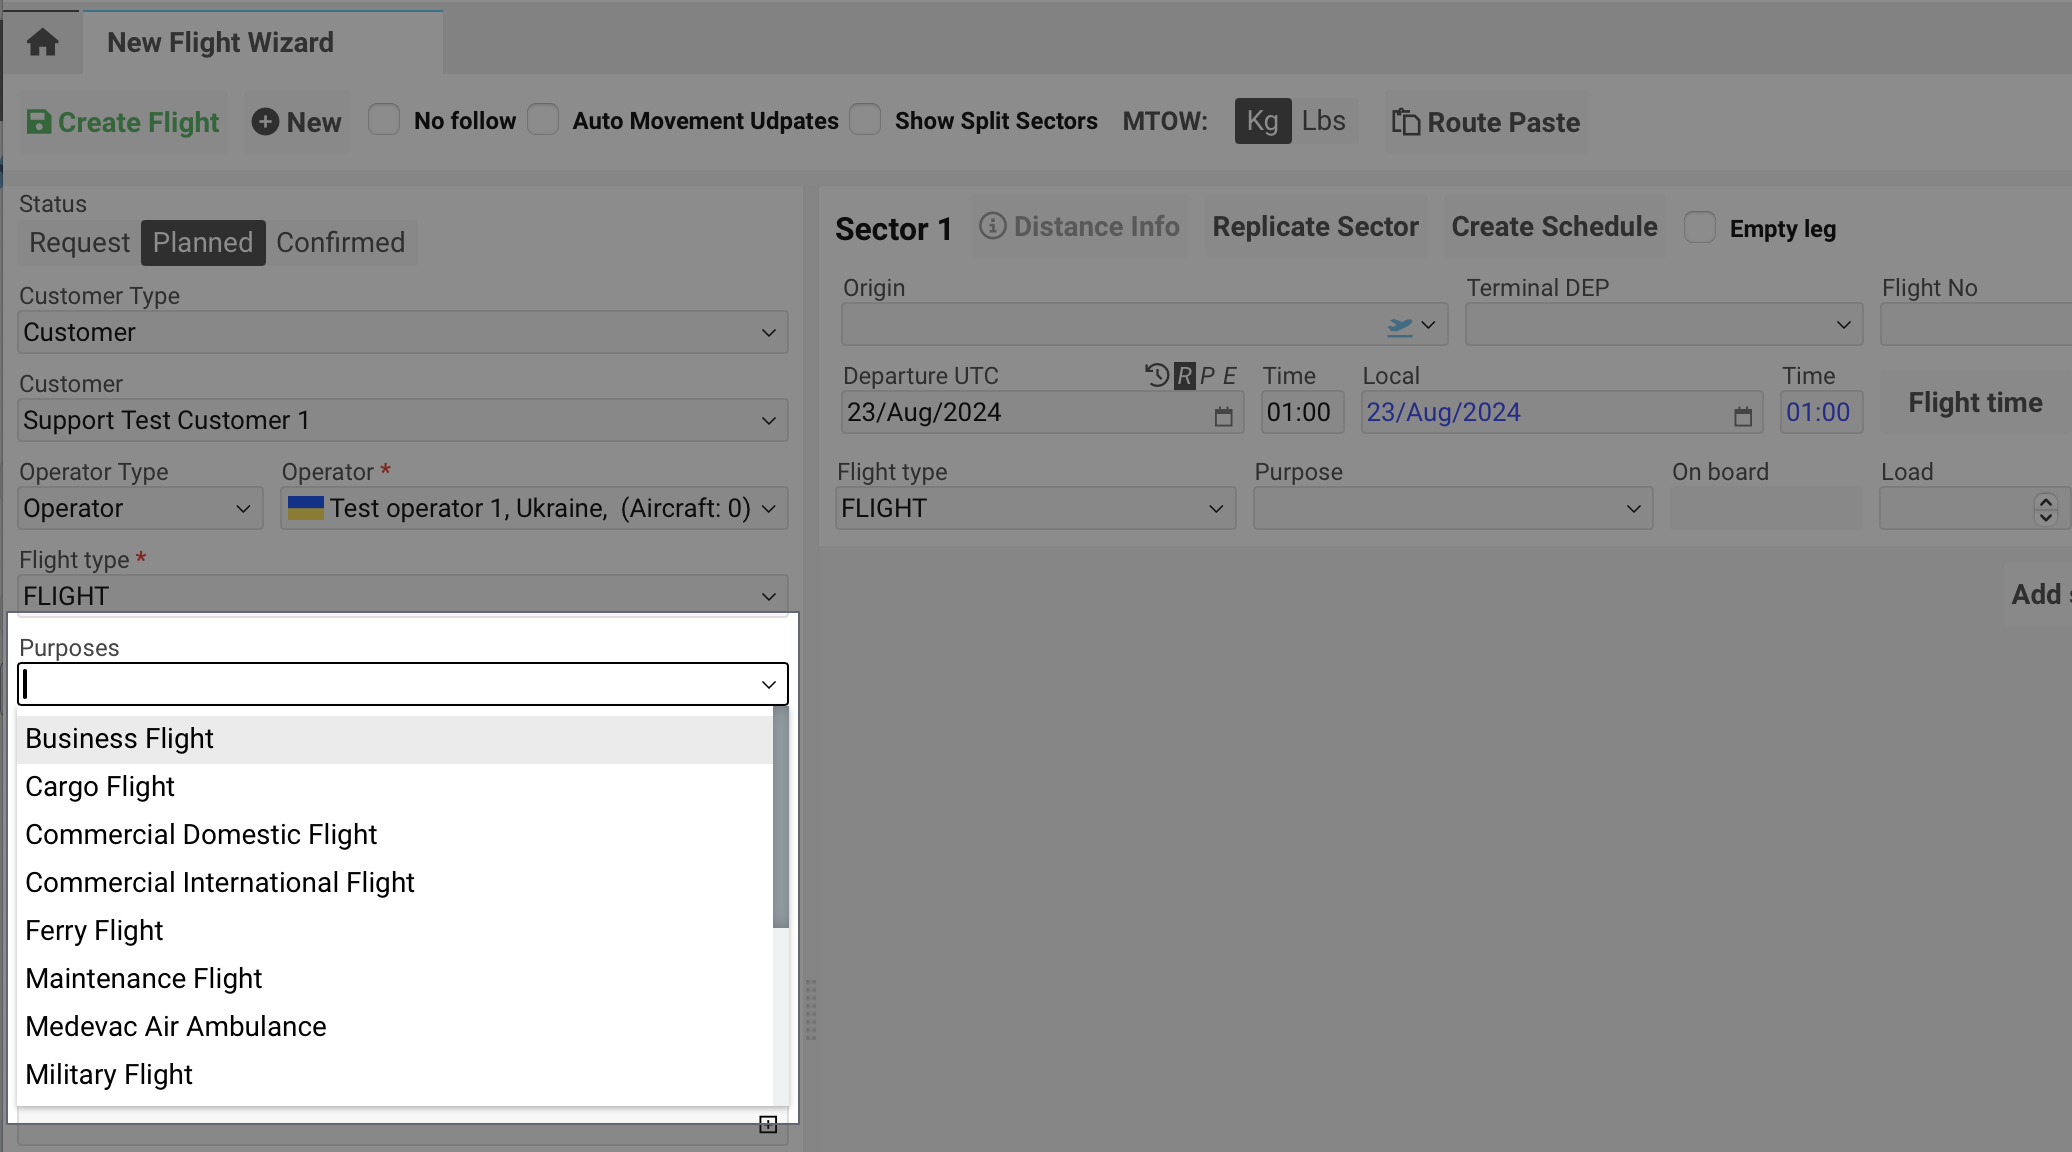
It is possible to edit the list of purposes. Home → System settings → FLIGHTS → Sector Purposes

Create a flight by Regno by selecting the aircraft from the preset list in the system.
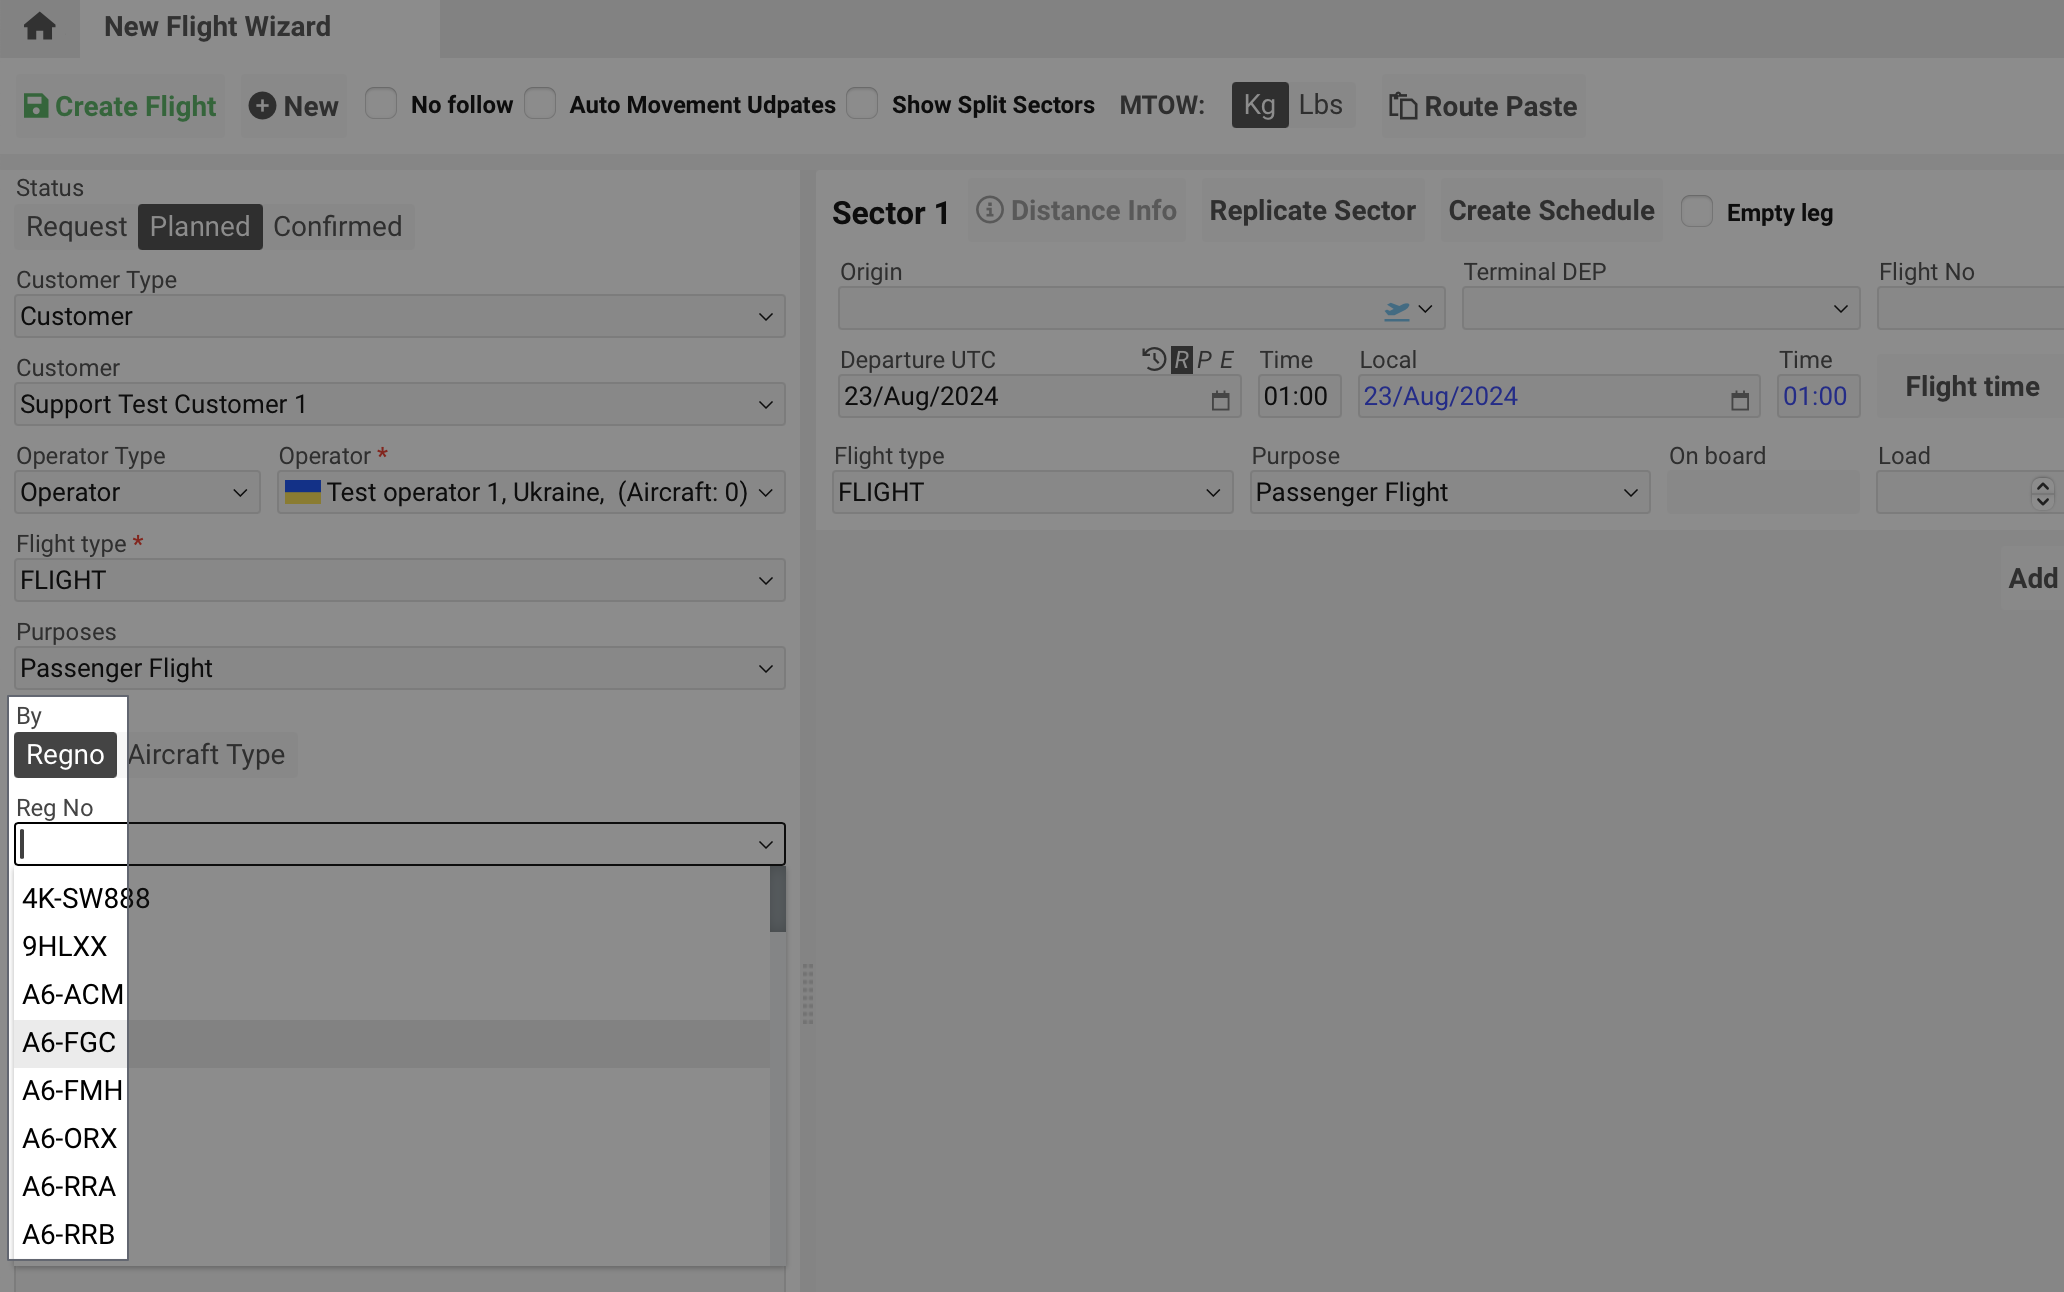
Also you you can create an aircraft if it is absent from the list.
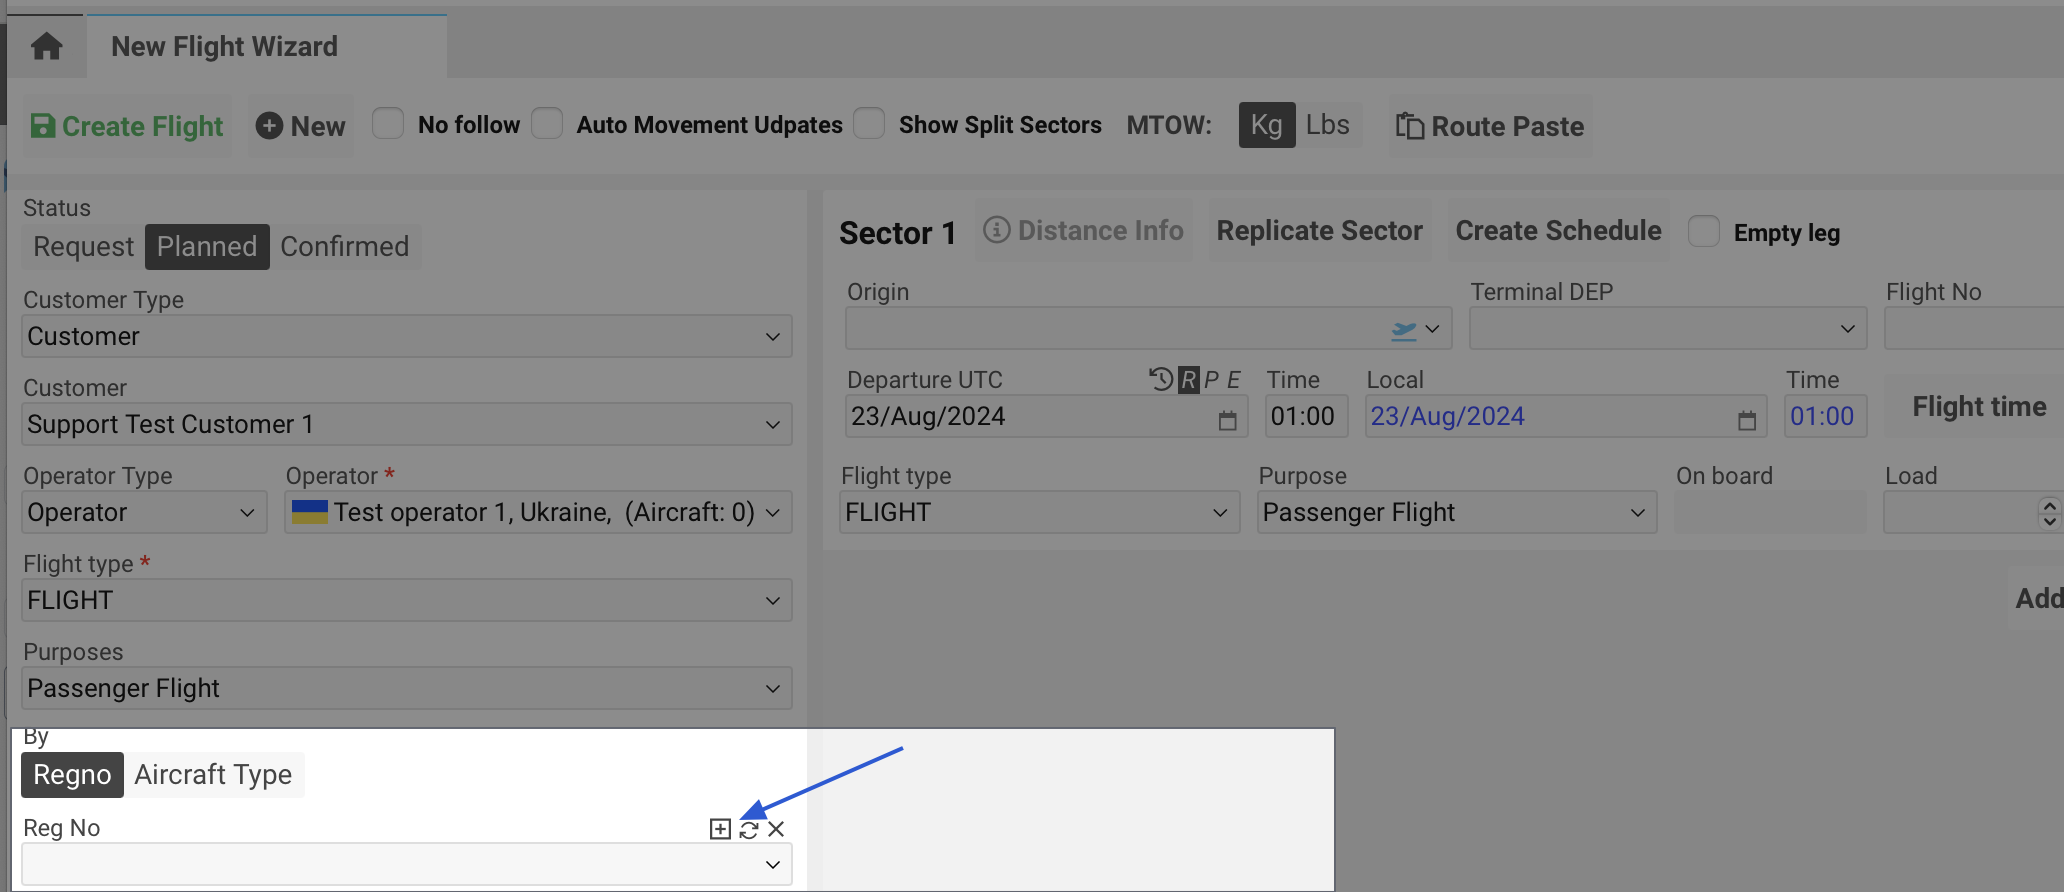

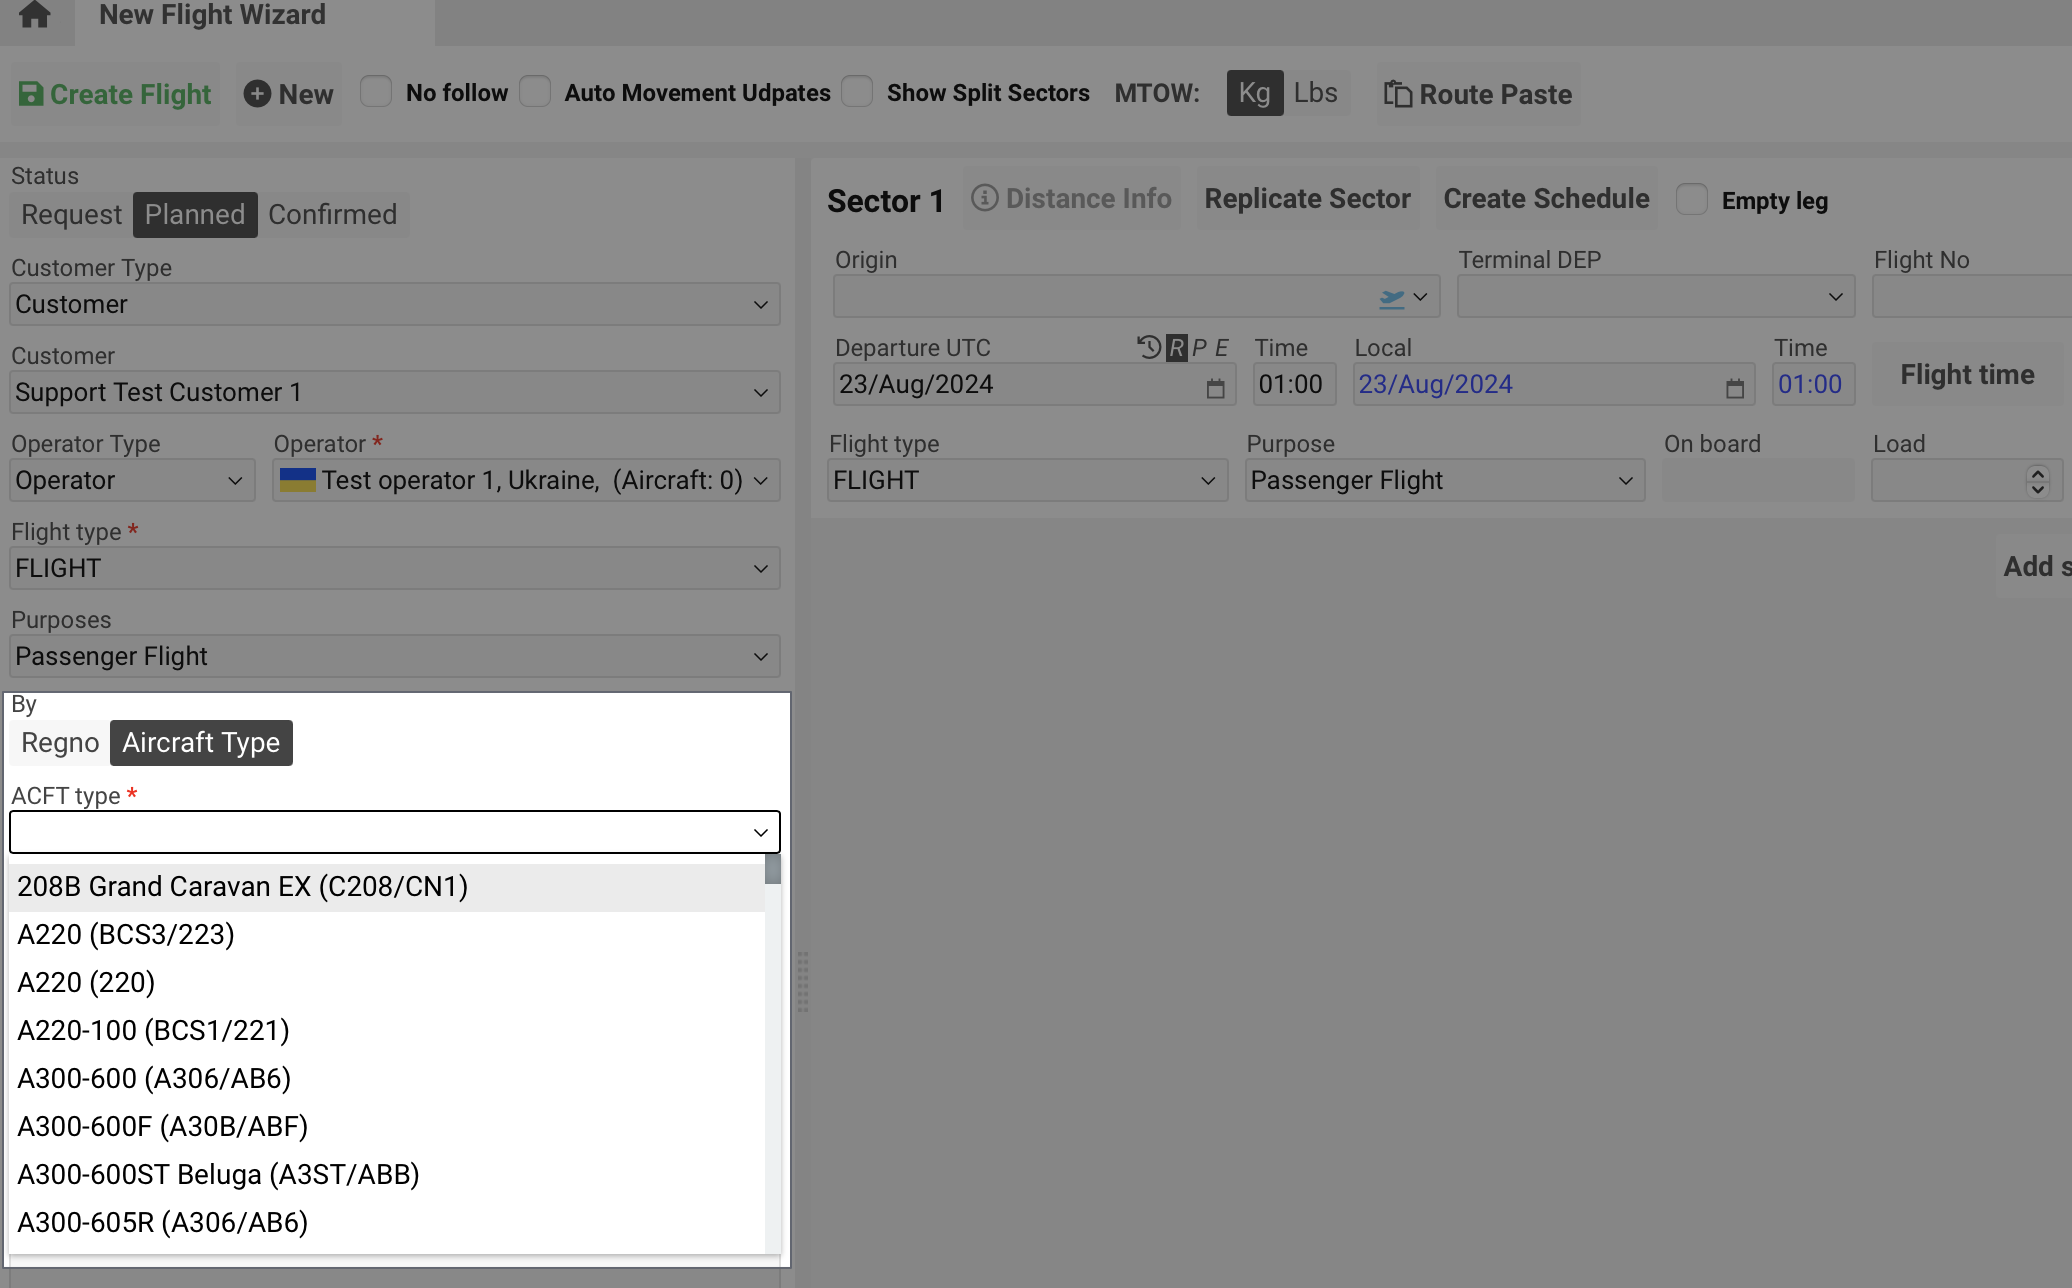
The flight can be created based on the Aircraft Type* selected from the existing list of AC Types, which is managed by the Awery team.
Bulk Reg. No. is just a text field where you can enter several registration numbers for display in reports and on the interface, without needing to manage aircrafts in the system. hideBulk
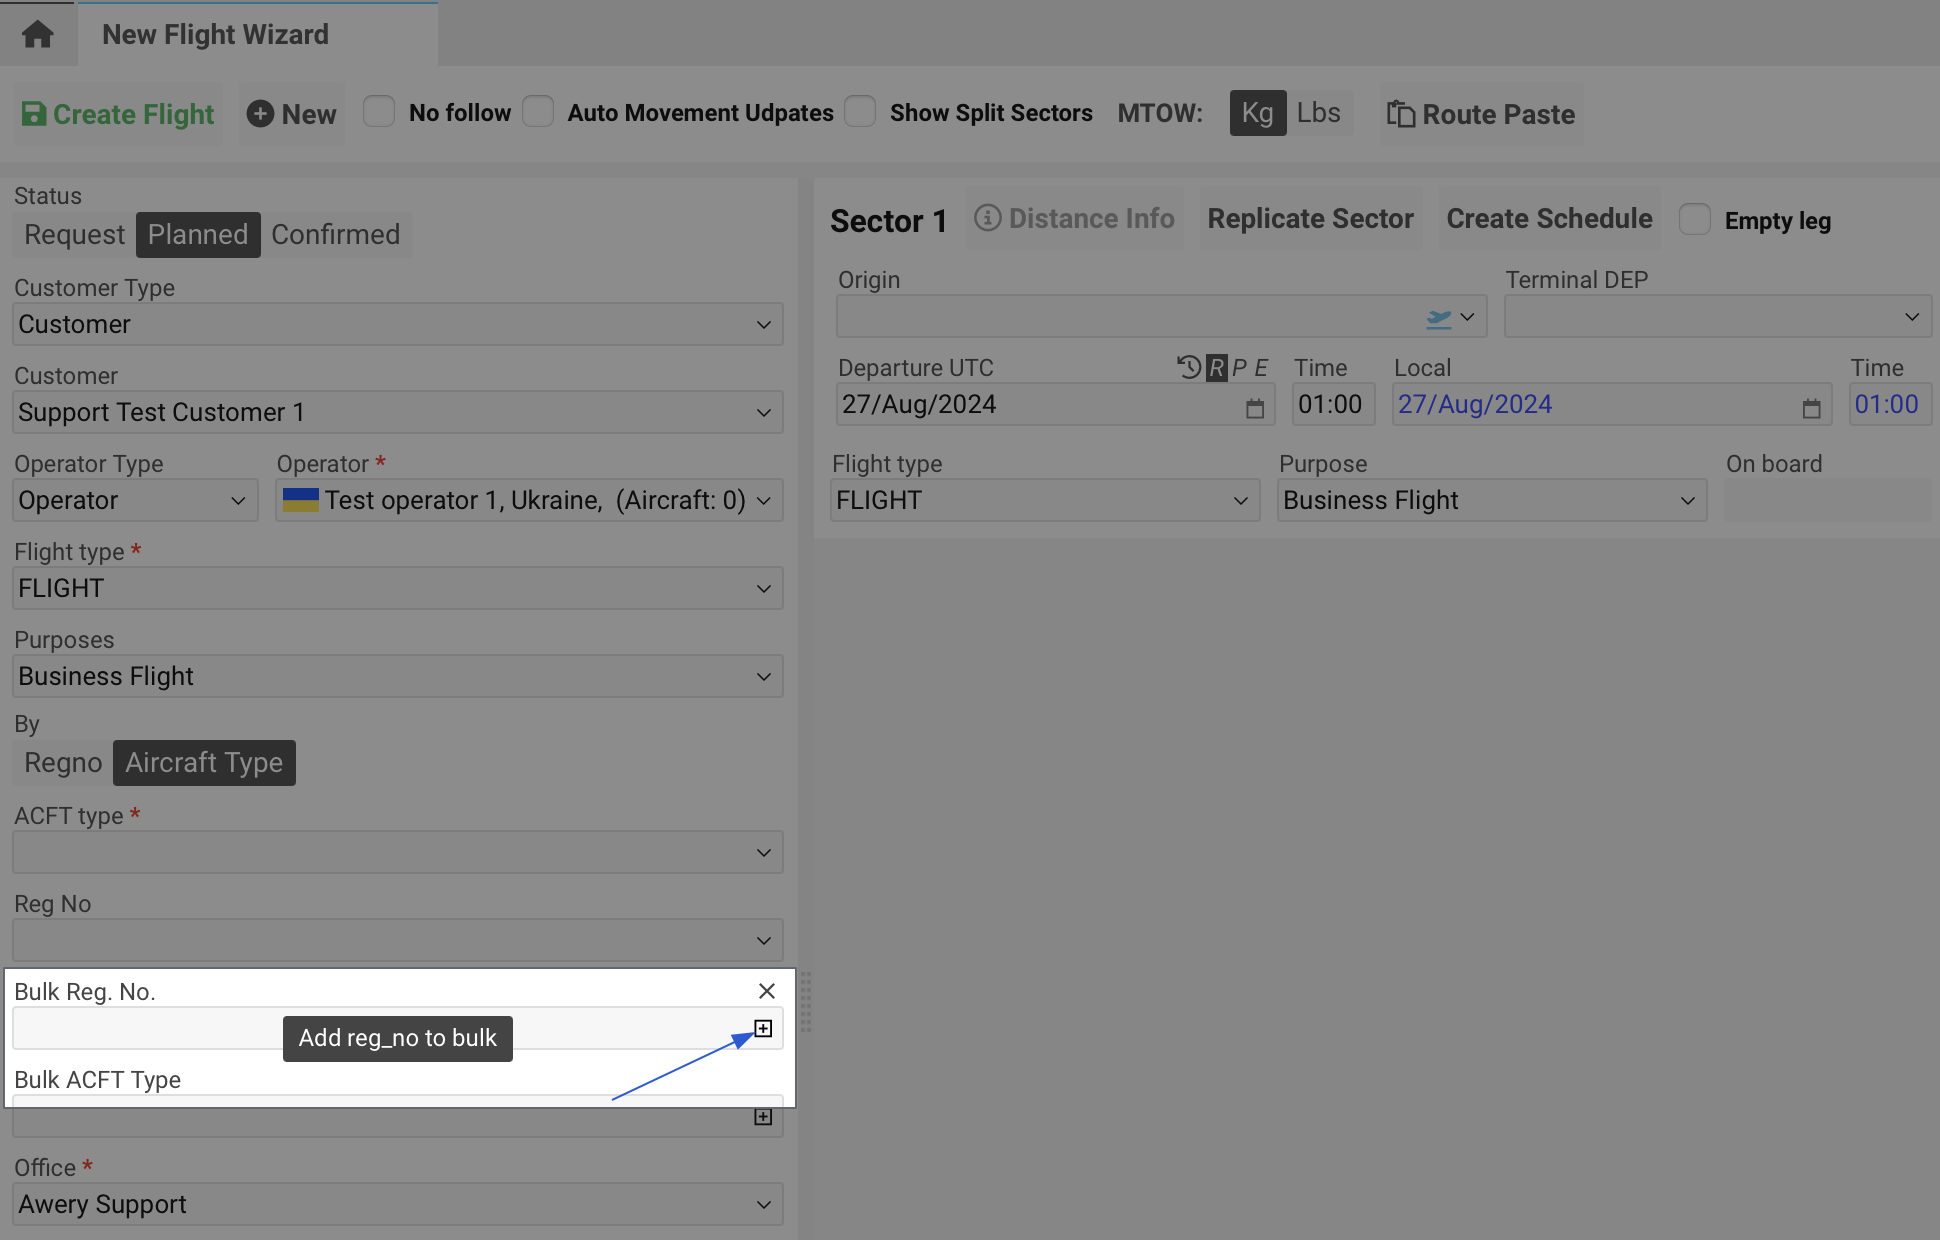
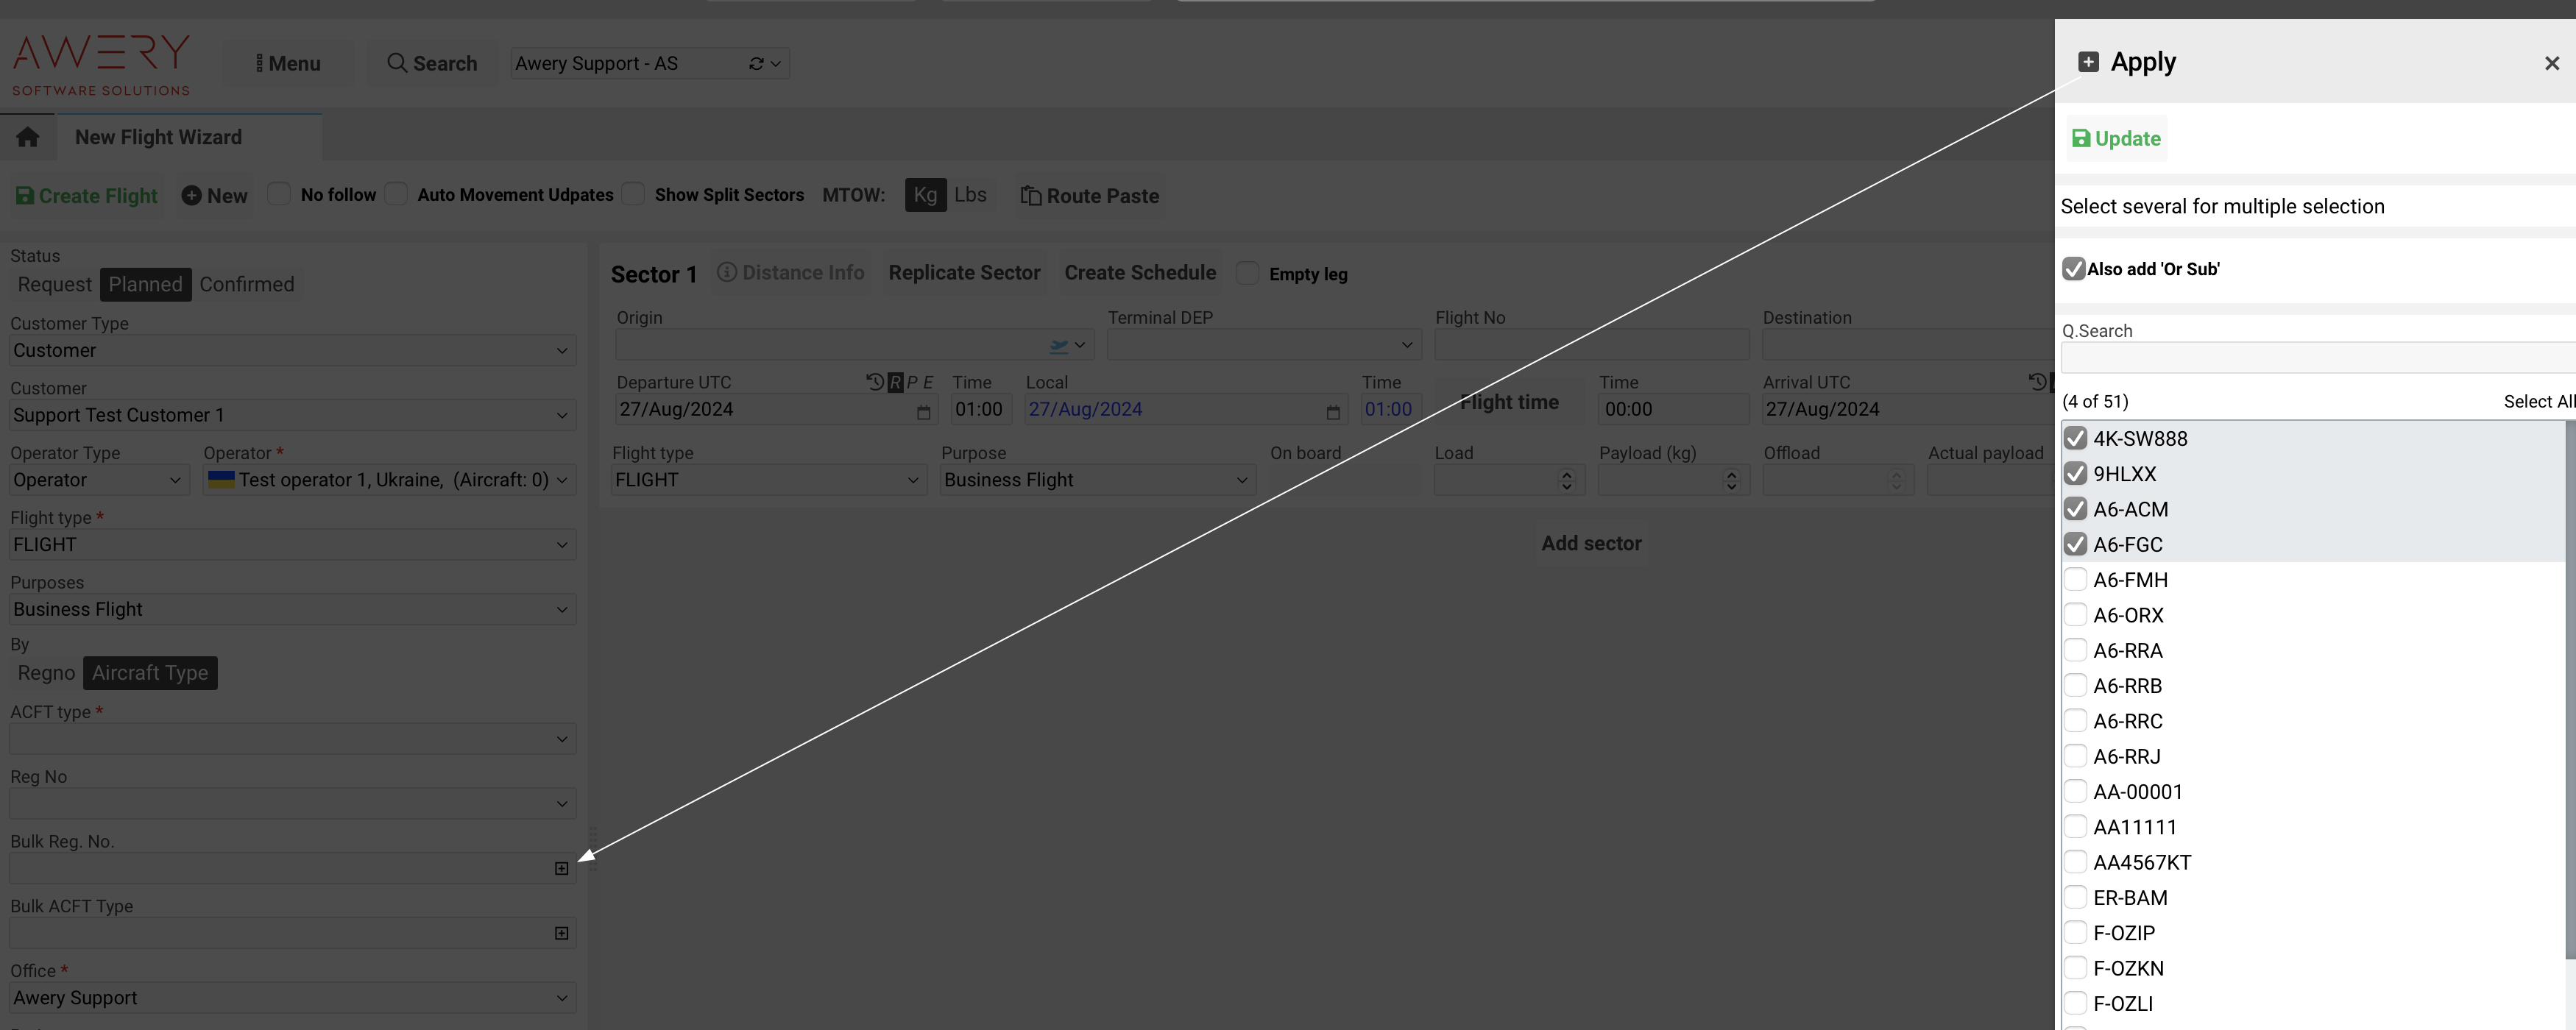
Bulk ACFT Type is just a text field where you can enter several AC Types for display in reports and on the interface, without needing to manage AC Types in the system. hideBulk
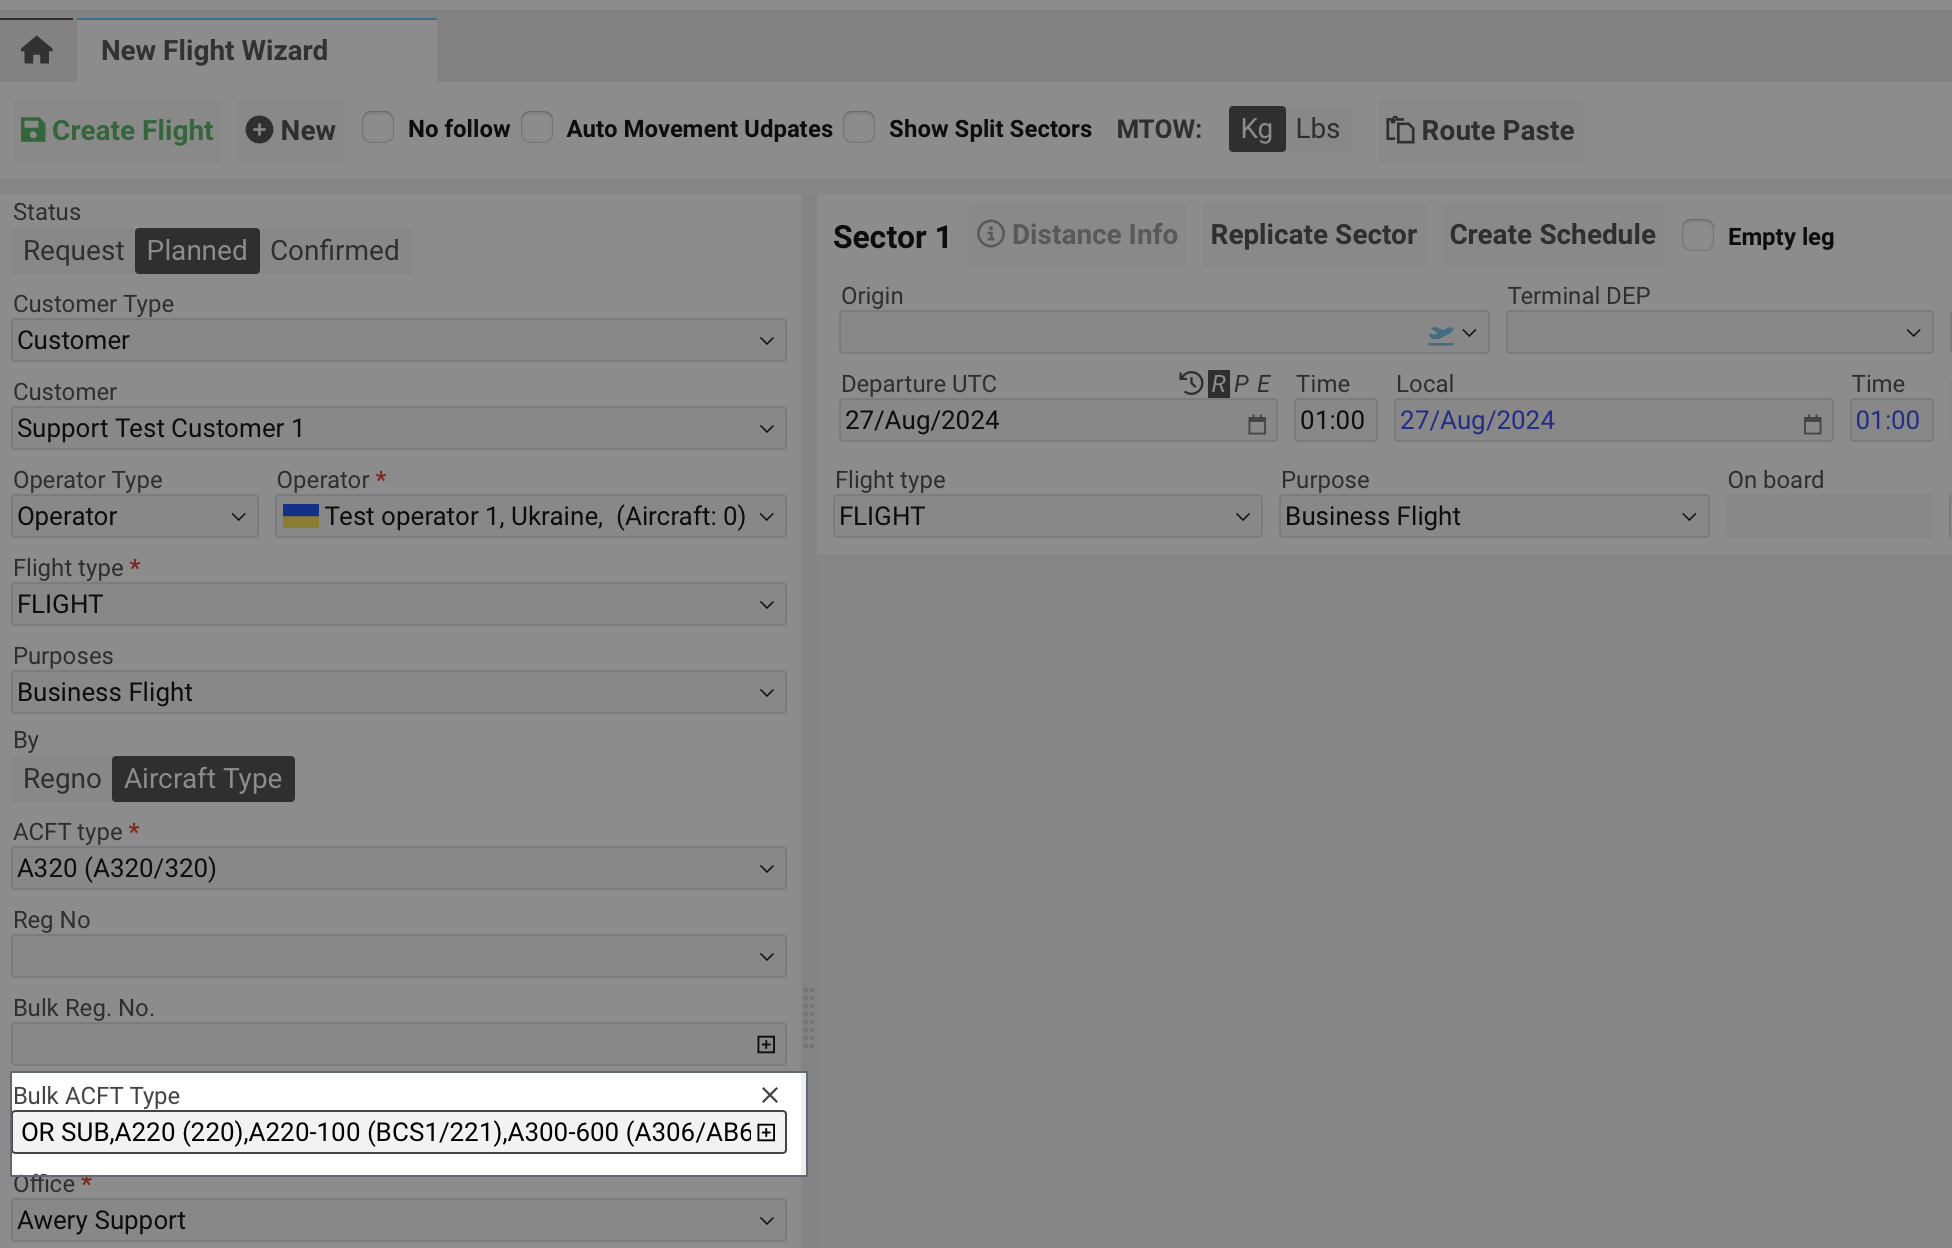
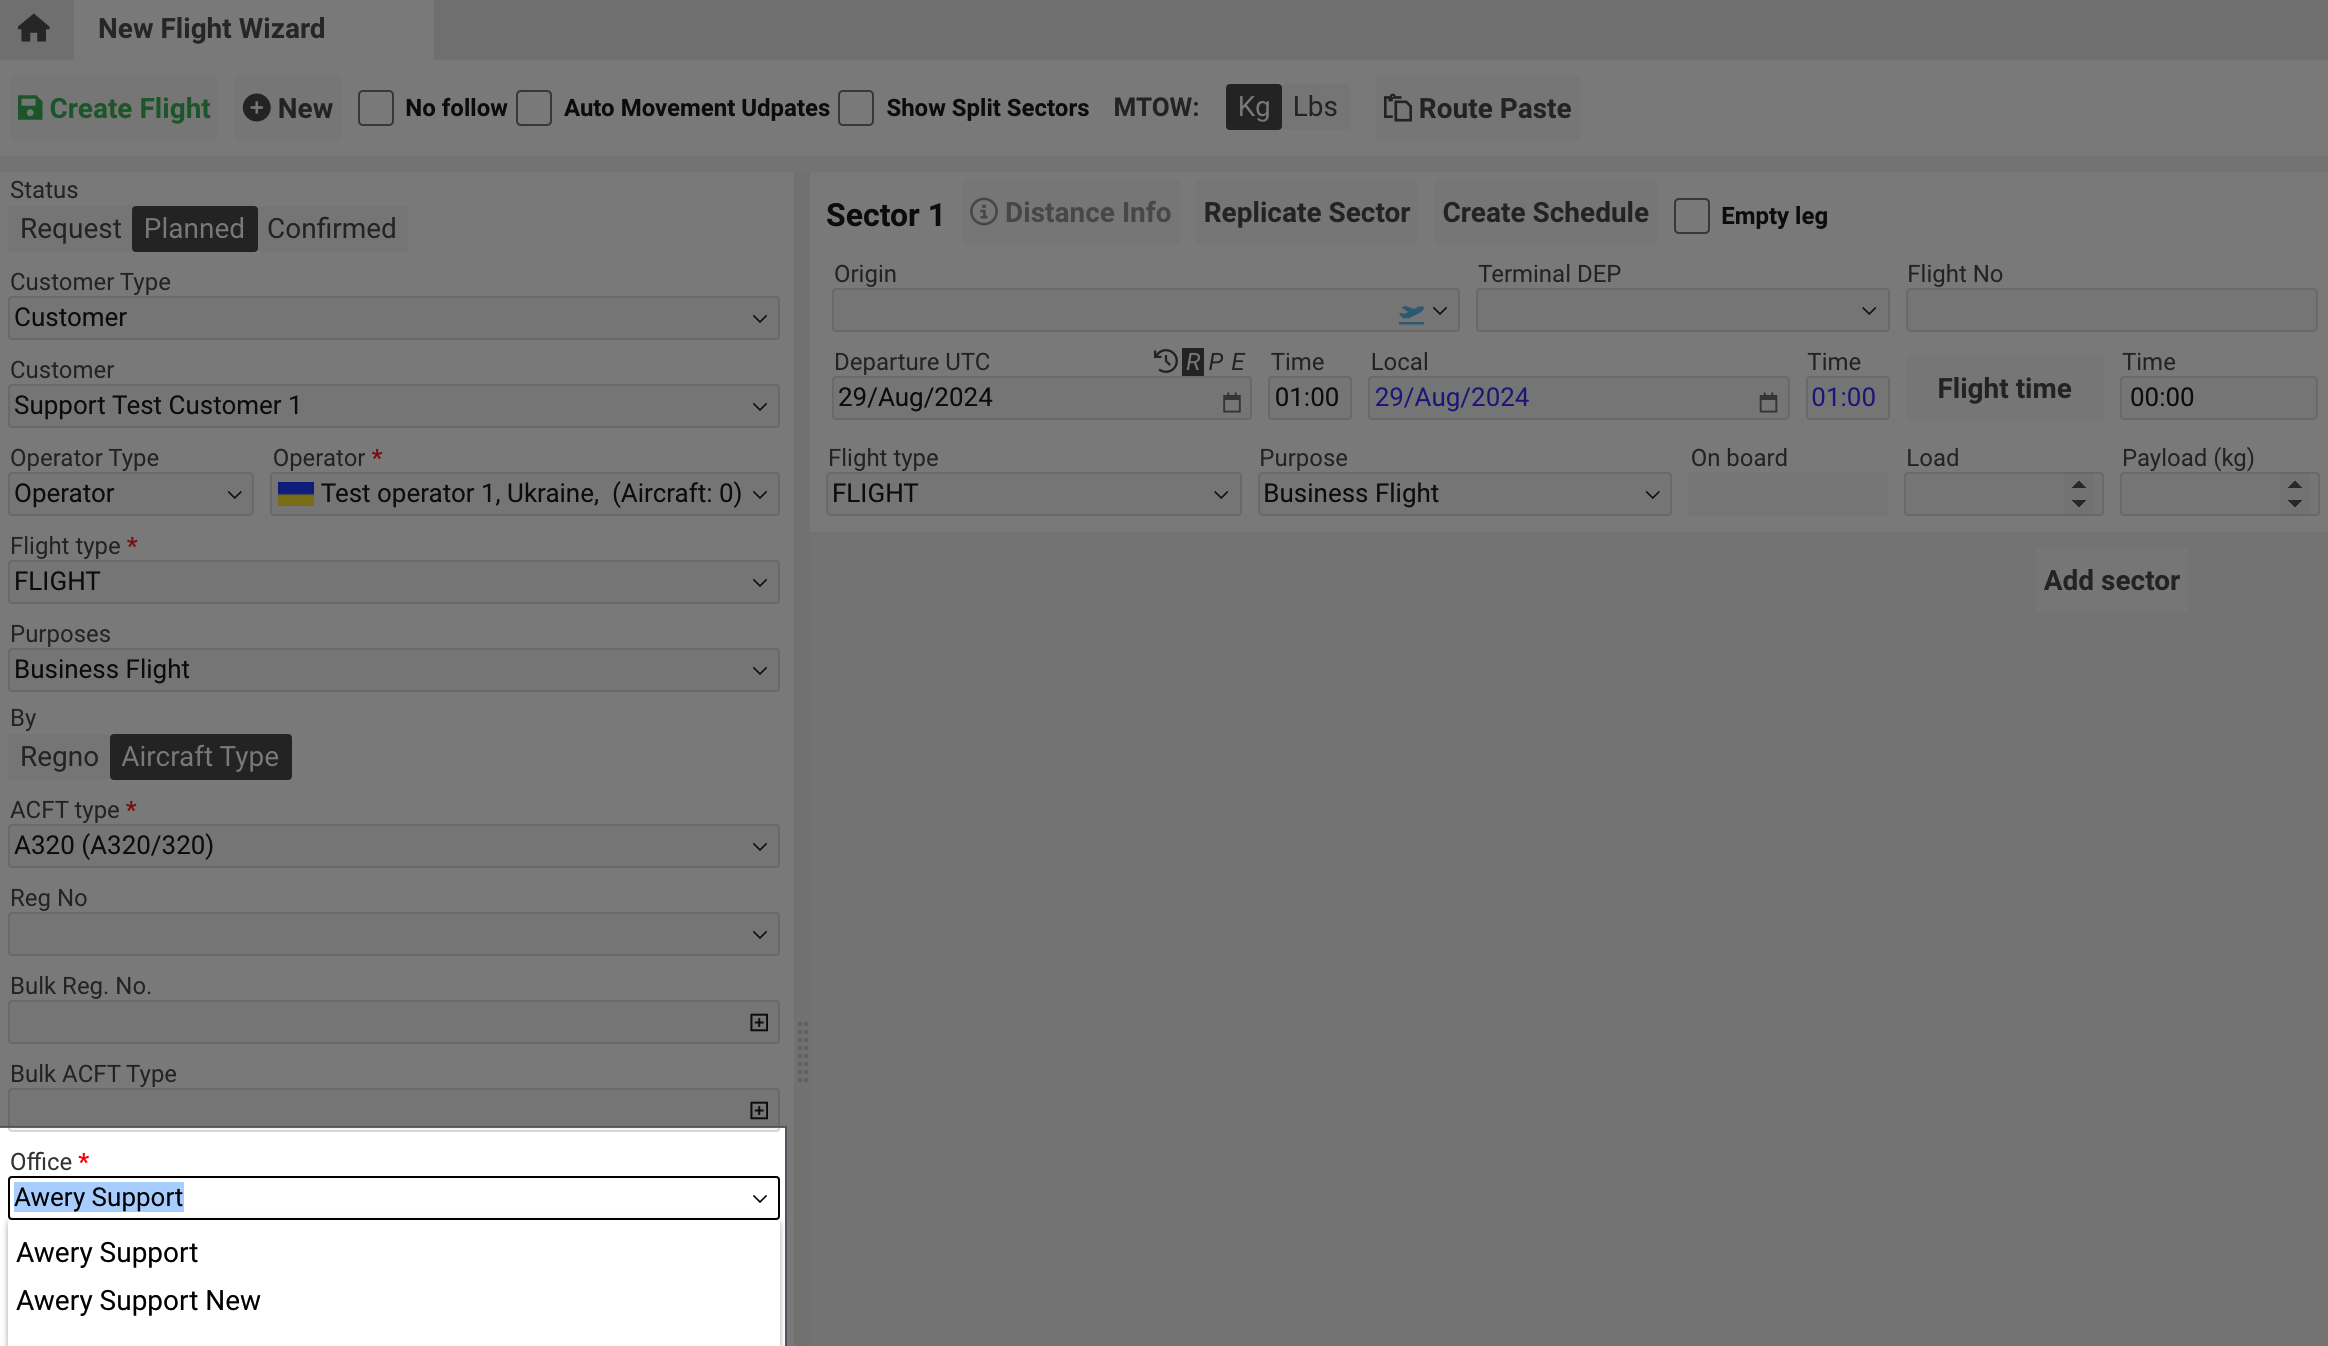
You can set the needed Office if you have a few offices in your system. It can be adjusted in Settings → System setup → Office and Companies. disableEditCompany
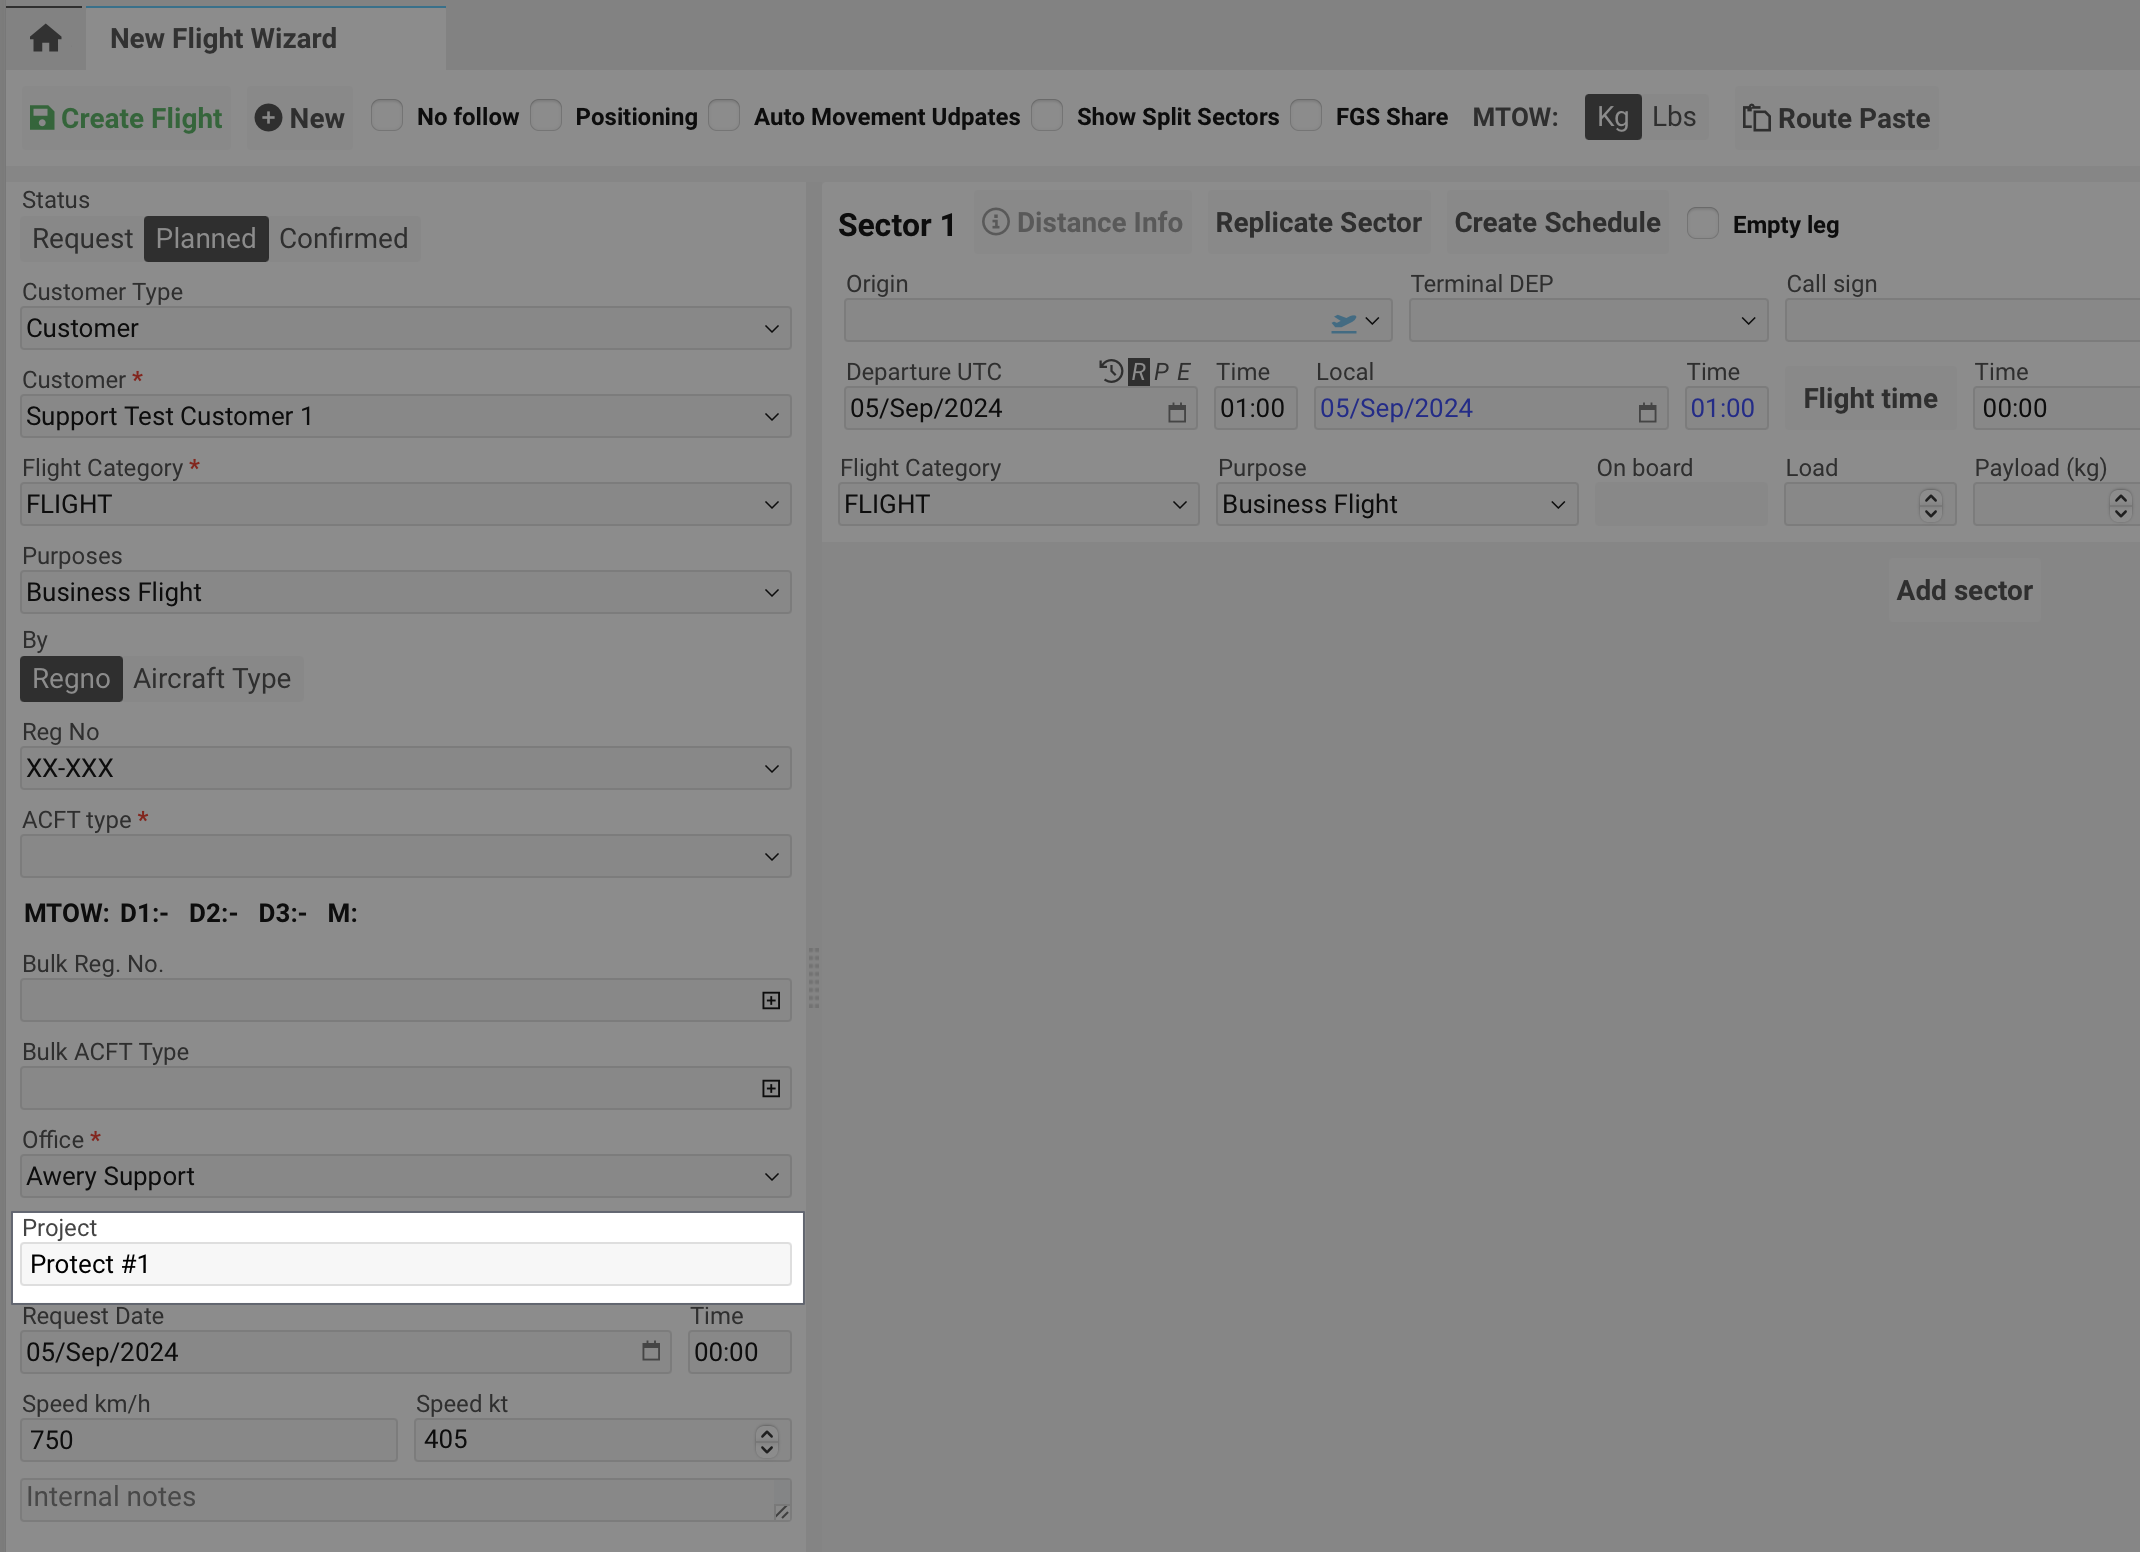
Project - an additional filtering field, which you can also see in AWBs and Cargo Quote, to help you filter the needed data. You can write the required text there that will help you navigate.
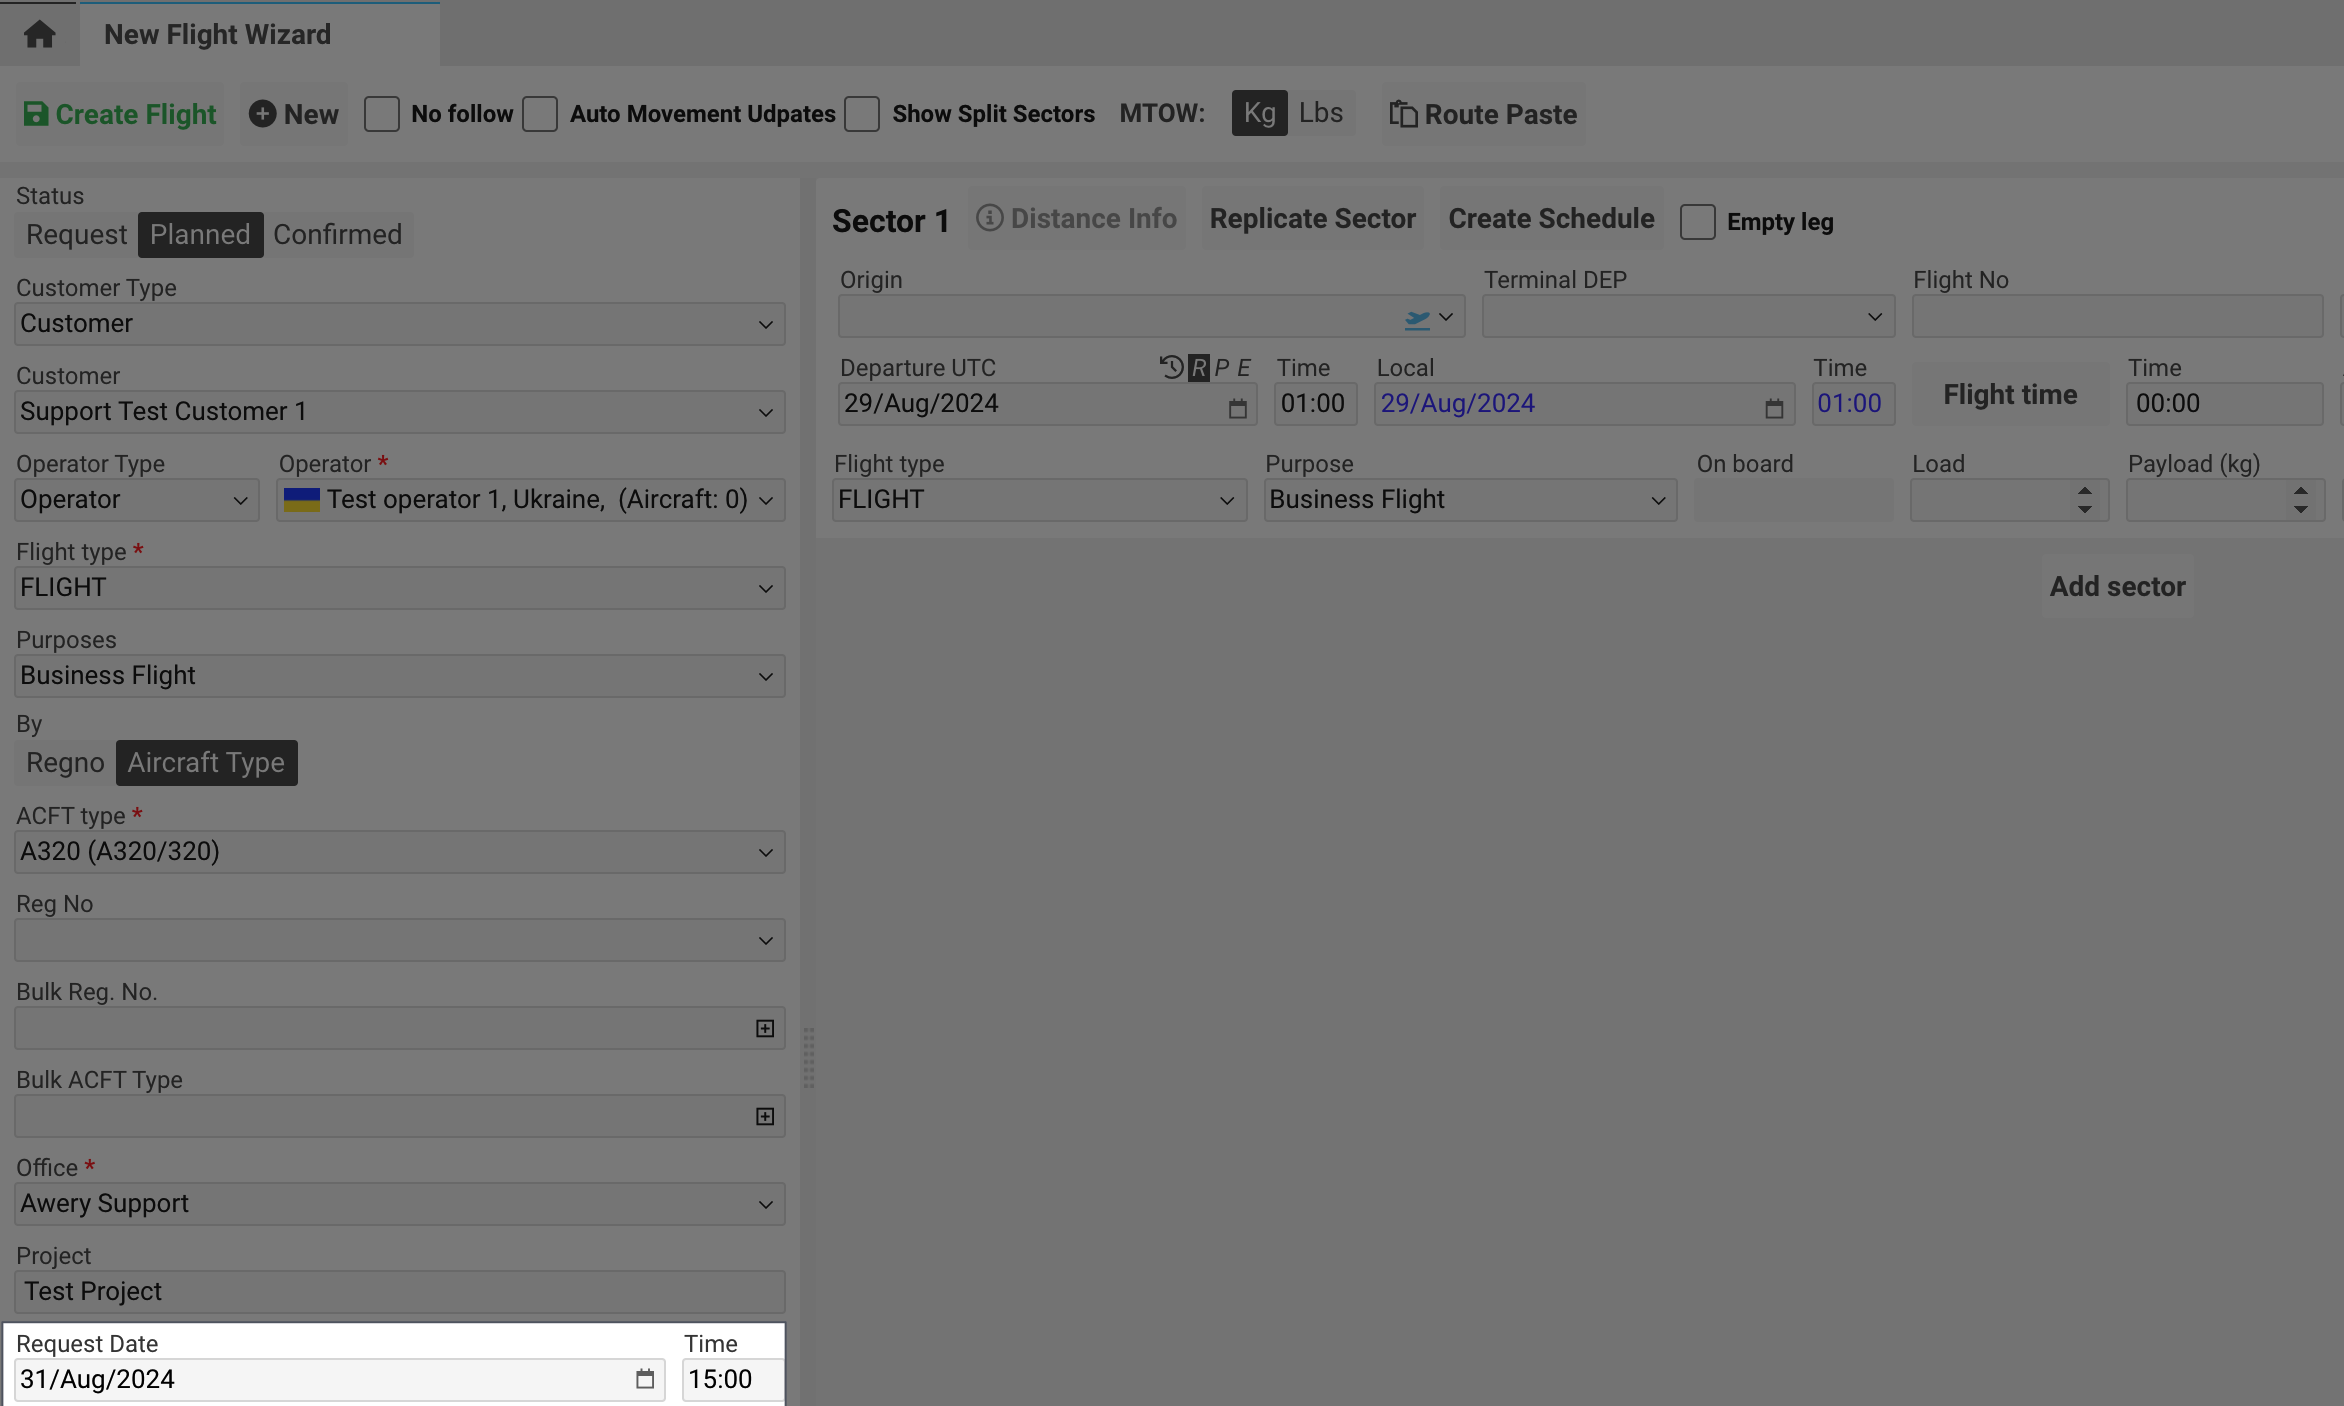
Request date/Time - the date and time of the request, which is recorded when the flight was created, is taken from the inquiry if we create a flight from it. showFlightRequestDate
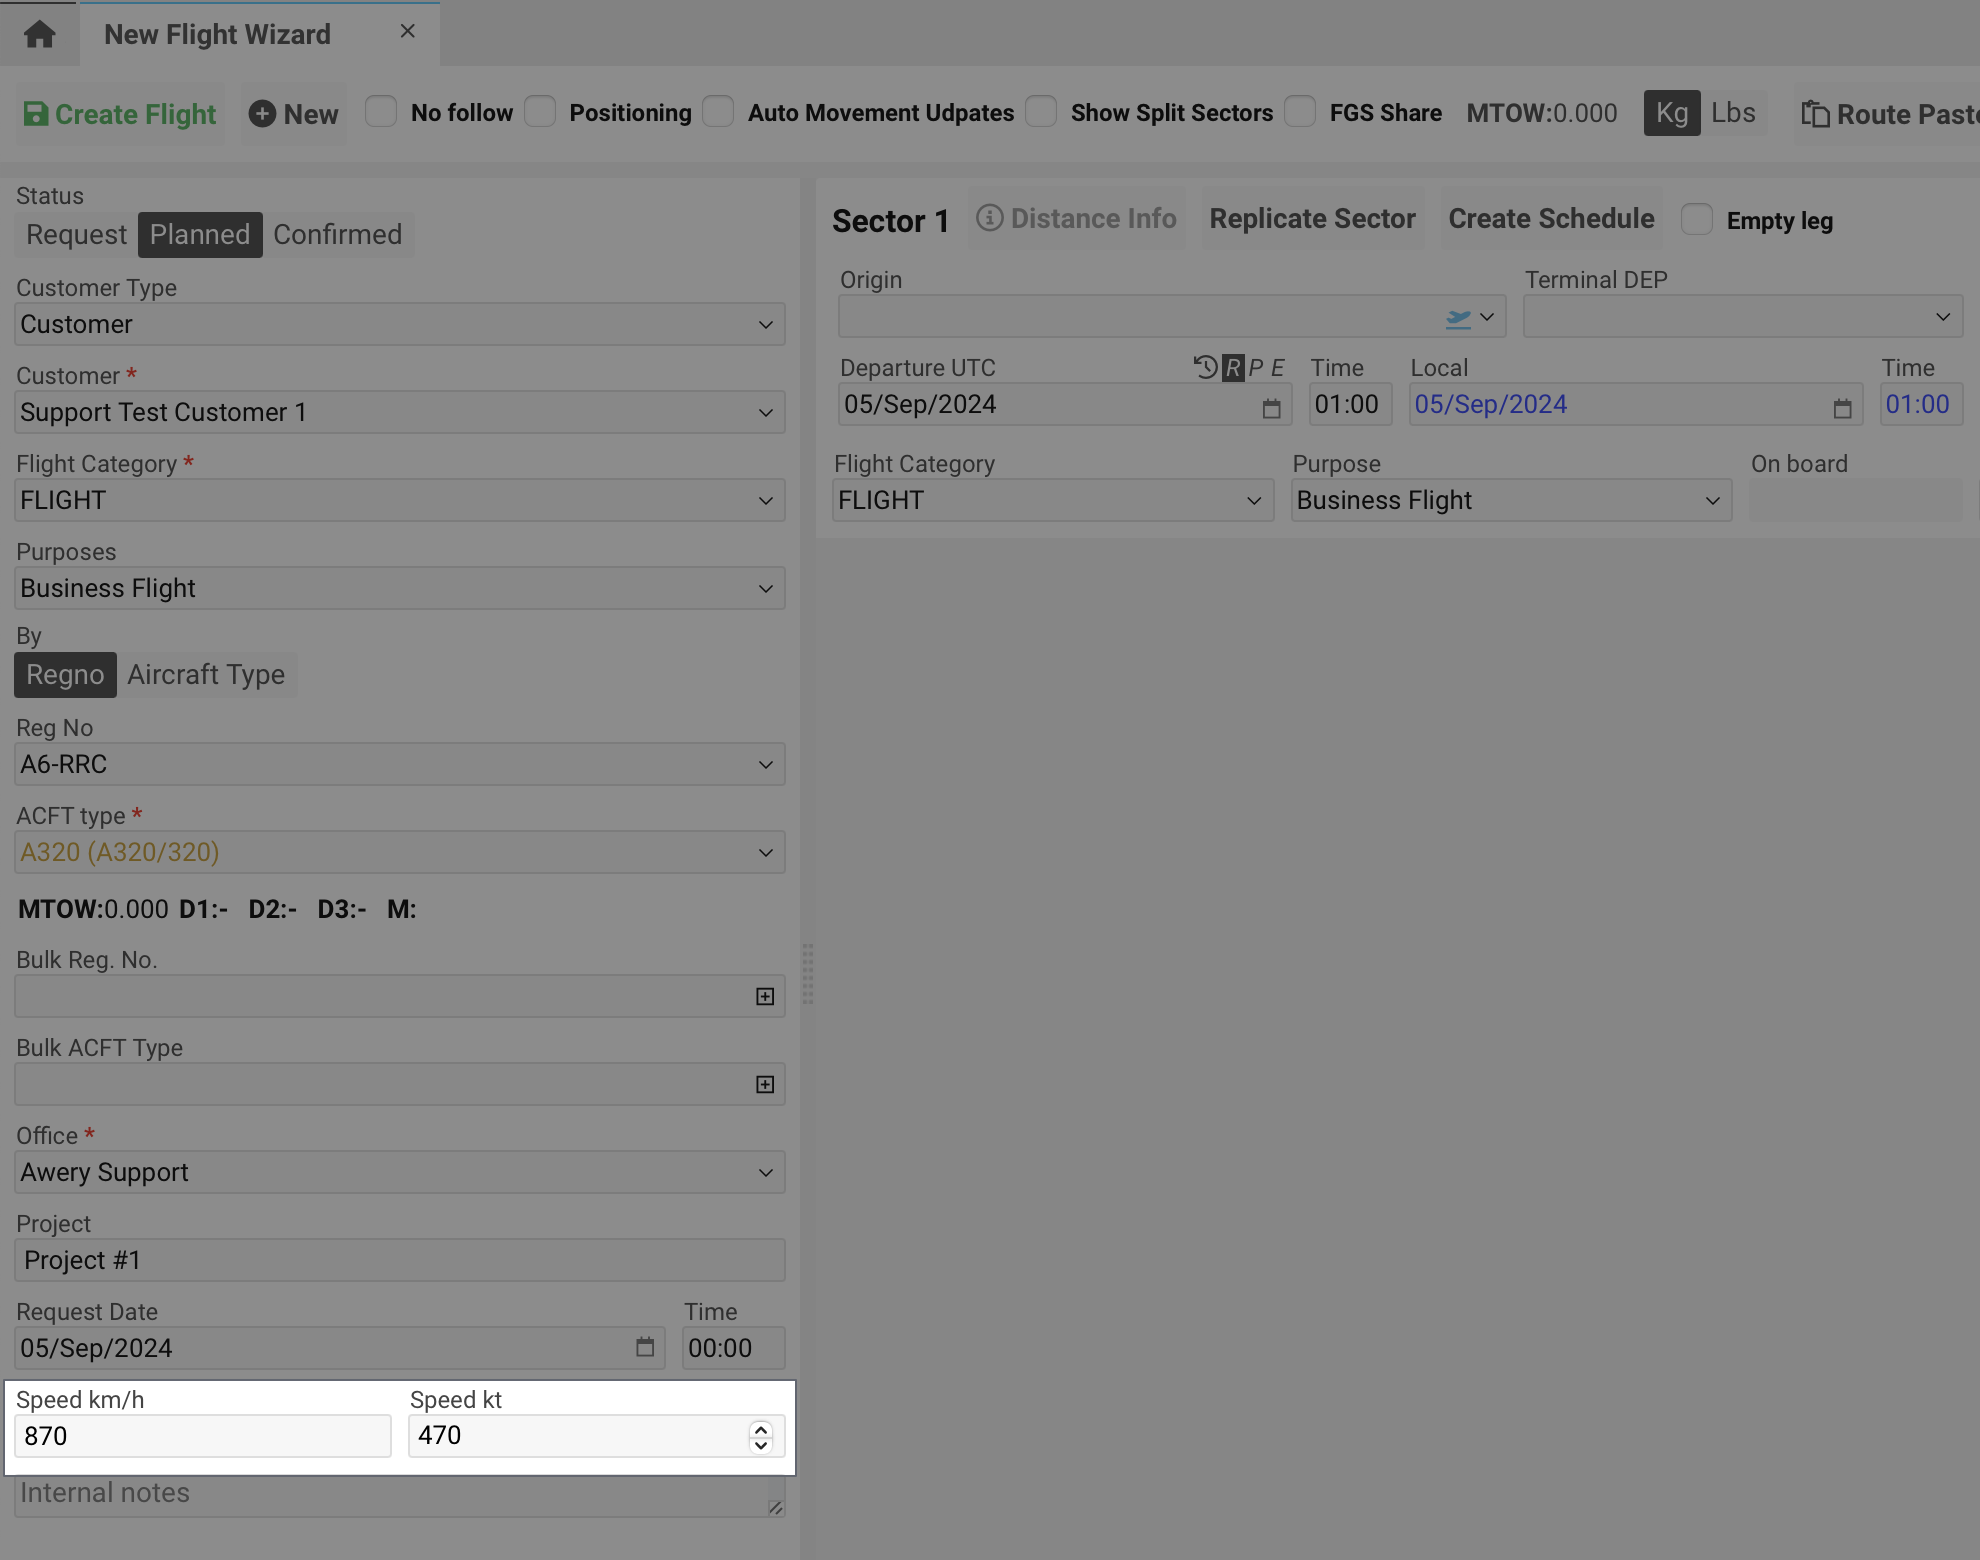
Aircraft type Speed km/h shows the selected AC type speed. Average speed for chosen Aircraft Category. Will be used for approximate flight time calculation.

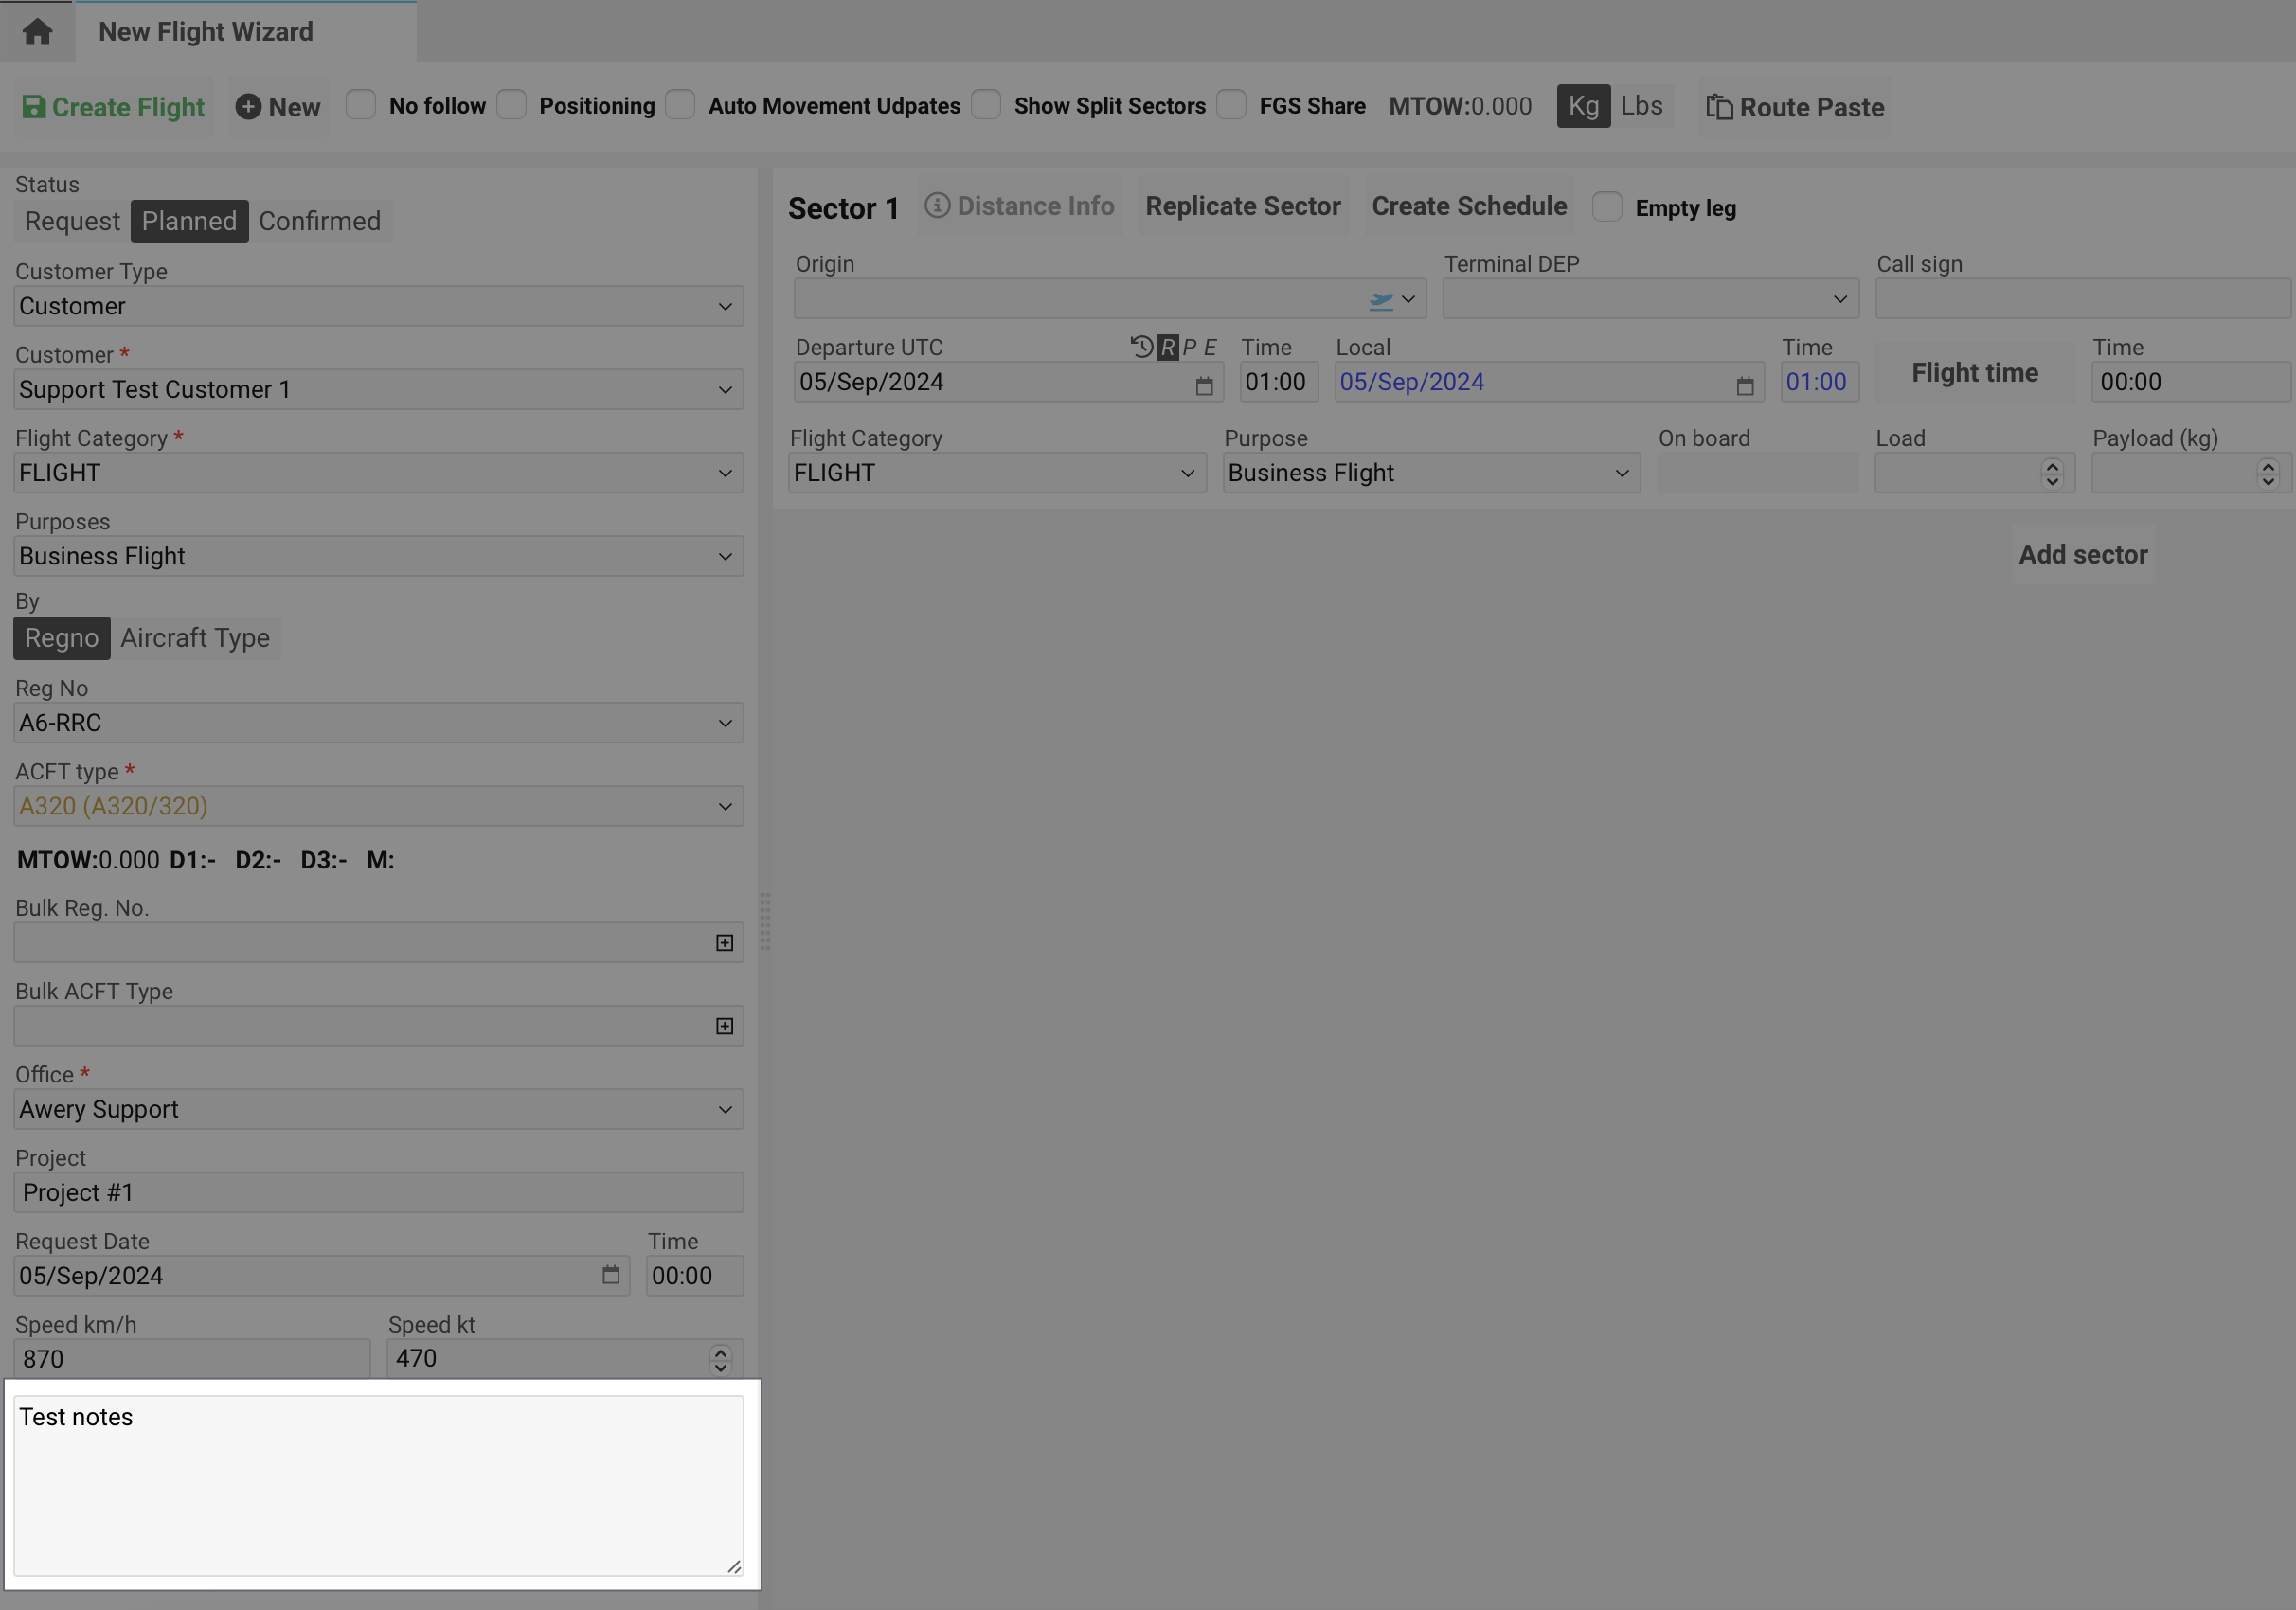
The purpose of the Internal Notes field is to store private comments or information visible only to the internal team. This field allows for the sharing of relevant details or updates without displaying them to external parties. You can resize the field by dragging the bottom right corner.showInternalNotes
Flight sector

Sector number
Distance Info - by clicking on the button you will see a sidebar with distance details. The button is available if Origin and Destination are indicated in a sector.
hideViewDistanceInfo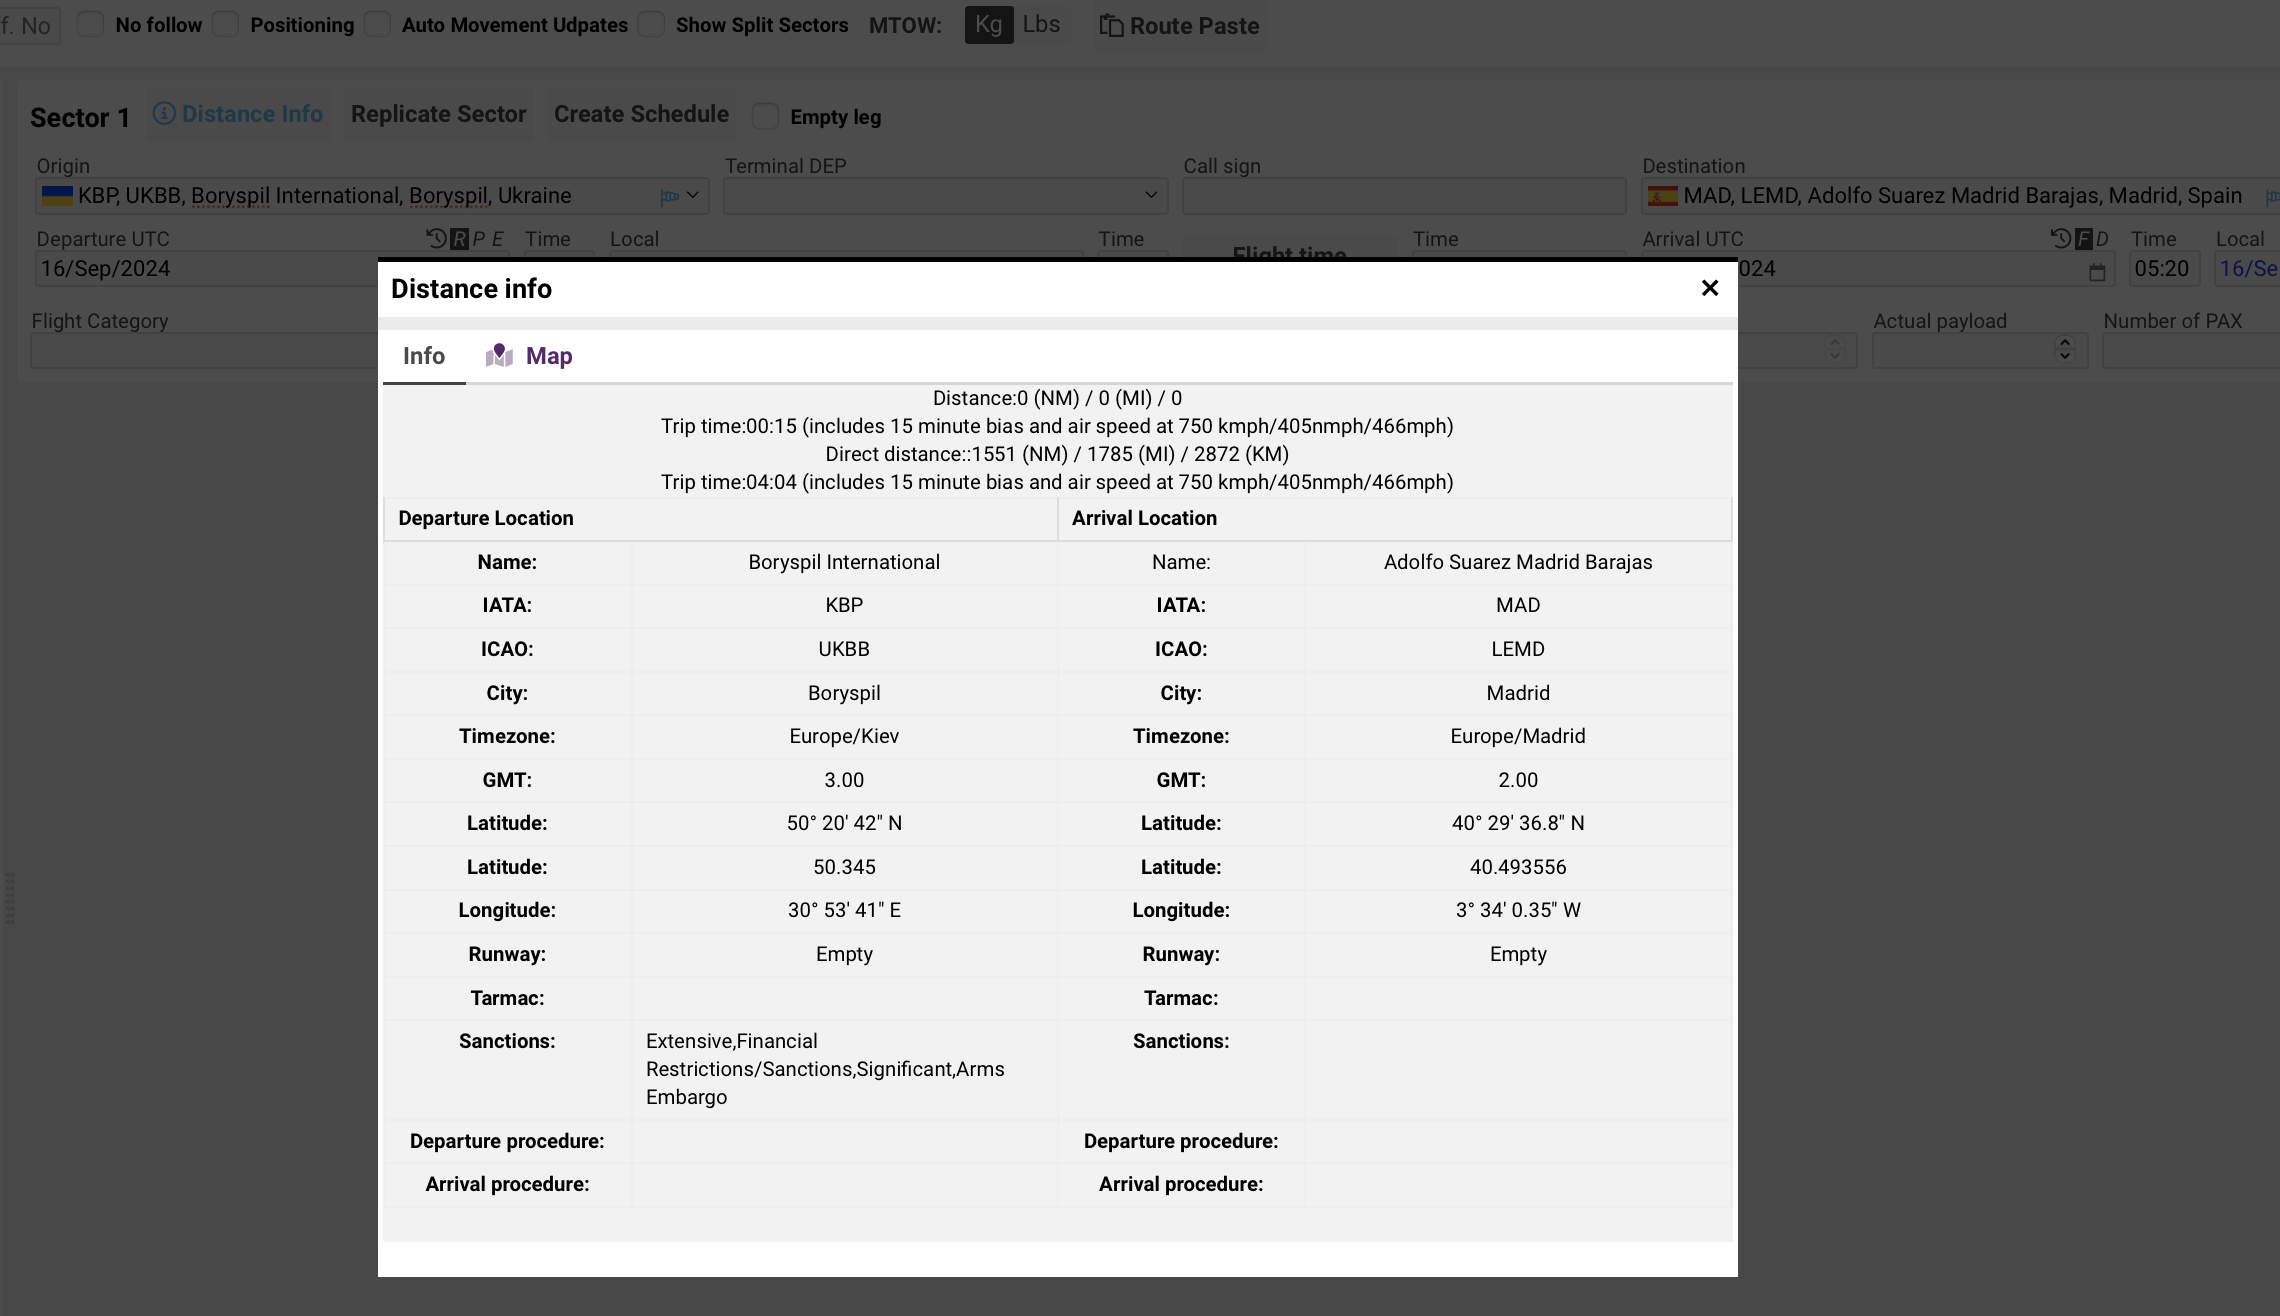
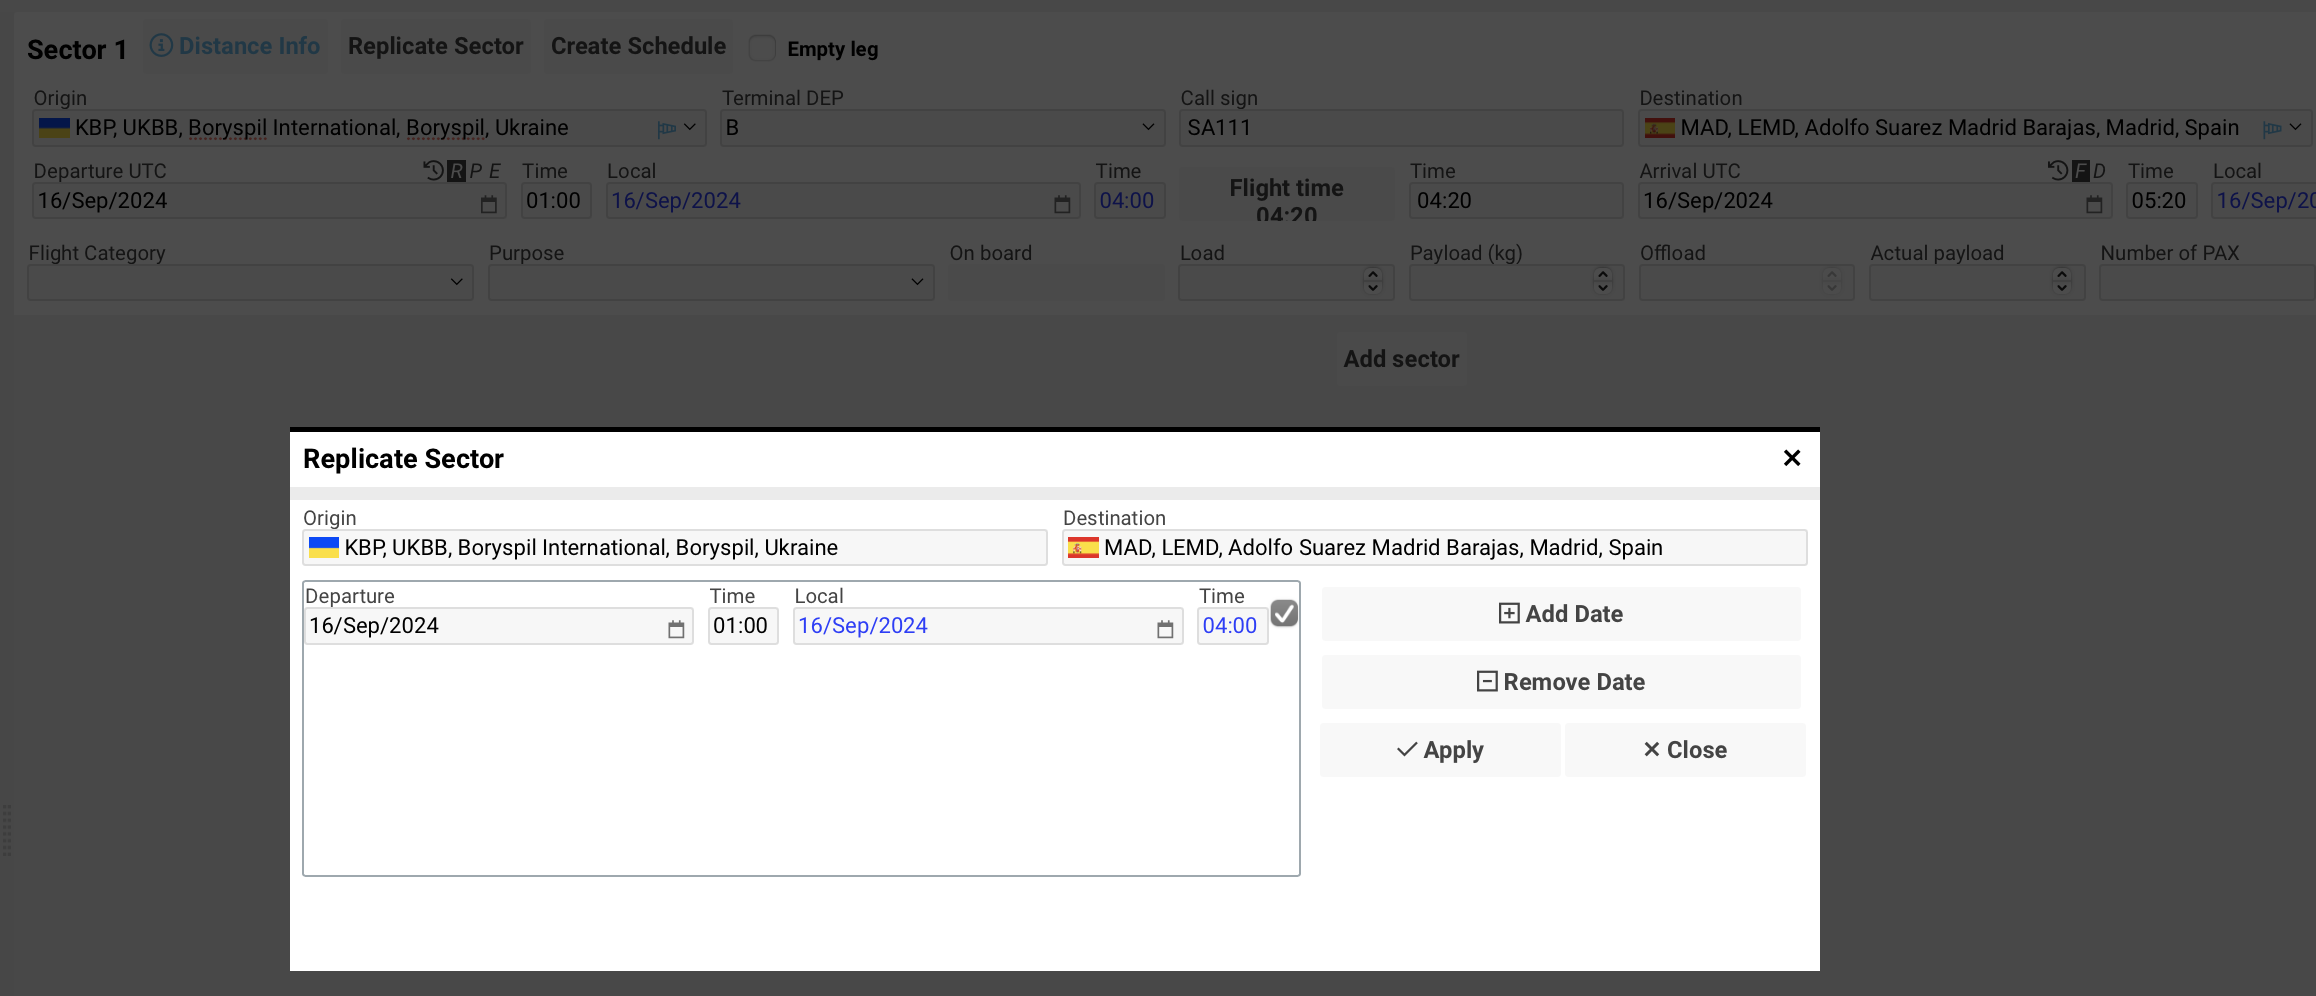
Replicate sector - by clicking on the button you can replicate the selected sector on other dates.
Create Schedule - by clicking on the button you can create a schedule from the selected sector.
hideCreateSchedule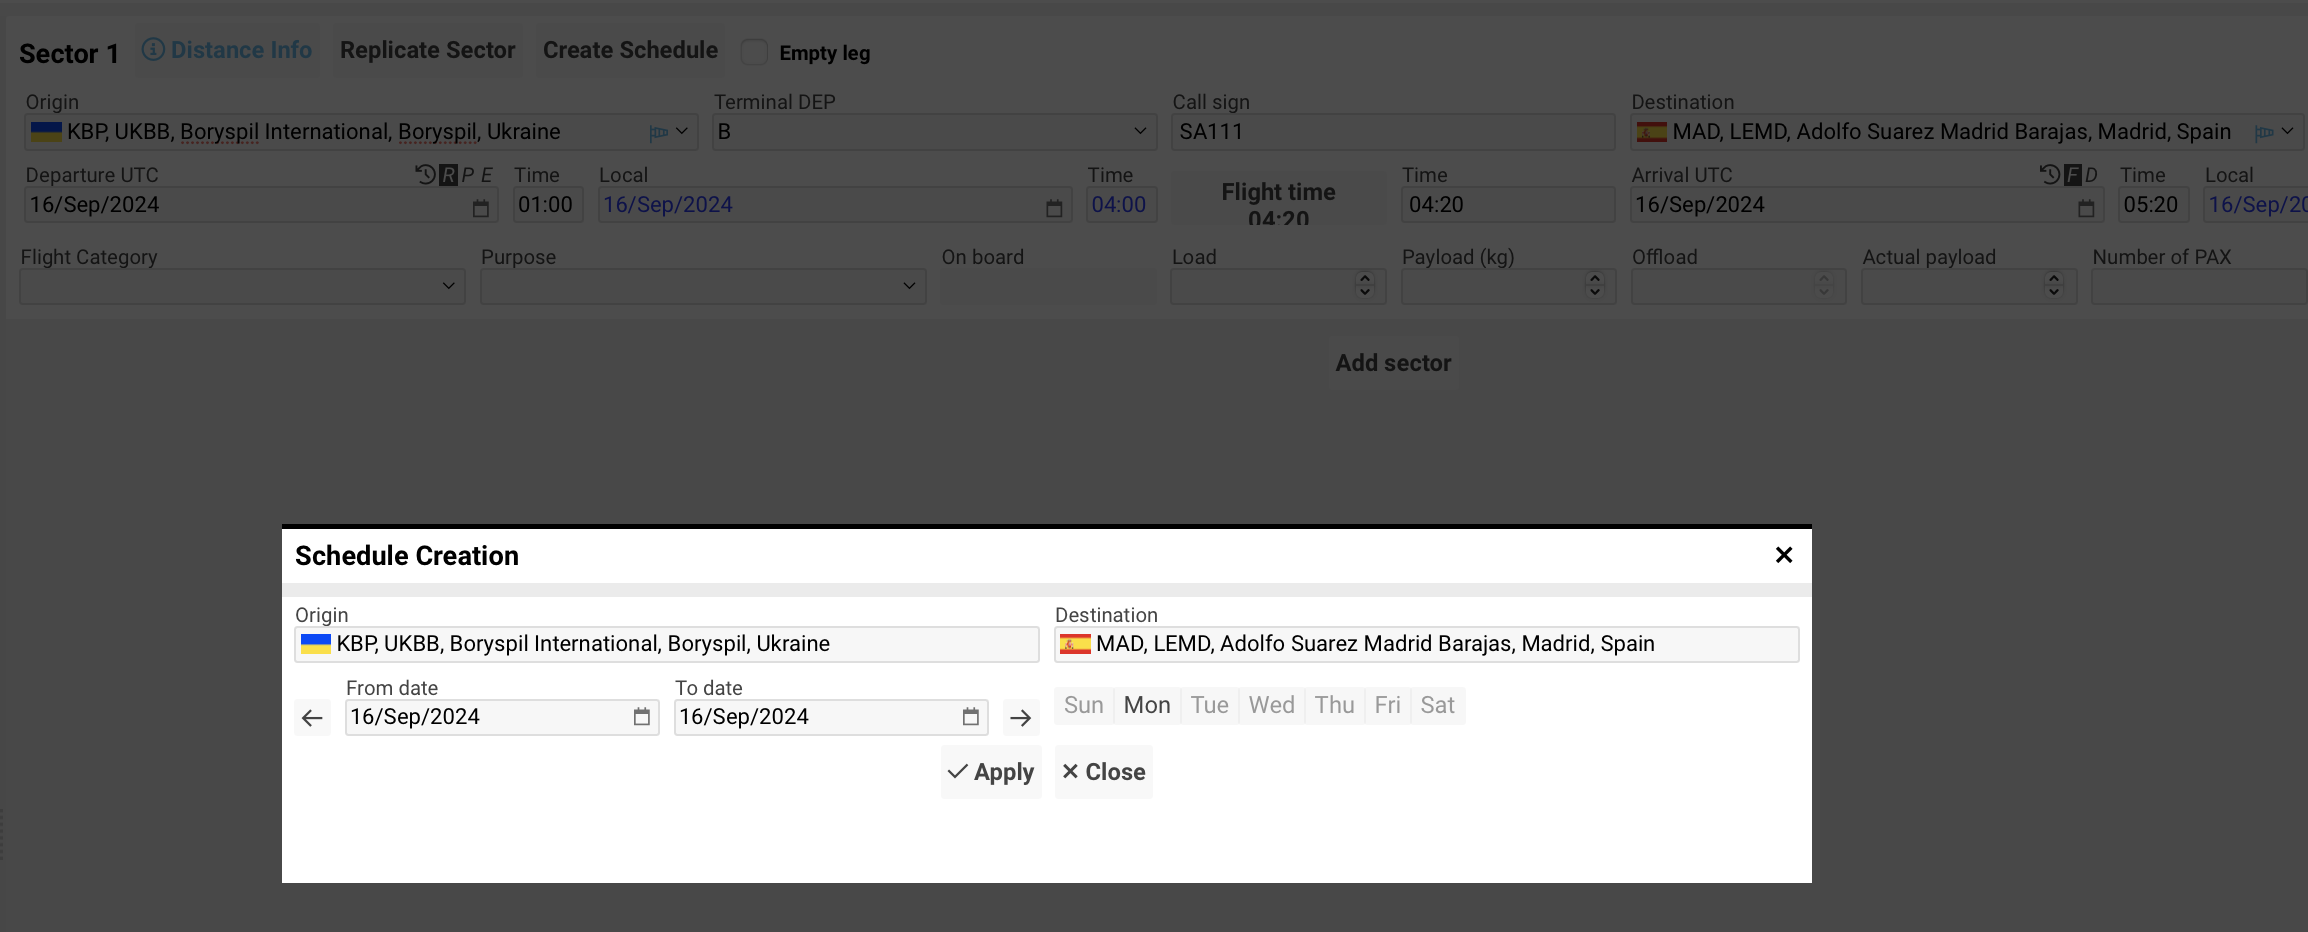
Split - Interrupt mark which excludes current waypoint from route.
canInterruptEmpty leg - empty leg flight sector marked by this tick.
viewEmptyLegDetails

Origin - origin airport of a sector. At the end of a selector, you can find the flight icon till you do not enter the airport code. The flight icon will be changed to a flag in case the airport doesn't have any airport or country alerts. By clicking on the icon you will see information about airport alerts, country alerts, airport weather, and notes. Origin can be chosen by putting:
ICAO code
IATA code
City name
Country name

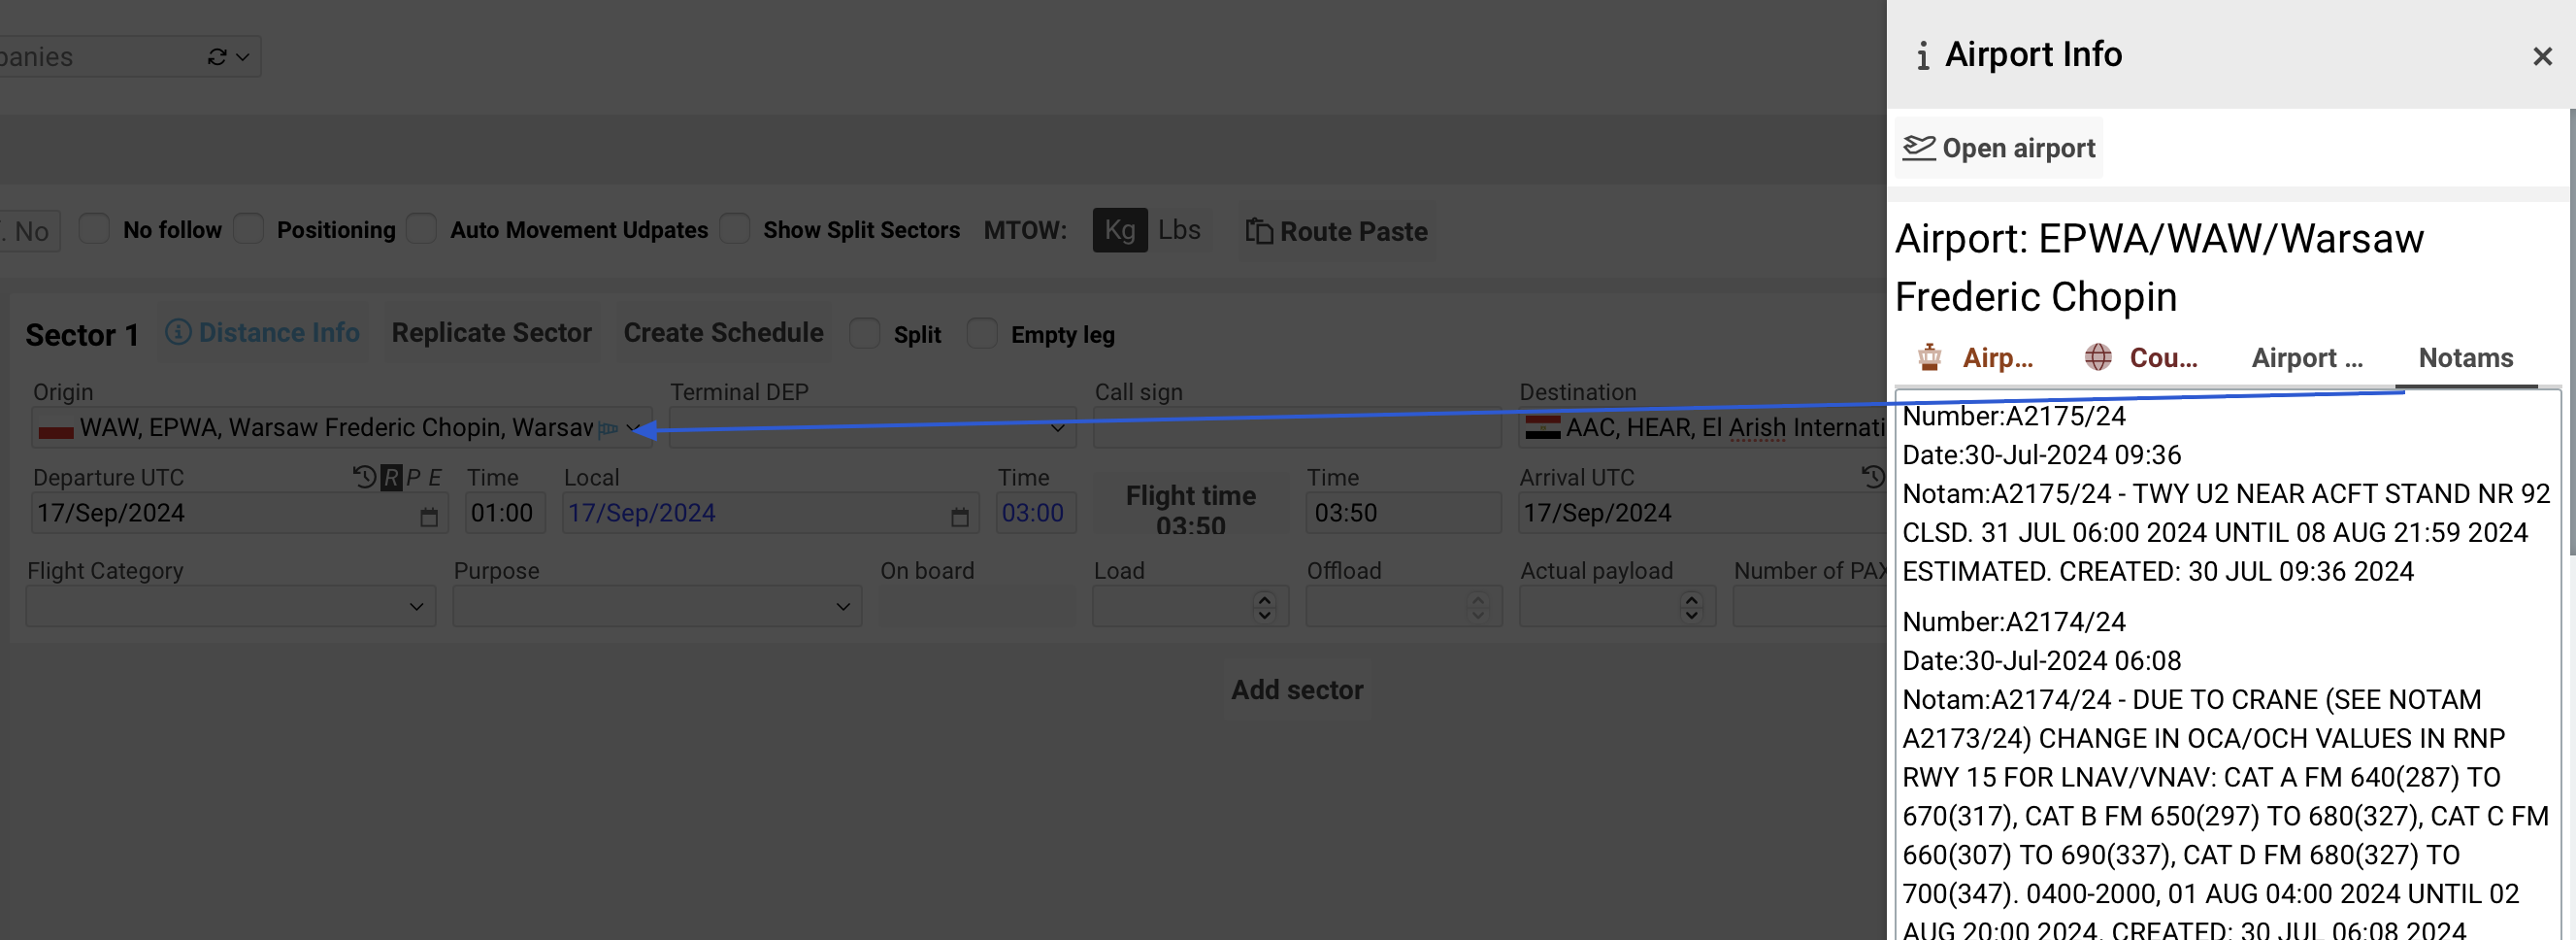
Terminal DEP (departure) is available for selection if it has been set in an airport profile.

Call Sign - sector call sign.
Destination - destination airport of a sector.
Terminal ARR (arrival) is available for selection if it has been set in an airport profile.
Departure UTC (in black) - departure date in UTC. Date can be chosen on the calendar
 or manually inserted by putting the cursor into the cell and typing.
 is to open Field History with all the changes in the Departure UTC field.
 is to reschedule the sector (original flight time + change to arrival).
 is to postpone all the next sectors.
 is to edit flight time (keep arrival time as is).
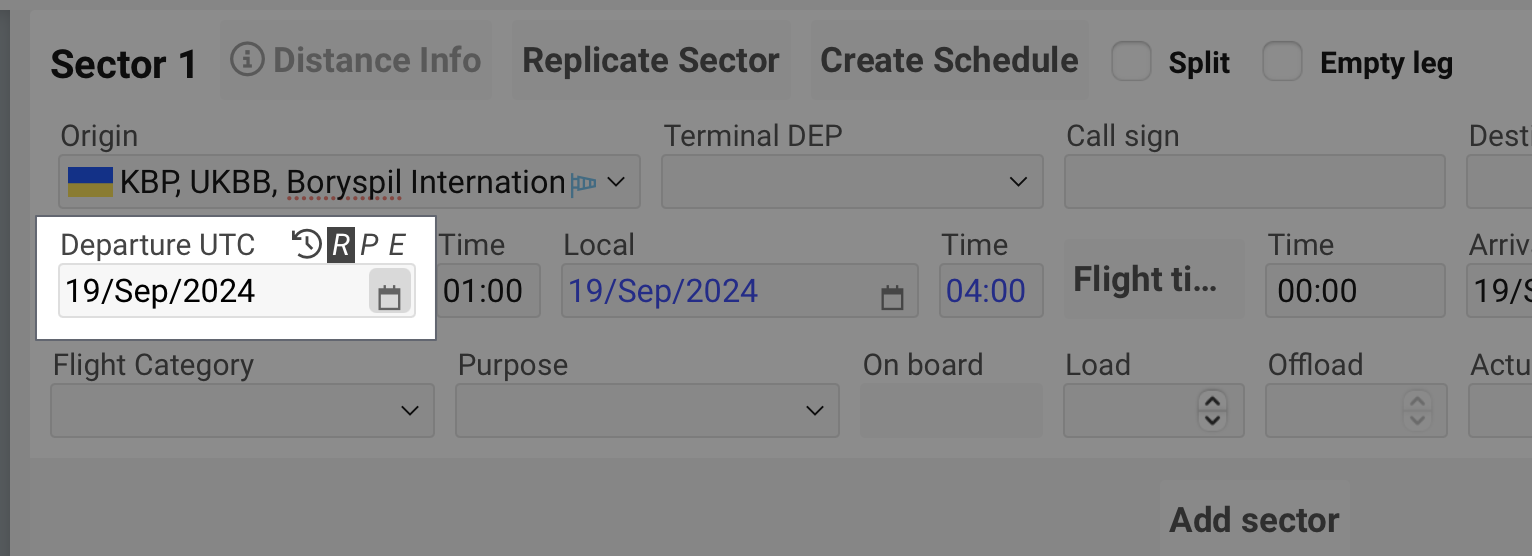
Time (in black) - departure UTC Time.
Local (in blue)- departure date in origin airport local time. Date can be chosen on the calendar
 or manually inserted by putting the cursor into the cell and typing.
Time (in blue) - local departure time of the origin airport.
Flight Time (Calc) - calculated flight time. Calculating is based on speed and distances between origin and destination airports.
Time (Time field) - entered flight time. By default equals calculated flight time. Flight time will be marked in green in case there is a distance with the clarified flight time.
Arrival UTC (in black) - arrival date in UTC. A date can be chosen on the calendar
 or manually inserted by putting the cursor into the cell and typing.
 - Recalculate Flight Time based on Arrival change.
 - Edit Departue time based on current flight time and change of arrival.
Time (in black) - arrival UTC Time.
Local (in blue)- an arrival date is in the destination airport's local time. A date can be chosen on the calendar
 or manually inserted by putting the cursor into the cell and typing.
Time (in blue) - local arrival time of the destination airport.

Flight Category is the same field as previously on the main tab. Here you should choose the type of flight ( Flight, truck ... etc ) for the one sector. It can be adjusted in the system settings "Flight categories".
Purpose is the purpose of a flight, by default filled from the main Flight Category.
showPurposeandhideMainPurpose( (is antipermission to showPurpose permission))On board indicates the number of items or individuals (such as cargo, passengers, or crew members) on board the aircraft for the specific sector.
Load refers to the weight or amount of cargo, goods, or items being loaded onto the aircraft. This may include freight, luggage, or any other items being transported.
hideOffloadPayload is the total weight of the cargo, passengers, and luggage the aircraft carries, excluding the weight of the aircraft itself, fuel, and crew. It represents the weight that generates revenue or serves the flight's purpose.
hidePayloadOffload refers to the cargo, goods, or passengers that will be removed or dropped off at a particular stop or destination on the route for this sector.
hideOffloadActual Payload is the actual weight of the payload that is currently on board during the flight, including any adjustments from the planned payload due to changes in cargo, passenger count, or weight distribution for the sector.
Number of PAX indicates the total number of passengers on board the flight for the sector.
hideNumberOfPaxInSectorsCrew Info includes details about the crew members on board, such as their roles (pilot, co-pilot, flight attendants, etc.), and personal informations you want to add for this sector
hideCrewInfoAdd sector allows you to create additional flight sectors. You can delete the last flight sector by the cross button. PAY ATTENTION: only the last sector can be deleted.

