Creating a new document:
Go to “Documents Library” and click on the button 'Create' at top of the window;
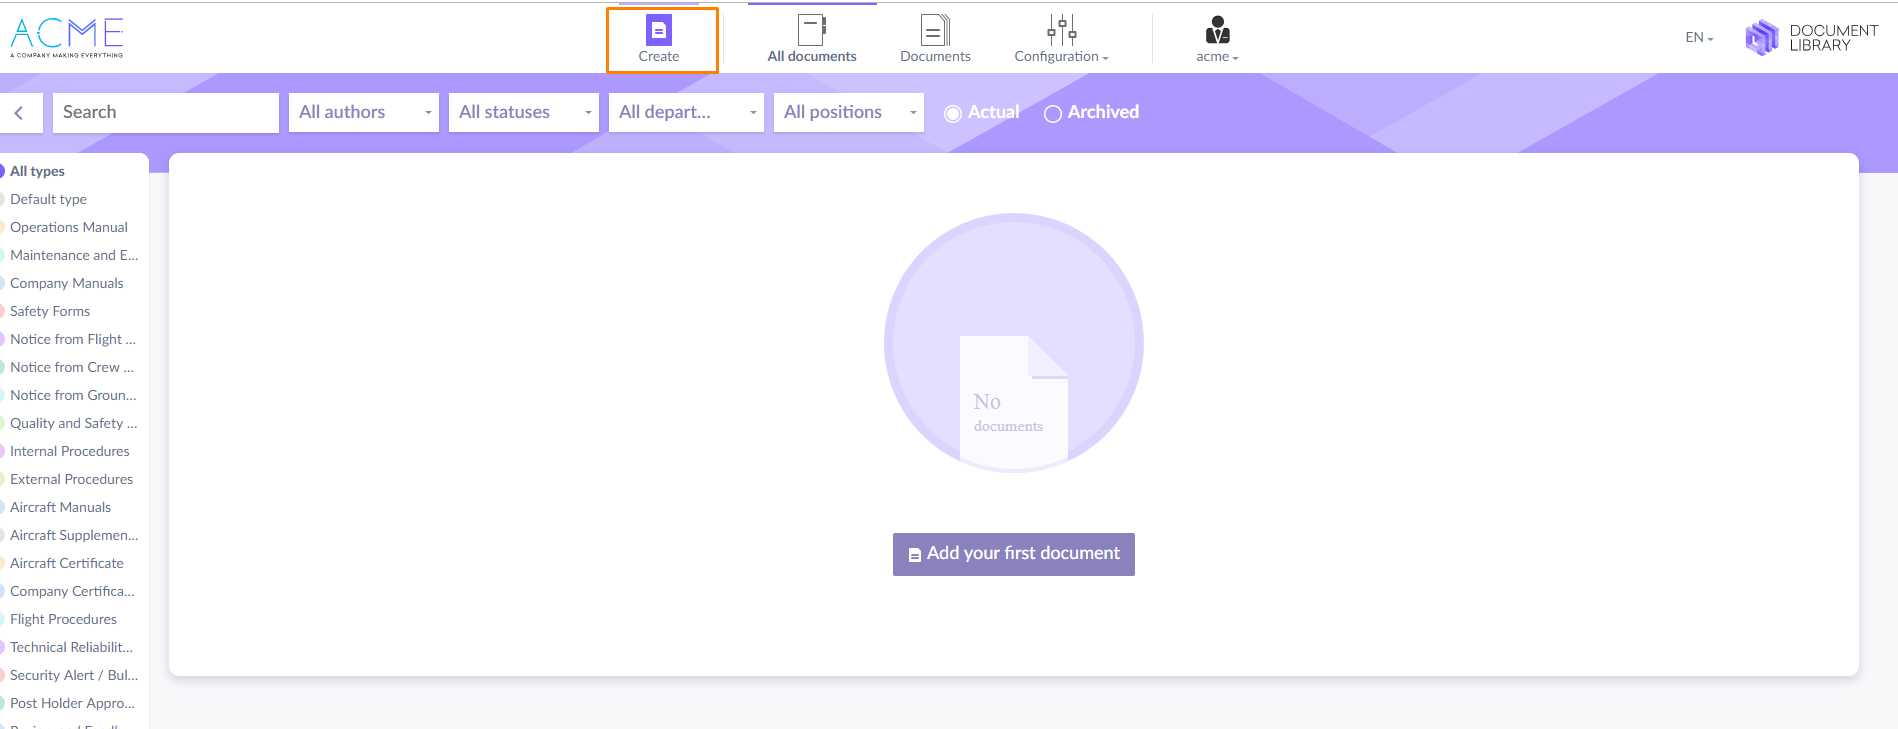
After this, you will see the form to insert data about the document.
1st step information about the document:
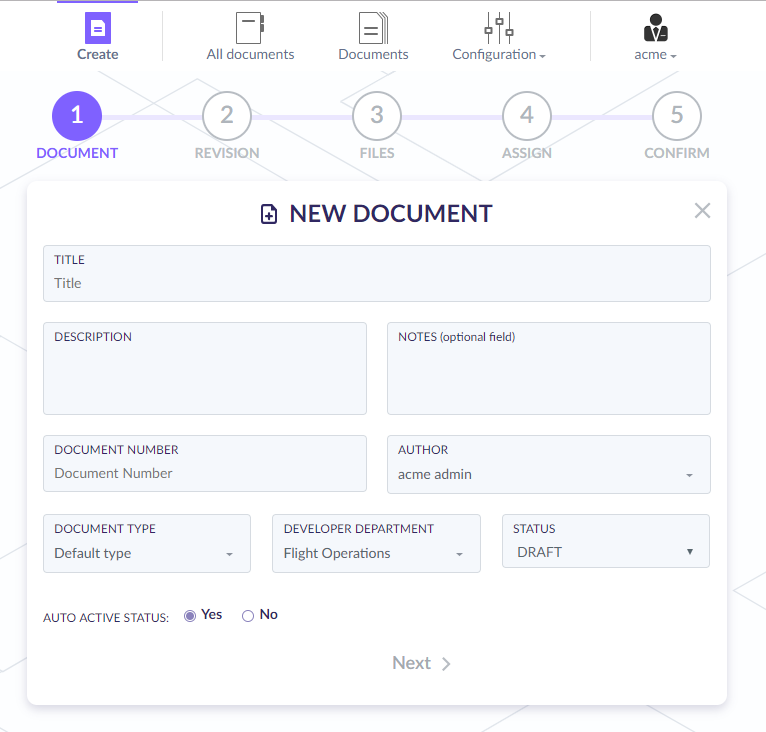
Title: Set the title of the document;
Description: Set the Description of the document;
Notes: Write notes about the document;
Number: Set number of the document;
Type: Select the type of document;
Author: Select user who created this document;
Developer Department: Select developer department;
Status: Select the status document;
Auto active status: If you select “YES” Status of the document automatically changed to “Active” when all auditors approved document;
When you fill all fields, click to “Next step”
2nd step: Information about revision
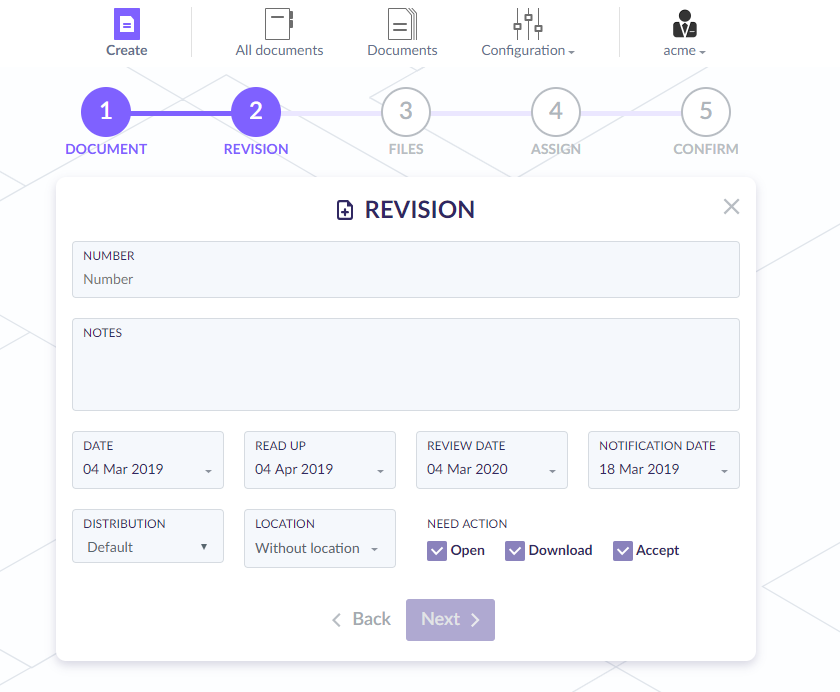
Revision #: Write there the number of current revision;
Revision notes: Write notes or remarks about revision;
Date: Date of creation ;
Read up: Date of reading up revision, the deadline of document revision by connected users;
Review date: Date of review current revision (same as the document expiration date);
Notification date: Date when connected users will receive notification about the need to review a document;
Distribution: A form of document distribution;
Location: If document distribution is not “digitally” you may select the location where this document can be found;
Need action:
Open: User needs to open the document;
Download: User needs to download file of the document;
Accept/receive: User needs to accept the document;
After fill, all fields click “Next step”
3rd step: Files
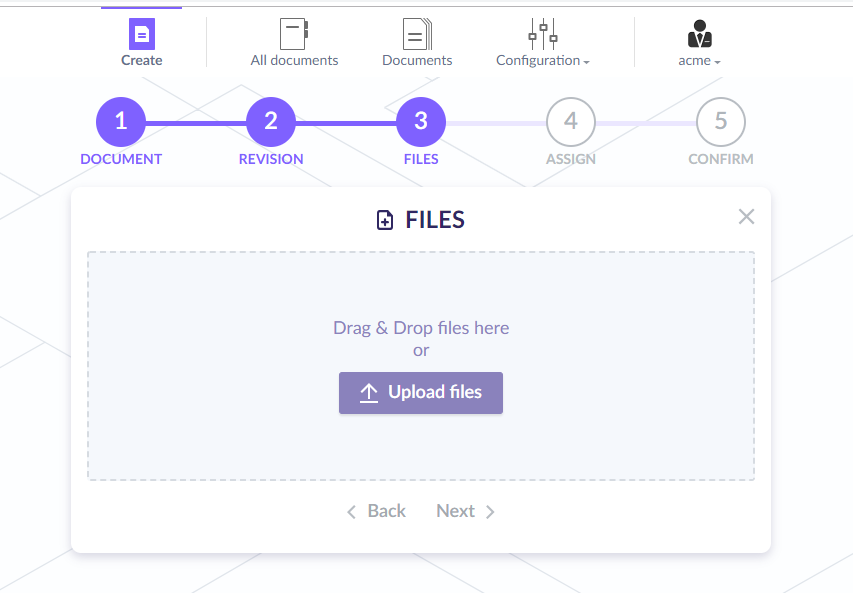
On this step you can upload document files;
To upload file click “Upload files”, select file from your computer and confirm it;
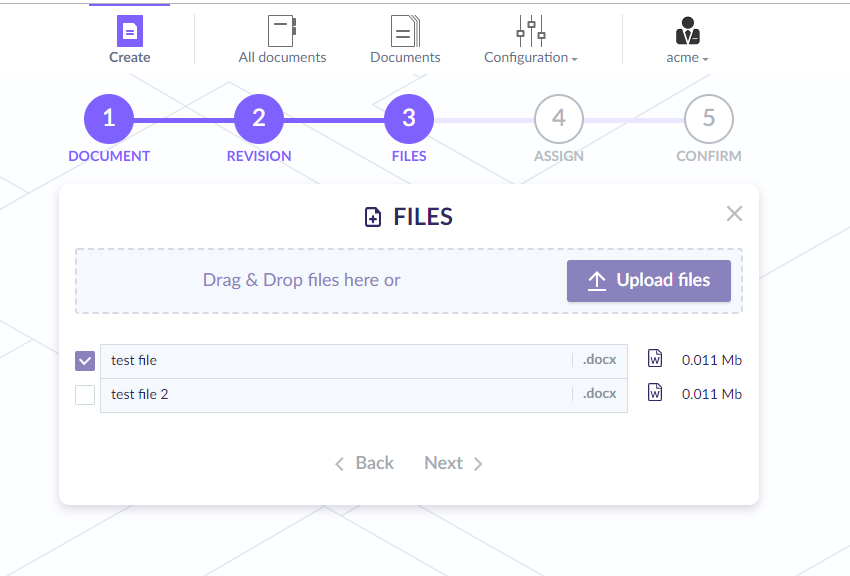
Uploading will start automatically, uploaded files will be shown in the table.
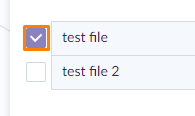
Require: if file not needed in document un-tick it;
Filename: in this field, you can change the filename (extension you can’t change);
Type: in this column, you can see the type of document;
Size: This column shows the size of the current file;
4 step. Assigning users
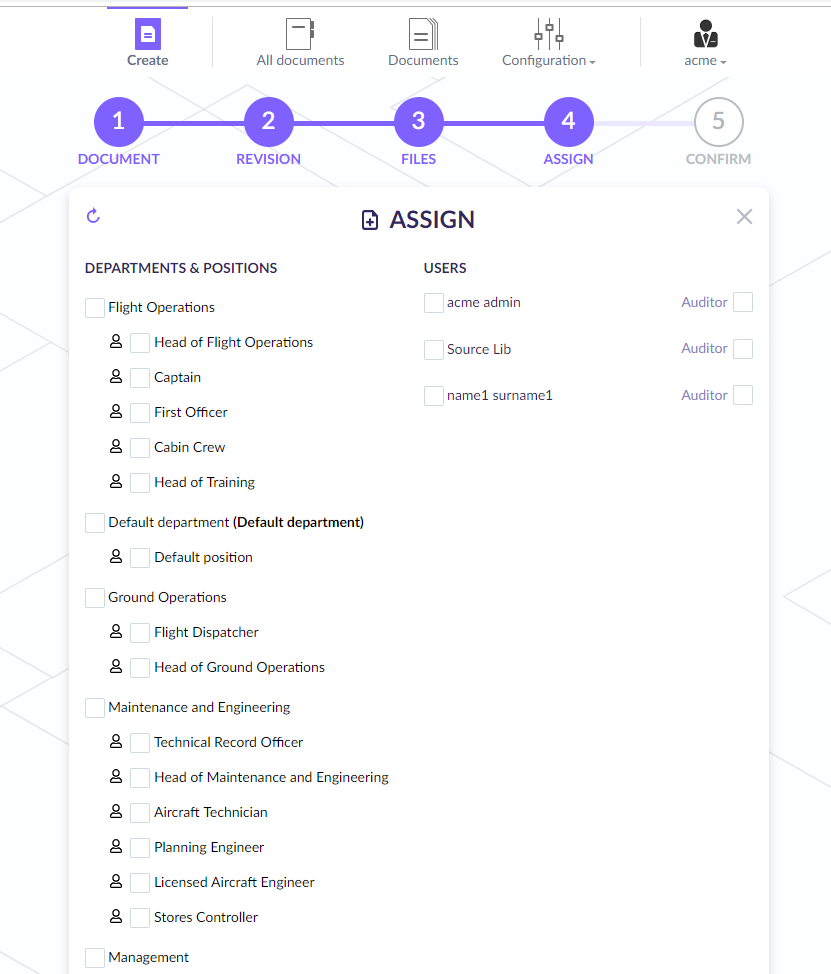
1. Departments & Positions: In this area, you can tick which department or position assigned to this document;
2. Tick to assign users and type of distribution for a particular user, if it differs from the type chosen on Revision step;
3. Tick to assign auditors among library users;
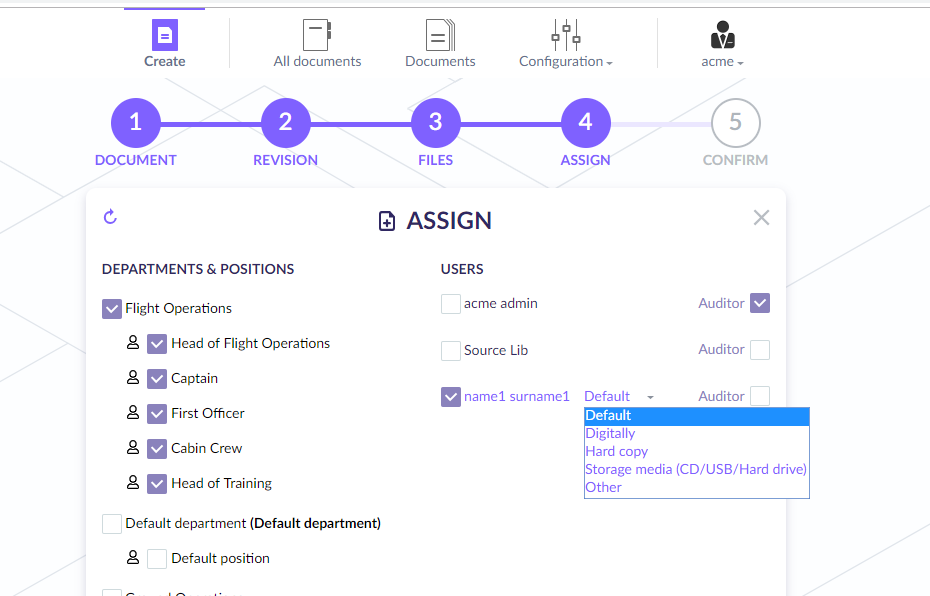
If you select all needed users/departments/positions click “Next”
At this screen you can see all data, you can check it if everything is correct click “Create”
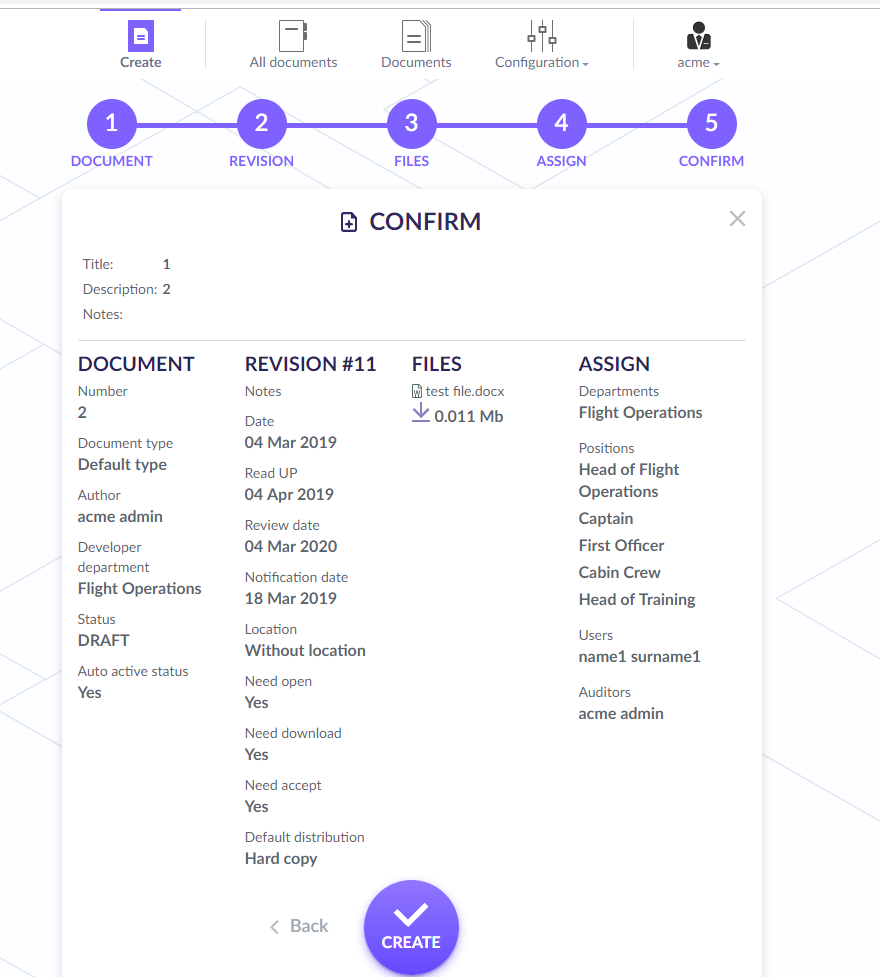
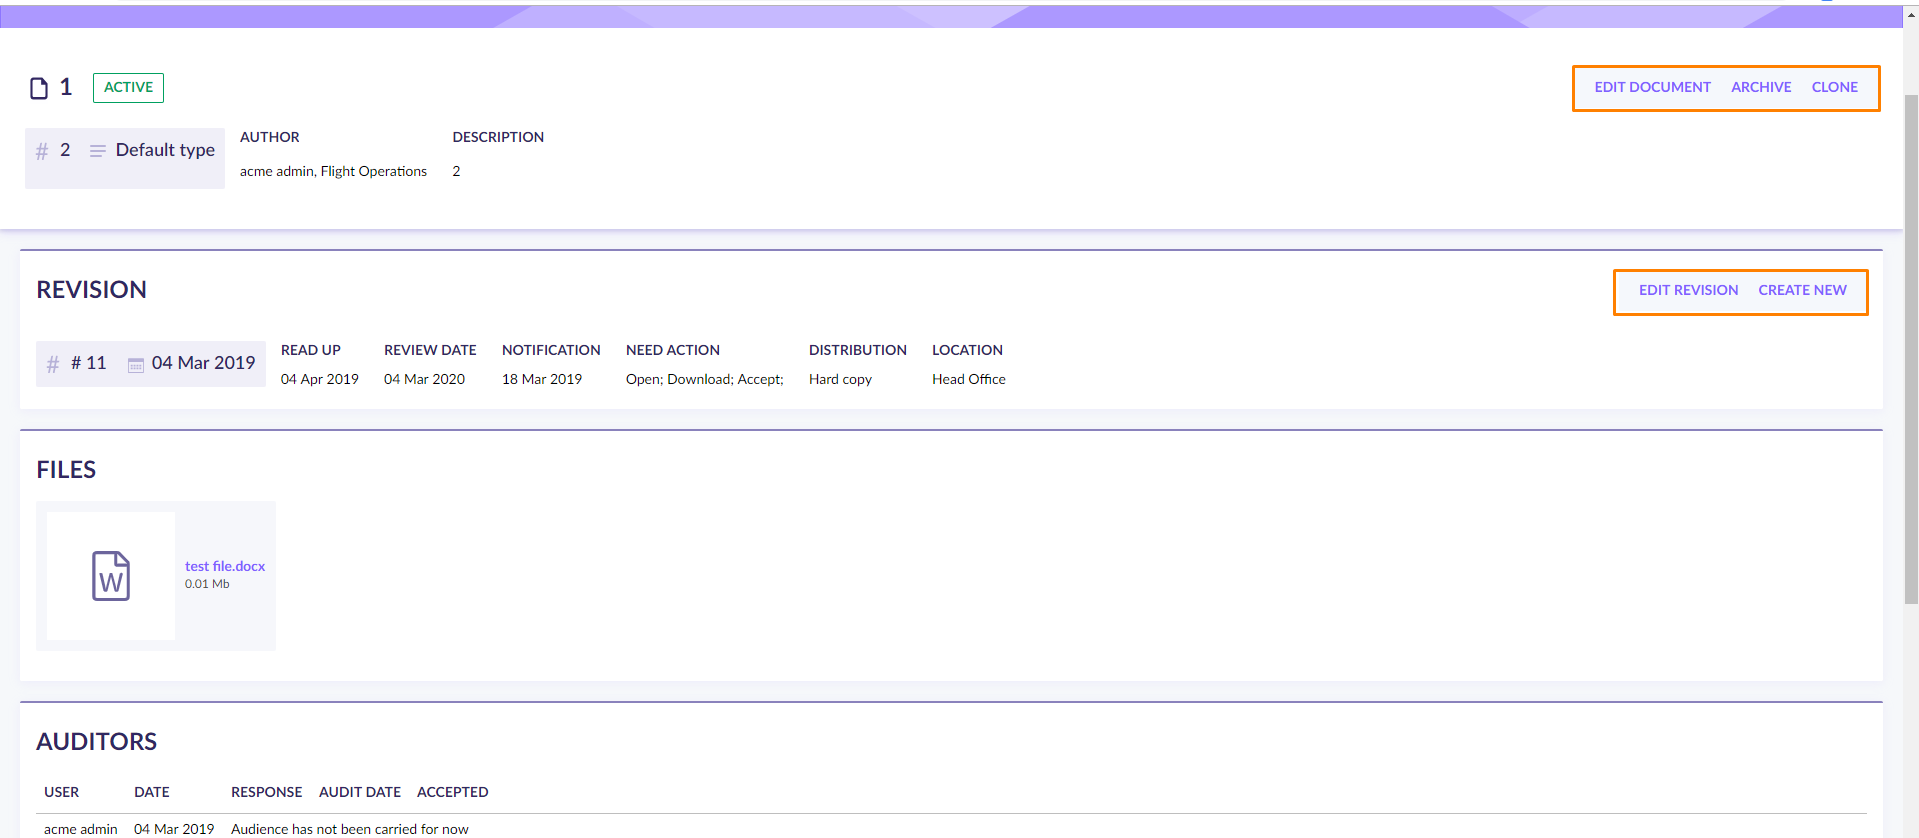
Congratulations, you created a document!
You can also edit the document, archive it, clone and add revision on the document page any time.