
Home→ Order & POS→ Orders management→ New Branch Booking
Overview
This interface allows you to create bookings that came from internal customers.
Also, there is an opportunity to create orders, send SMS, link jobs, and upload reports. In case the customer has a discount, you can reduce the amount of the order.
To add a present is also possible in this interface.
Manuals
How to create a new entry
-
To create a new branch booking, fill in the necessary fields, and click the Save button. Pay attention that the Station, Customer, Phone and Delivery location fields are required.

-
In case the customer has filled the booking type in the Customers list, the Booking type field in the New Branch Booking interface will be not active. The name of the type will be changed automatically.
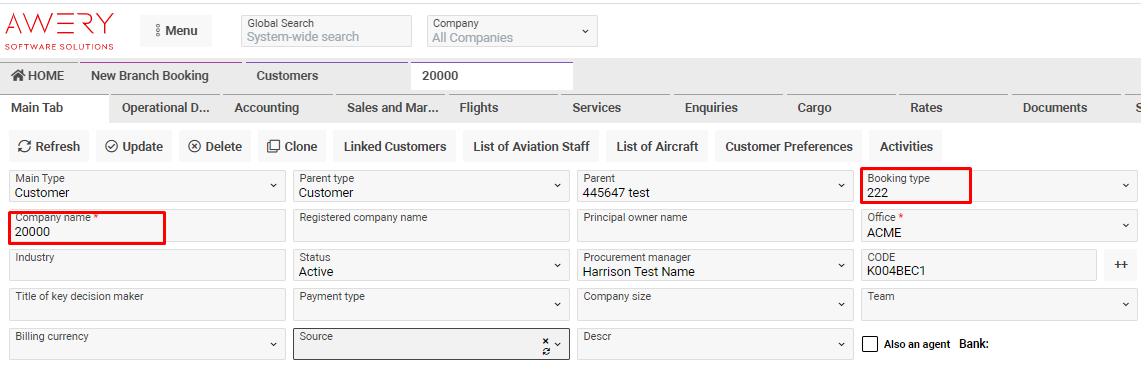
*Customers interface

*New Branch Booking interface
-
Pay attention that the Discount percent, Customer discounts and Discount bulk fields will be active in case the order has no job and the Amount > 0
-
Pay attention that in the Customer selector you will find the shortlist of customers. In case the invoice type is Branch Order, the customer can be in this selector.
List description in the Orders tab
-
ID – the unique number of the order
-
Status – the condition of the order. It can be NEW, QUOTED, ON HOLD, CONFIRMED, APPROVED, ACTIVE, READY, CHECKED, NEW RELEASED, DELIVERED, ACCEPTED, COMPLETED, CANCELLED
-
Revision – the status of review
-
Order details – the space of additional information
-
Location – selected origin location
-
Complexity – the level of complexity of the order
-
Time – the period of the time for the execution of the order
-
Done, % - the percentage of completion depending on the complexity of the order
-
Amount – the total order amount
-
Z – the clip

How to link a job
-
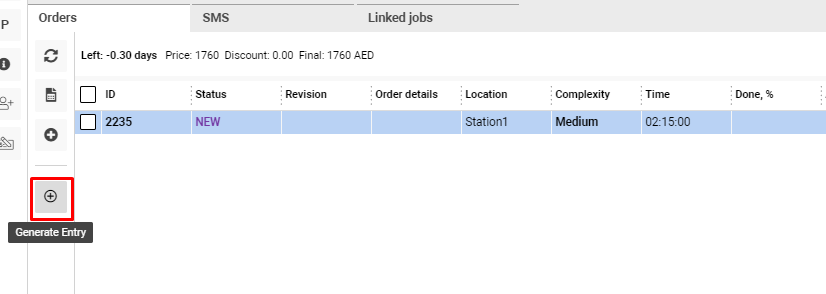
Click the + button to generate an entry
-
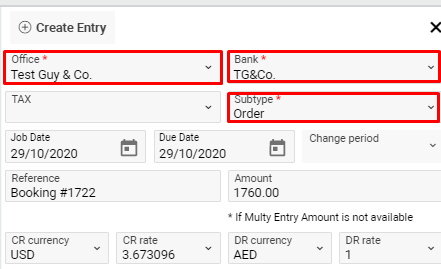
Fill in the necessary fields in the sidebar. Pay attention that the Office, Bank and Subtype fields are required
-
Click the Create Entry button to confirm the creation
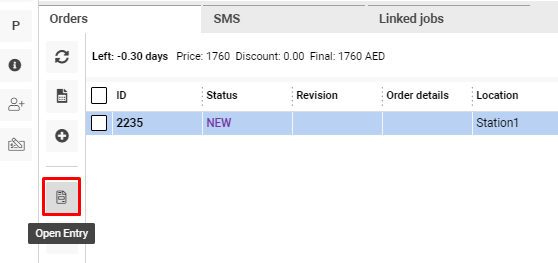
In case the creation was successful, you could find this job in the Linked jobs tab
-
To open the job, click the Open Entry button
-
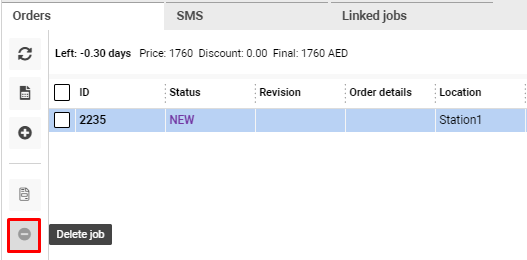
To delete the job, click the Delete job button
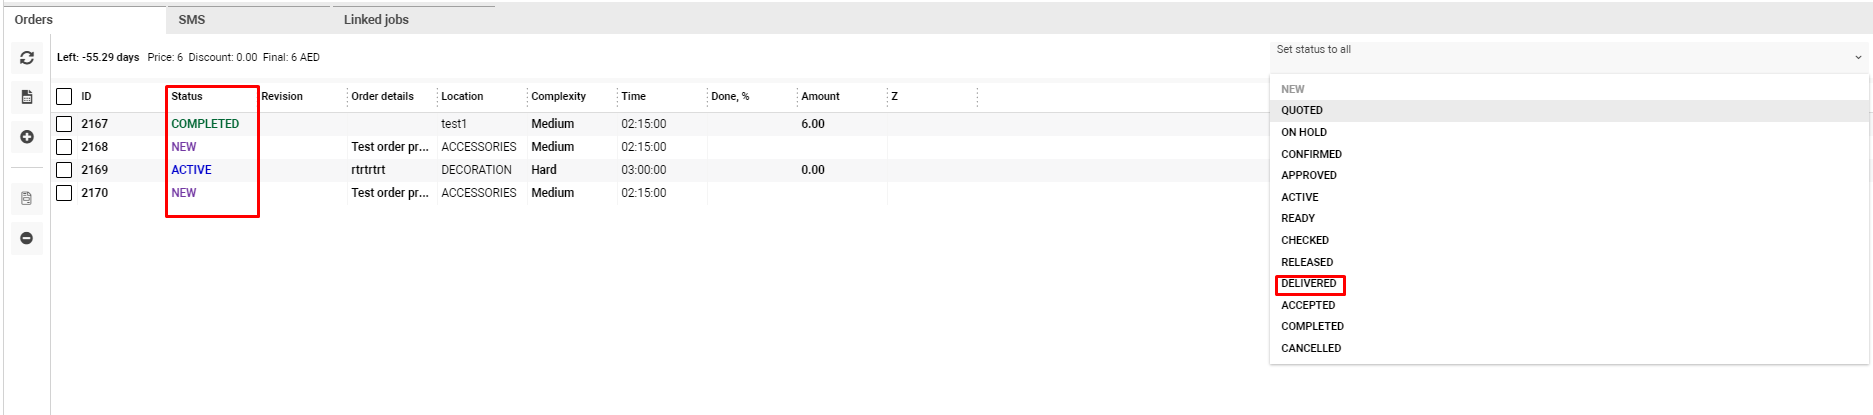
How to set the status to all
-
In case you need to change the status in all orders at once, open the Set status to all selector
-
Select the necessary variant -> all orders have changed their statuses

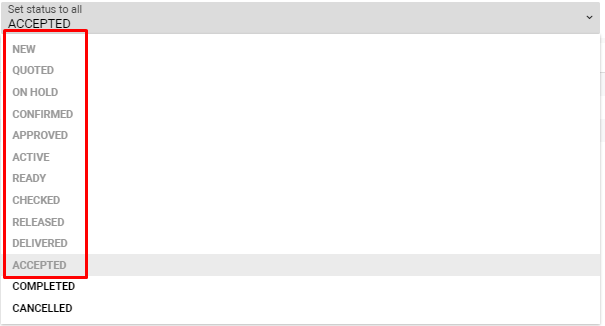
*Pay attention that you have no opportunity to select the previous statuses. They will be blocked.
List description in the SMS tab
-
From – the sender of the SMS
-
To – the recipient of the SMS
-
Message – the text of the message
-
Count – the count of the delivered SMS
-
Cost – the cost of the SMS
-
Creator – the user who creates the SMS
-
Date – the date of sending
How to send the SMS
-
Click the + button to open the sidebar

-
Select the necessary customer and fill in the other fields. Click the Send button to confirm the action
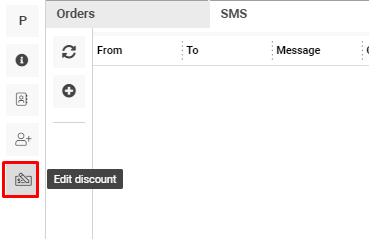
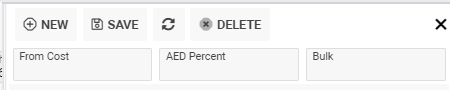
How to edit customer discount
-
Click the Edit button to open discounts
-
In the sidebar you have an opportunity to create/edit/delete discounts. Fill in the necessary fields and click the Save button
Additional information

-
To create the same booking, click the Clone button

-
To open the contractor, click the button

-
To add a new customer, click the button

-
To add the presets to the orders, click the Presets button, select the suitable entry and click the + button