
Accessing Flights Schedules
Navigate to the Flights section and under the Flights Section, click the “Flights Schedules” Button.

Overview
This interface allows users to import, delete, and edit flight schedules in the system. Additionally, users can download reports containing general schedule data.
The Permission_Name parameter defines whether specific options are visible, hidden, allowed, or restricted based on user permissions. Access to certain features depends on the permission level granted to the user.
You can access the Flight Schedules page from the Home → Flights Module.
Can be enabled by permission: view_flight_schedules
Opens image in full screenOpen
Page Description
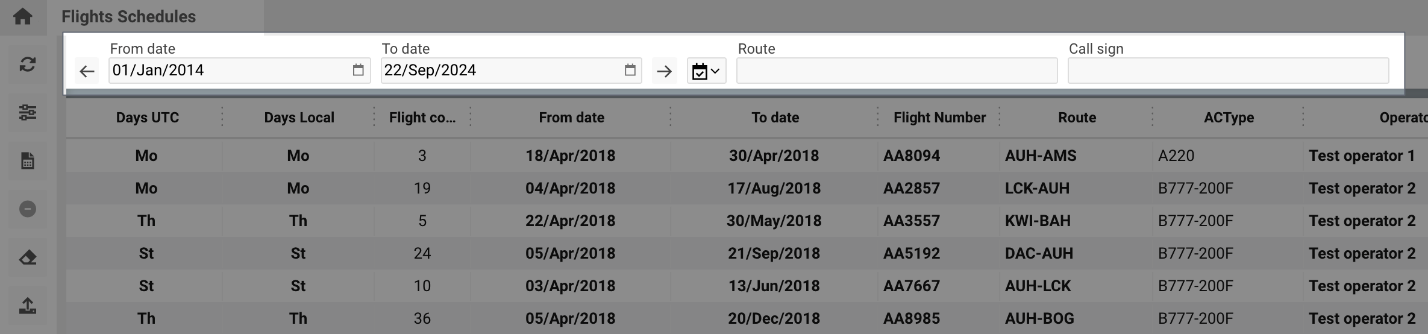
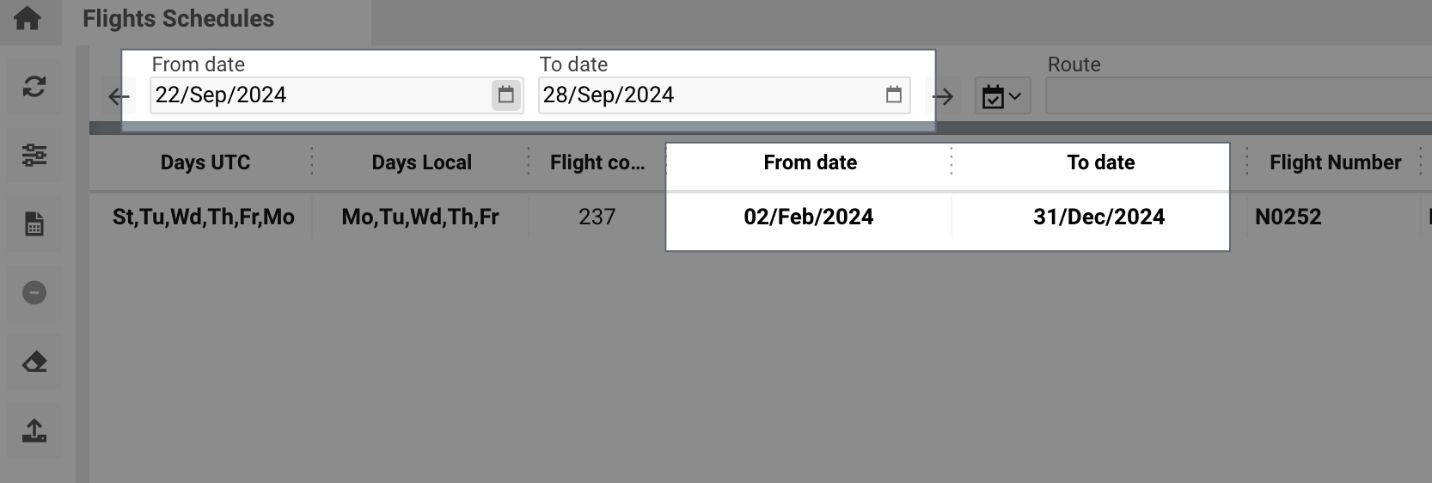
The header allows you to filter schedules by Date, Route, and Call Sign (Flight Number).
By Date
Filters by date and displays information if there are flights scheduled on those dates.
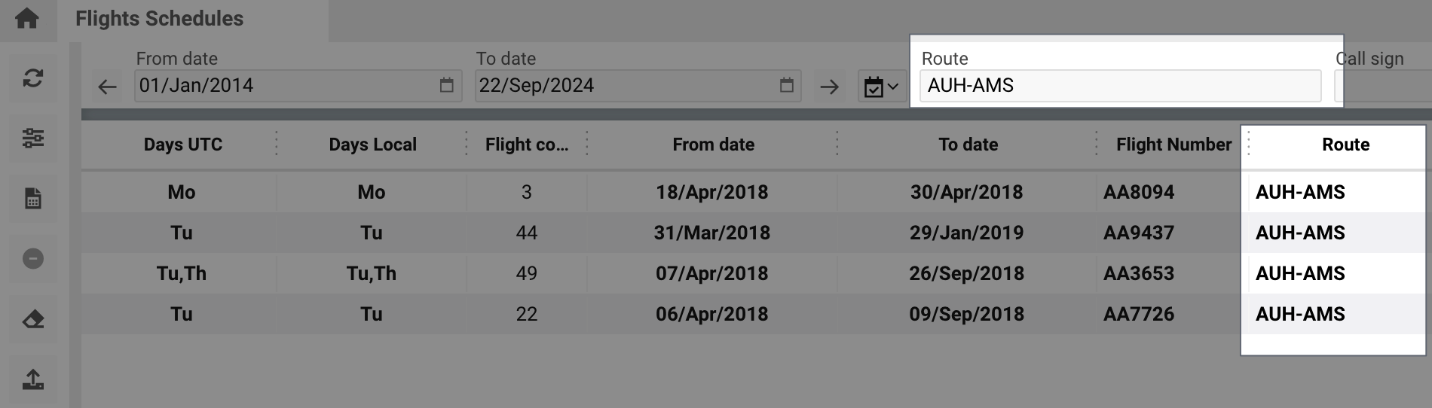
By Route
Filters by route (origin–destination) for flights operating within the selected schedule.
By Call Sign (Flight Number)
Filters by an exact flight number or partial input (e.g. “AA”) to display related data.

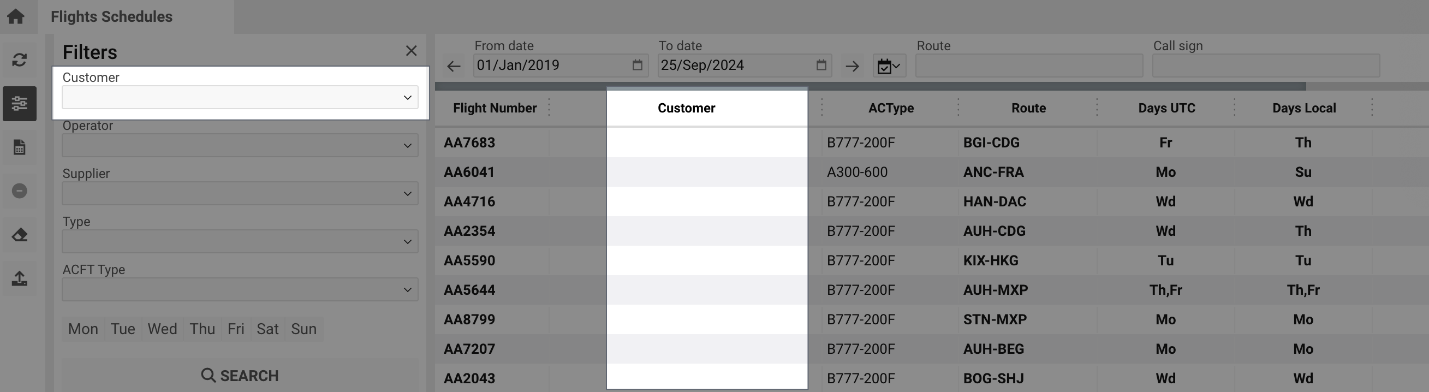
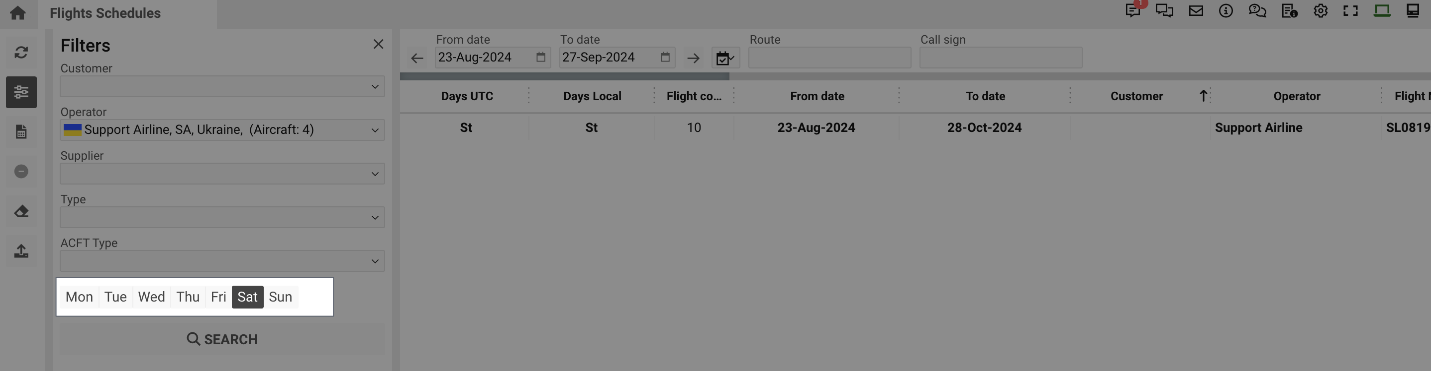
Filters Section
This section allows setting detailed parameters and criteria for schedule searching.
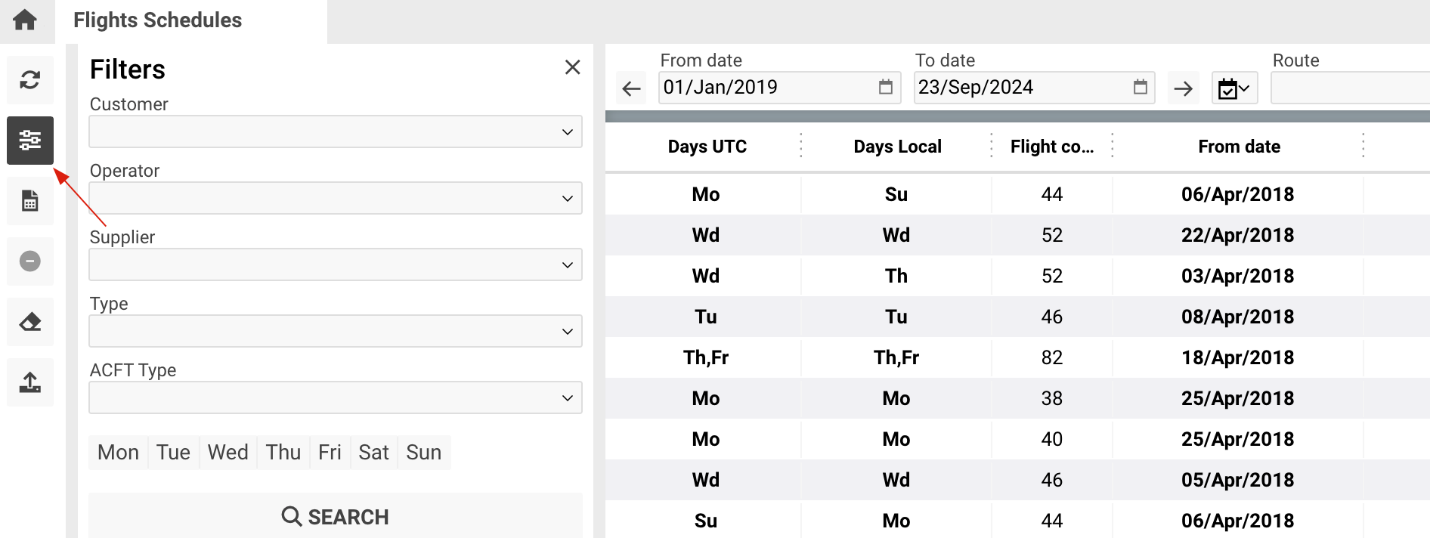
Customer – Displays the customer or client associated with the flight (not in use).
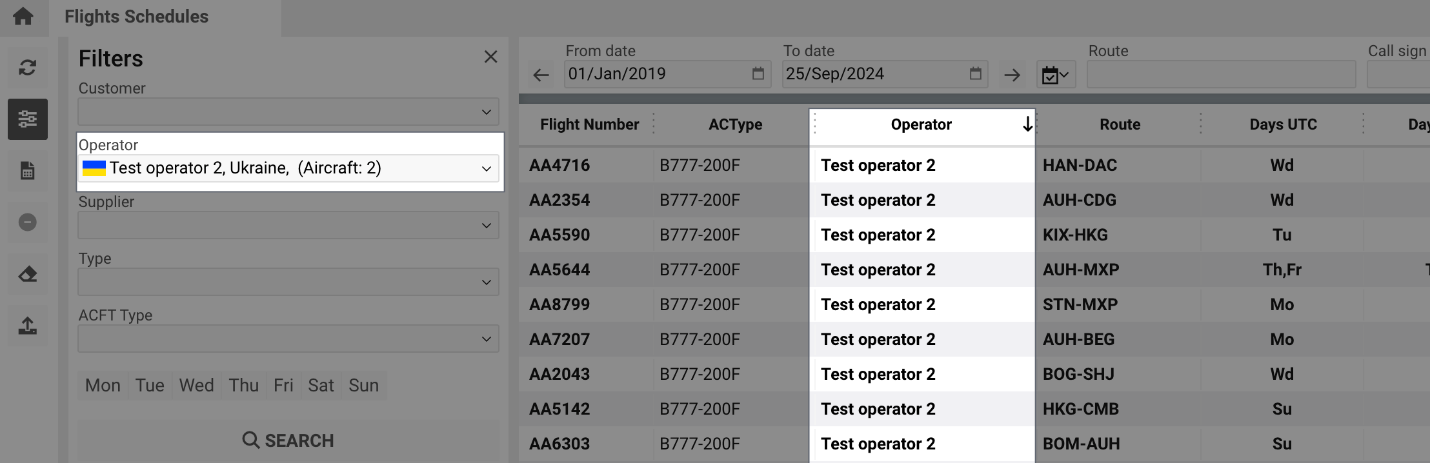
Operator – The name of the airline or flight operator responsible for the flight.
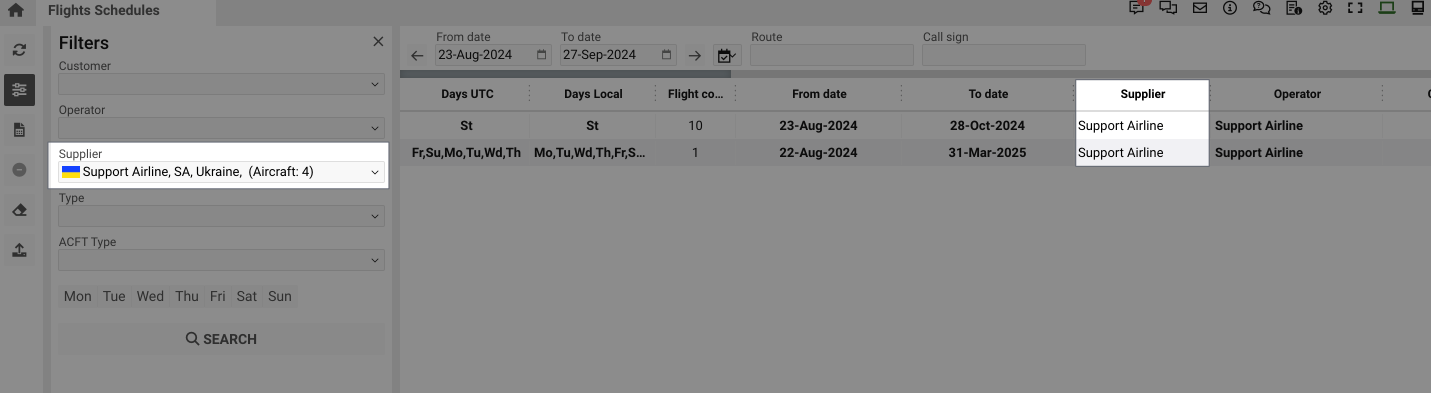
Supplier – Vendors providing essential supplies and materials for aircraft maintenance, operations, and onboard services.
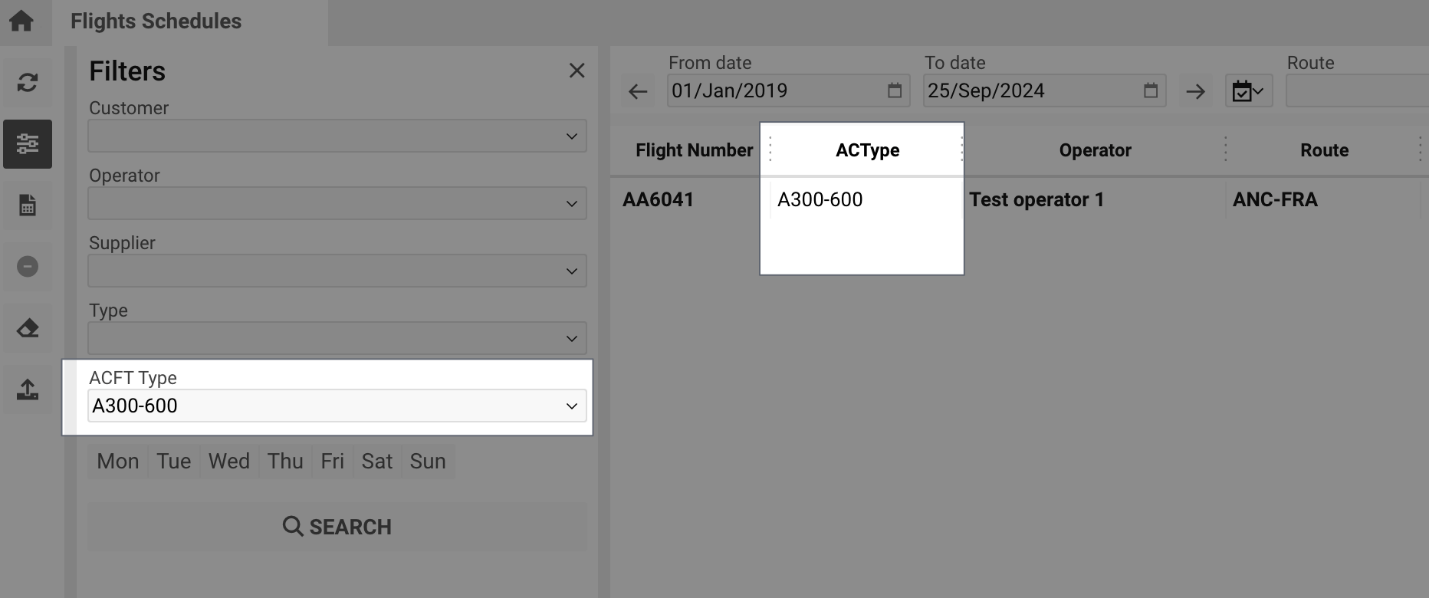
ACType – Indicates the aircraft type assigned to the flight.
Days – Allows filtering flights operating on specific days.
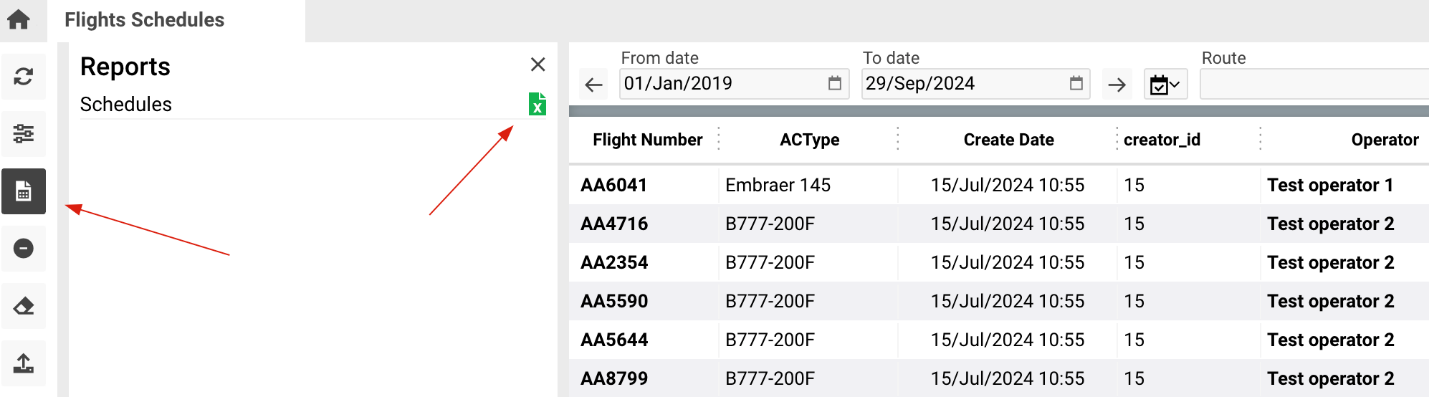
Reports Button
Allows downloading a report containing general data based on applied filters.
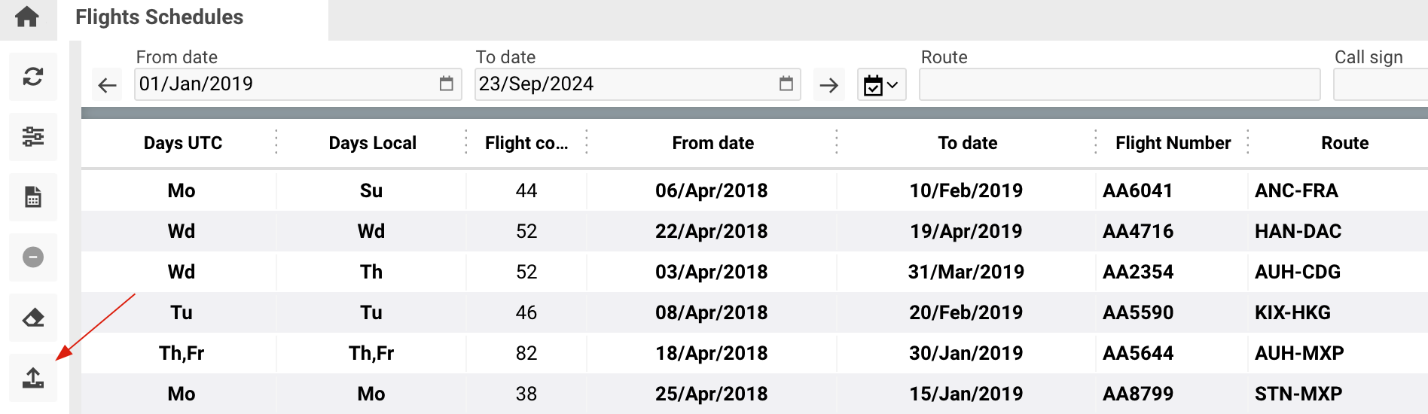
Columns Description
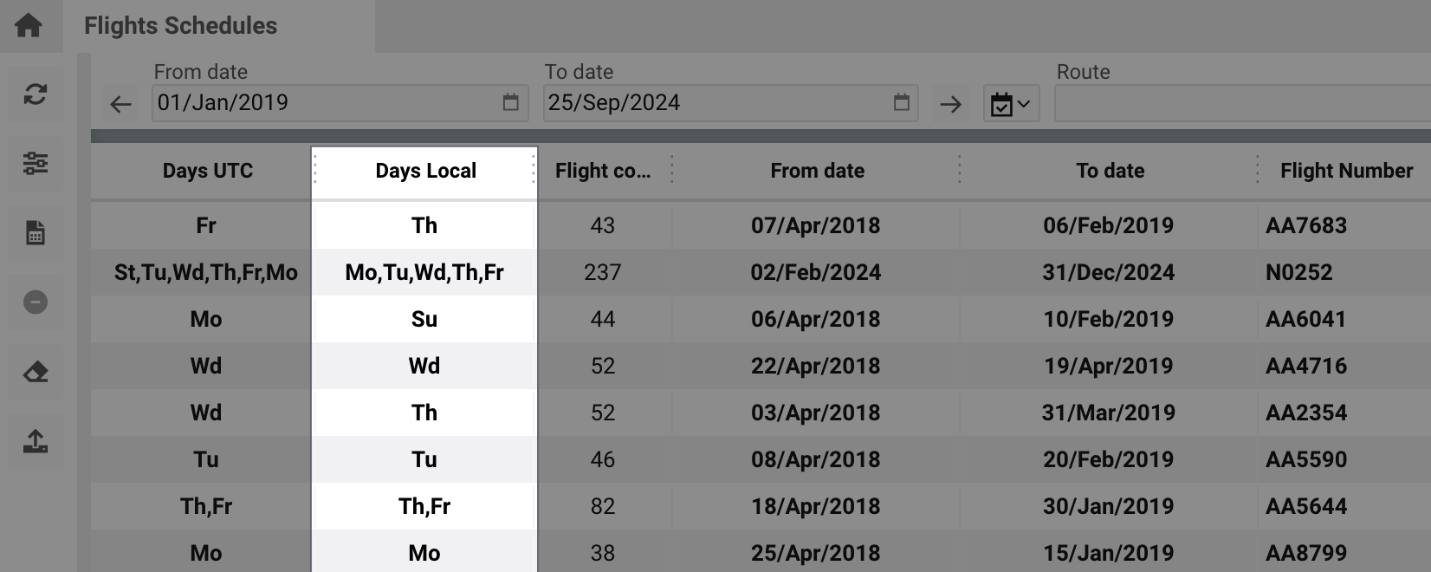
Days UTC – Displays the days of the week (UTC) when the flight operates.
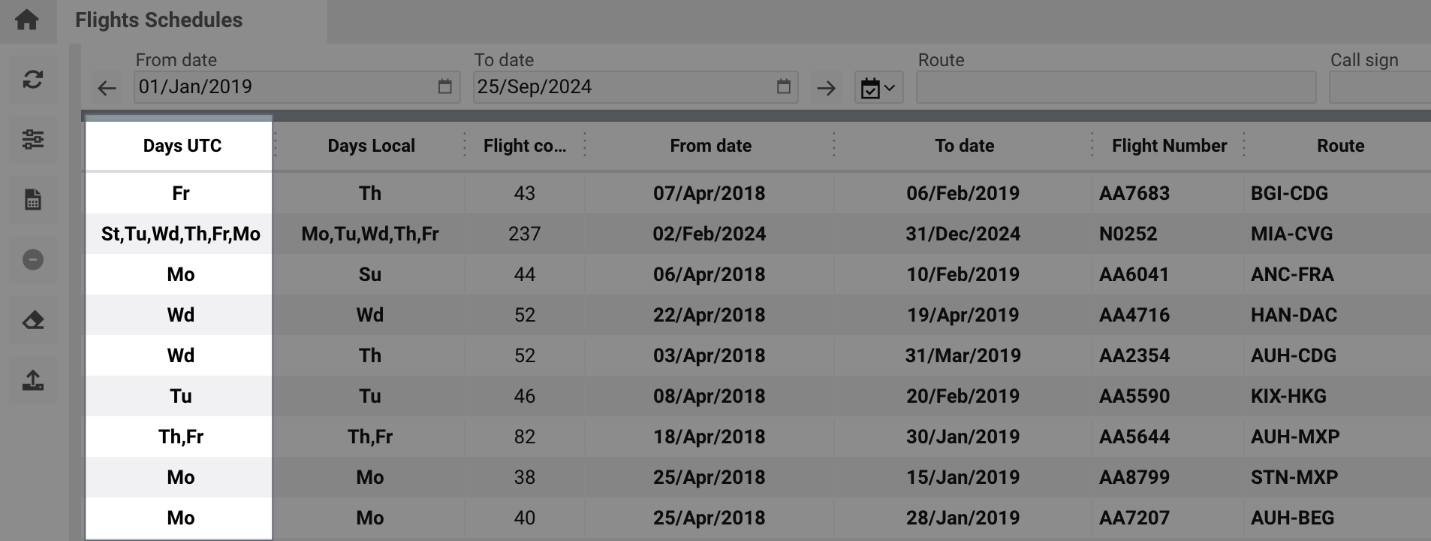
Days Local – Displays operating days according to the local timezone of the route.
Flight Count – Shows the number of flights scheduled within the selected range.
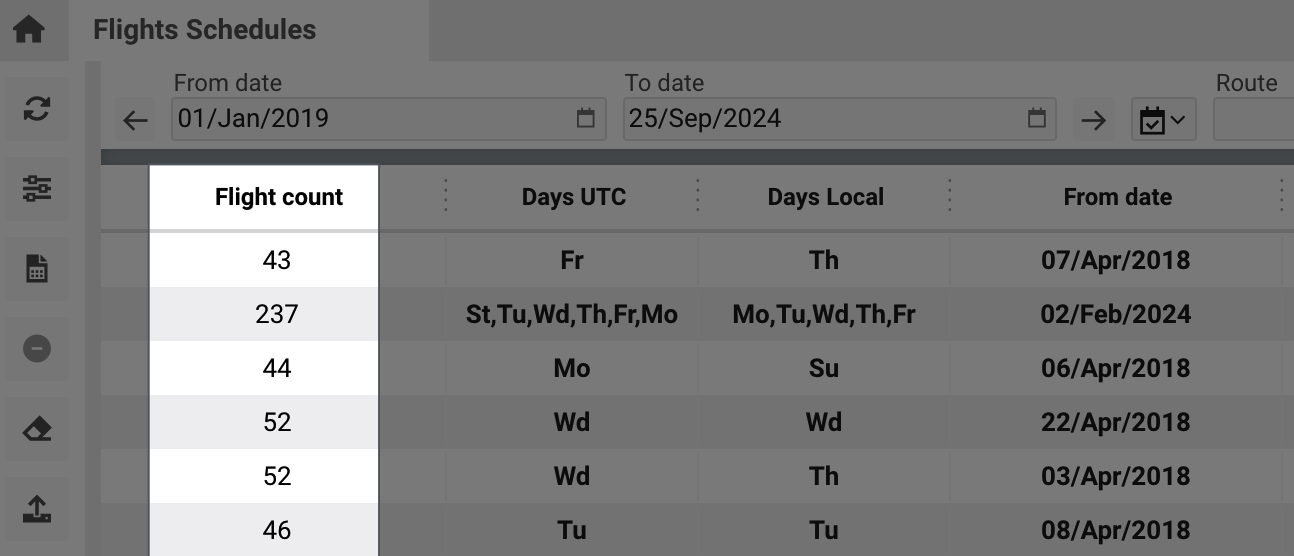
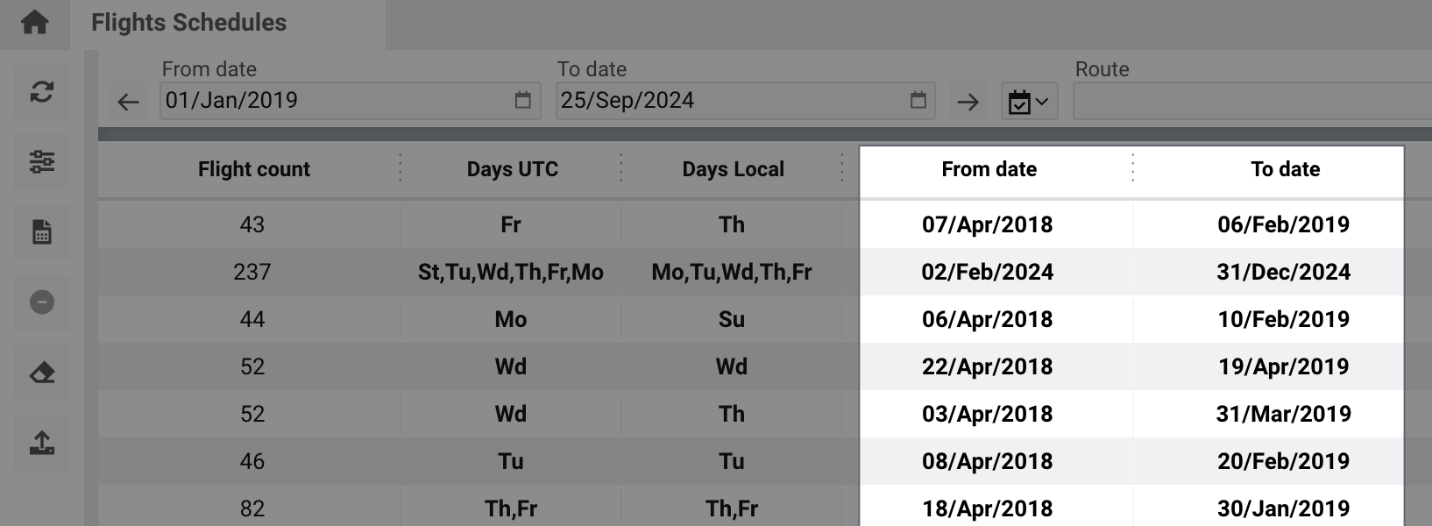
From Date / To Date – Defines the operational period of the flight.
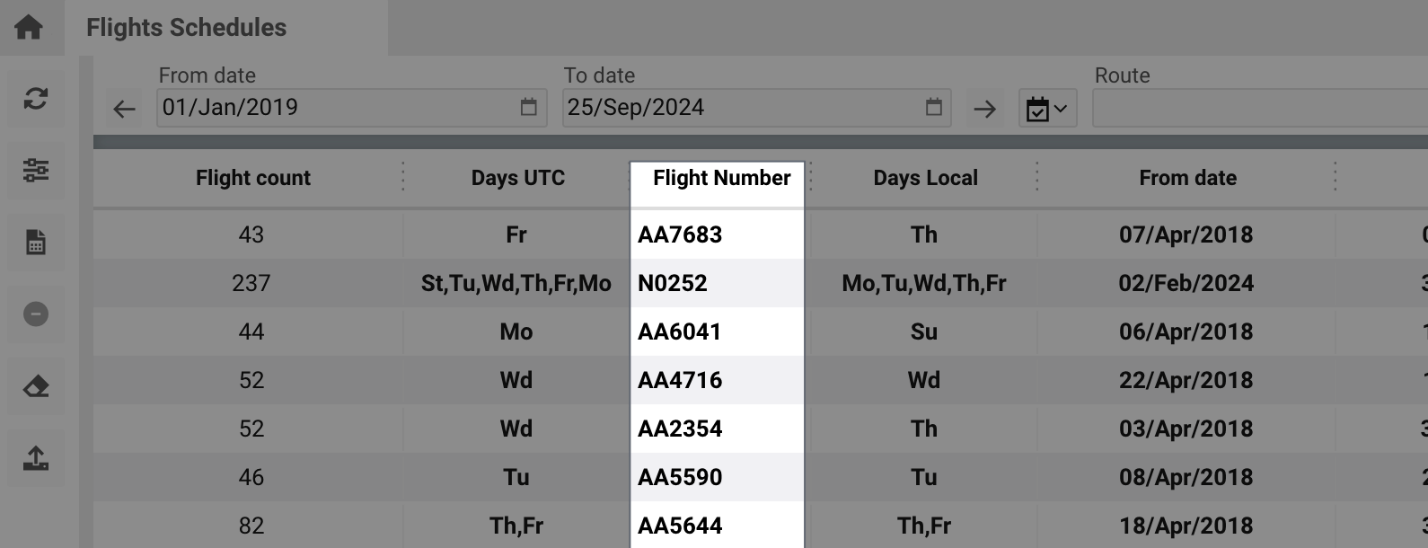
Flight Number – The unique code assigned to each flight.
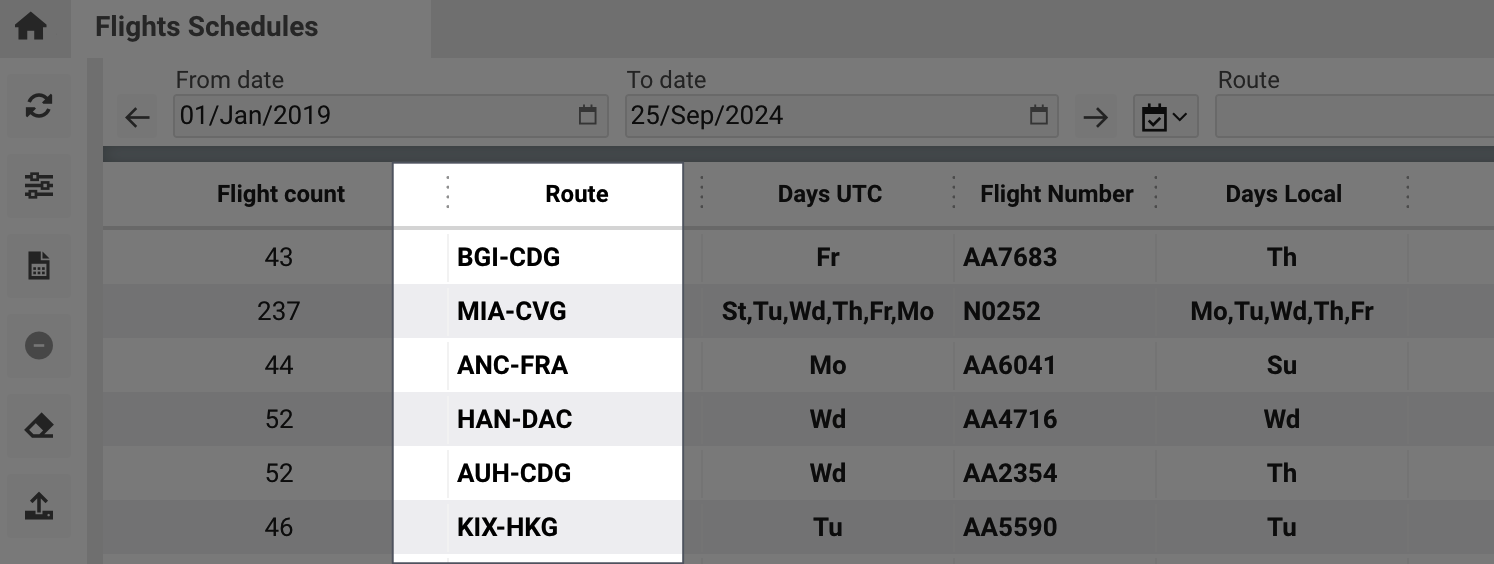
Route – Displays the origin and destination airports.
Aircraft – Displays the aircraft registration number.

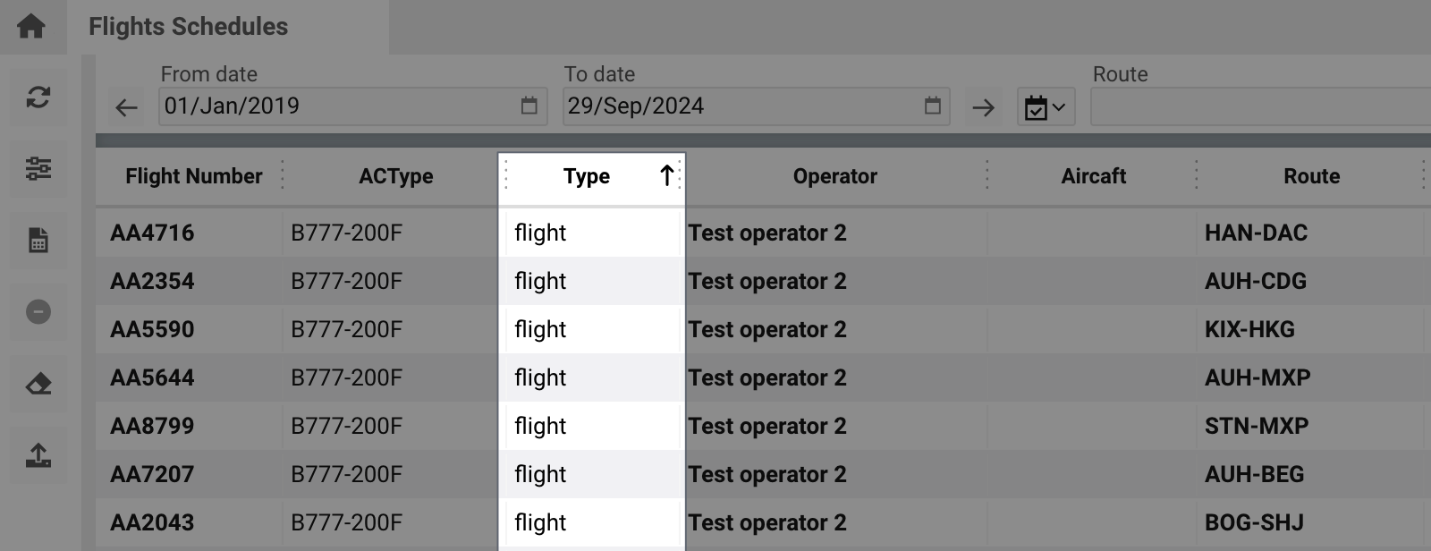
Type – Indicates the flight type.
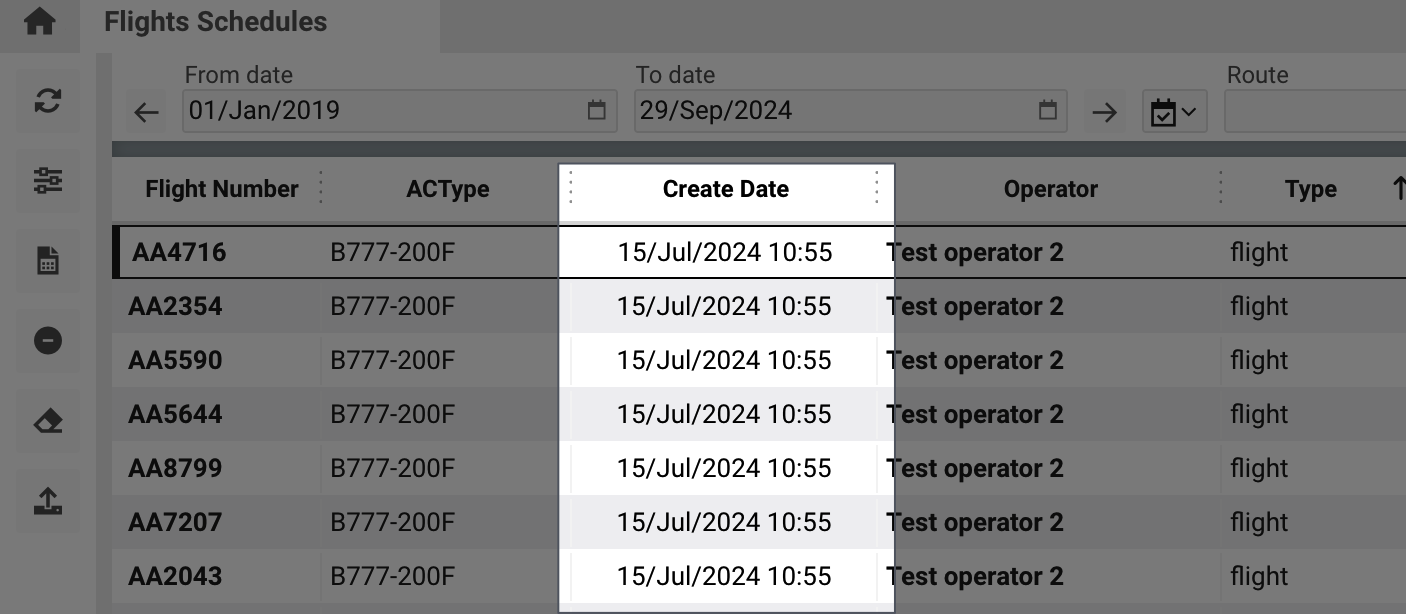
Create Date – The date and time the schedule was created.
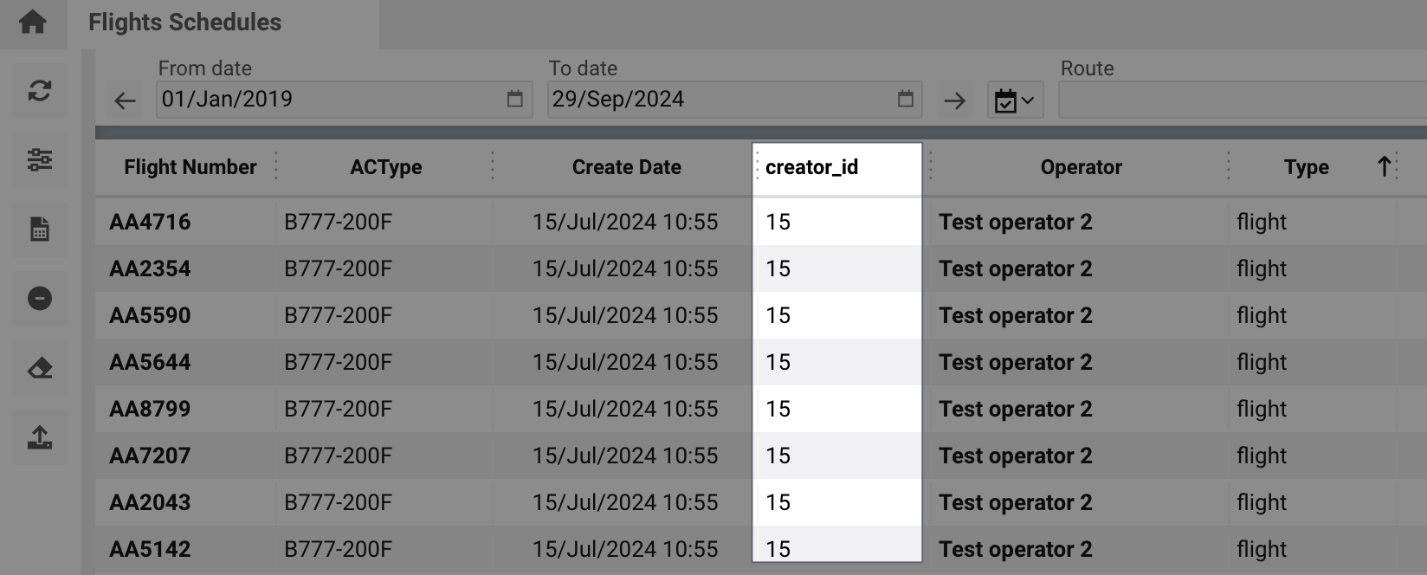
Creator ID – The system identifier of the user who created the schedule.
Deleting a Schedule
The Delete button allows you to remove an entire schedule and becomes active once a schedule is selected.

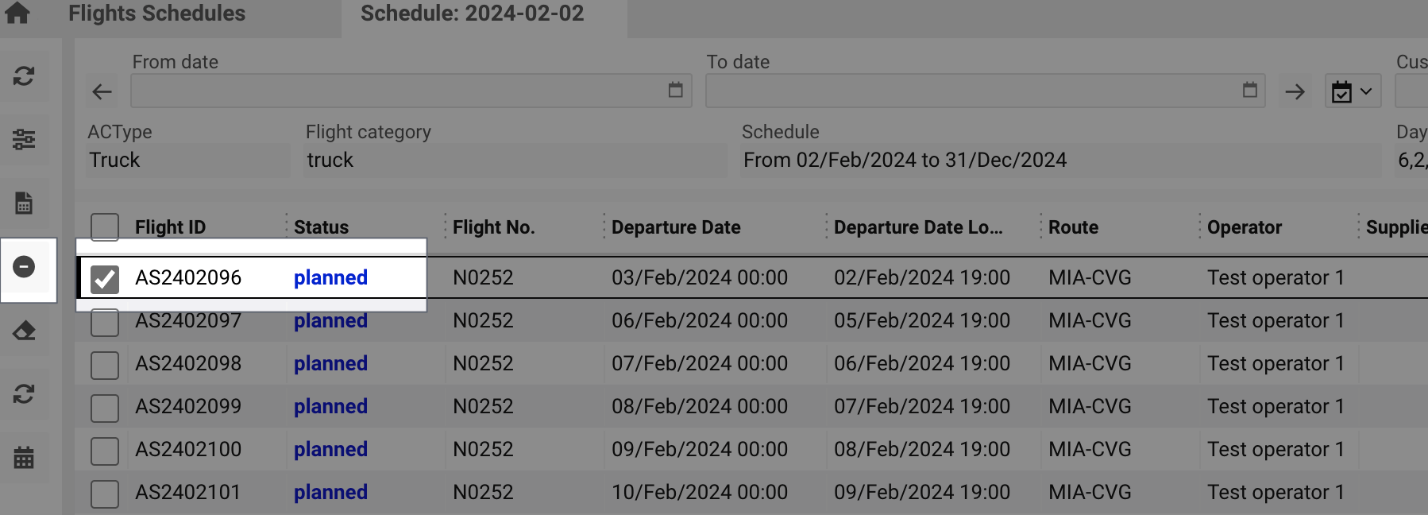
If you need to delete a single flight from a schedule, open the schedule, choose the desired flight, and delete it.
Editing a Schedule
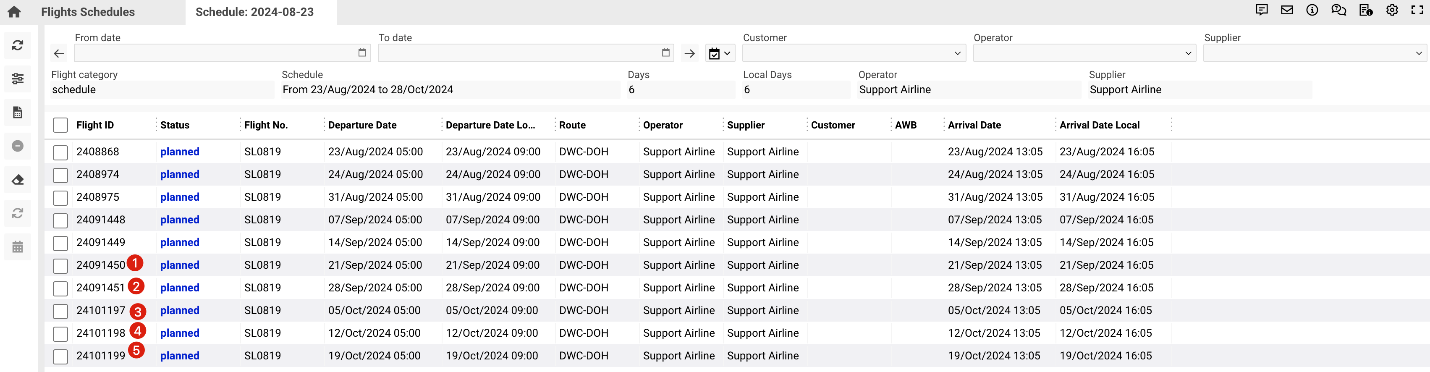
When a schedule is opened, all flights under it are displayed. You can filter and search for specific flights.

To change general schedule information (e.g., AC Type, Flight Type, Operator, etc.), contact the Support Department at support@awery.aero before making edits.
Steps
-
Open the Flight Schedule Page.

-
Select and open the required schedule.
-
Open the first flight in the list.
-
Make the necessary changes and click Save.
-
Click the Update Schedule button on the General tab.
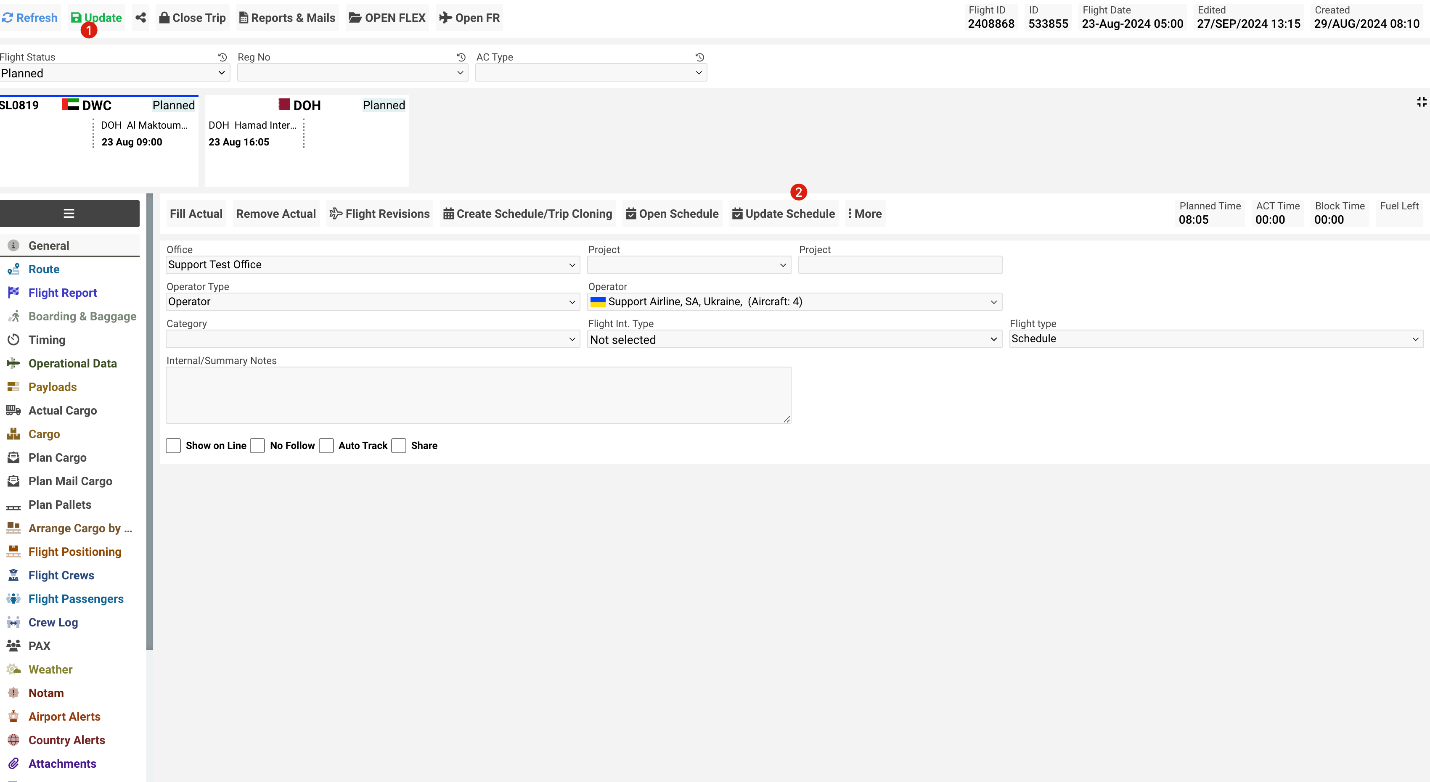
Changes will apply to the entire list of flights.
-
Press (1) to apply changes to the selected flight only.
-
Press (2) to apply changes to the selected and subsequent flights in the list.

Example:
If you modify Flight 1 and click Update Schedule, Flights 2, 3, 4, and 5 will be updated accordingly.
Import Button
The Import button allows importing schedules into the system.
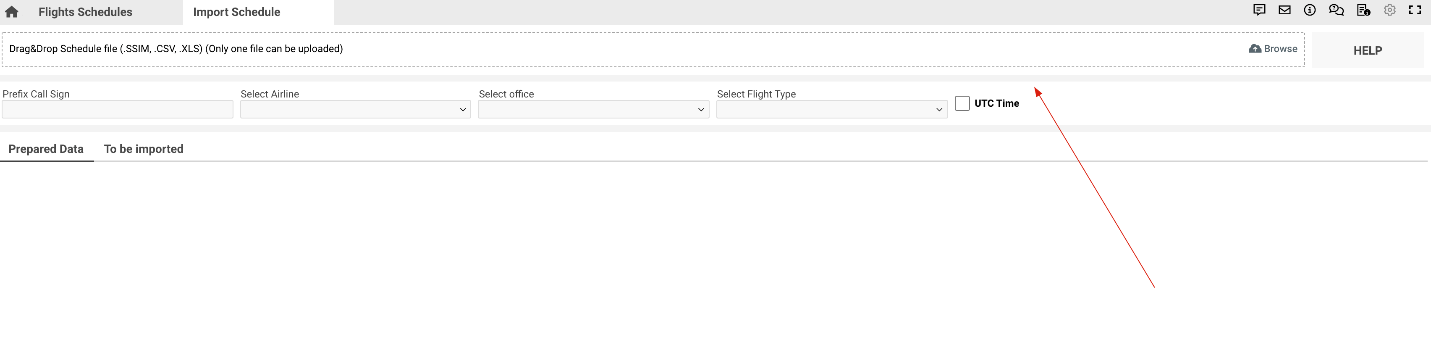
Import Process
After clicking Import, the header menu appears for uploading the file.
The file should follow the example format: Schedule Sample.xlsx

-
Start date of the schedule.
-
End date of the schedule.
-
Flight number.
-
Origin airport.
-
Destination airport.
-
Operating days (e.g. 12345.. for Mon–Fri).
-
Scheduled departure time.
-
Scheduled arrival time.
-
Aircraft or mode type (e.g., TRUCK for cargo).
-
Arrival day adjustment (+1 or +2).
After uploading, the import menu will appear.
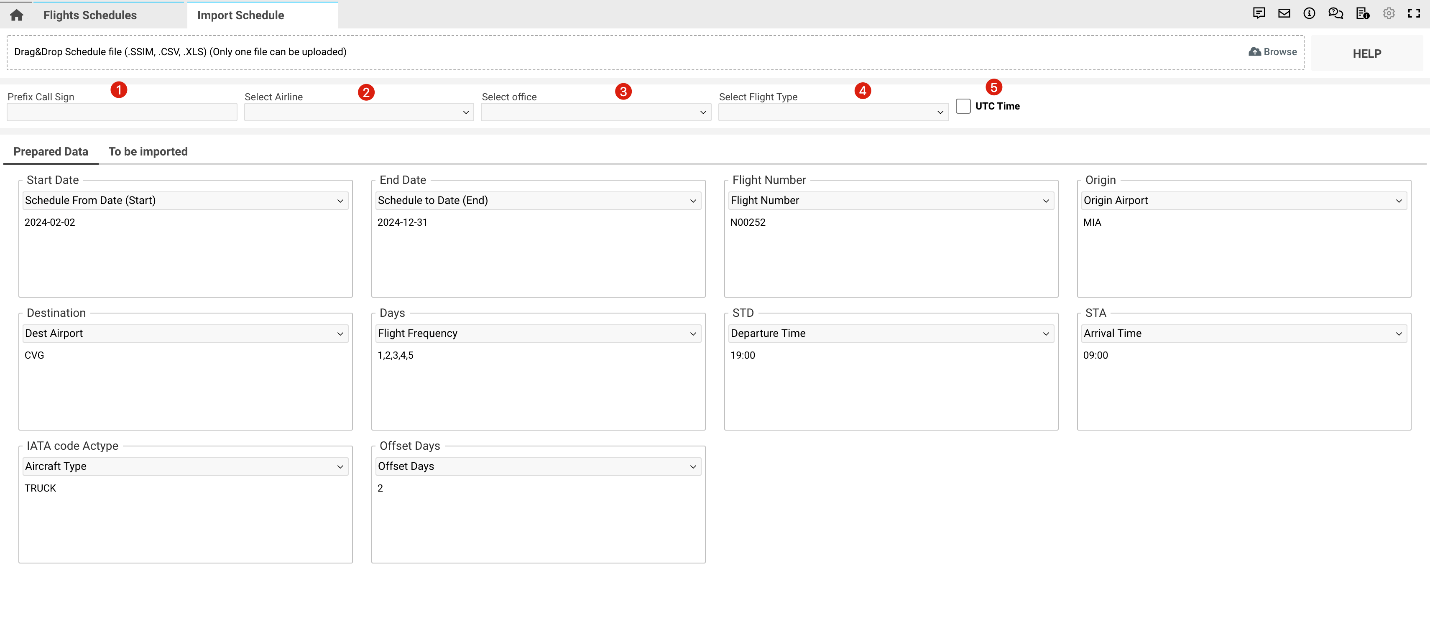
Import Menu Fields
-
Prefix Call Sign – Identifier used to label the flight (e.g. AFR for Air France).
-
Airline – Select the operating airline.
-
Office – Choose the corresponding office.
-
Flight Type – Select flight category (cargo, passenger, etc.).
-
UTC Checkbox – Use if times are in Coordinated Universal Time (UTC).
Field Mapping
The second section allows mapping fields between the system and the XLS file.
If using the standard file, mappings occur automatically.
For custom fields, assign them manually to corresponding system fields.
If a field header is blank, it will not be imported.
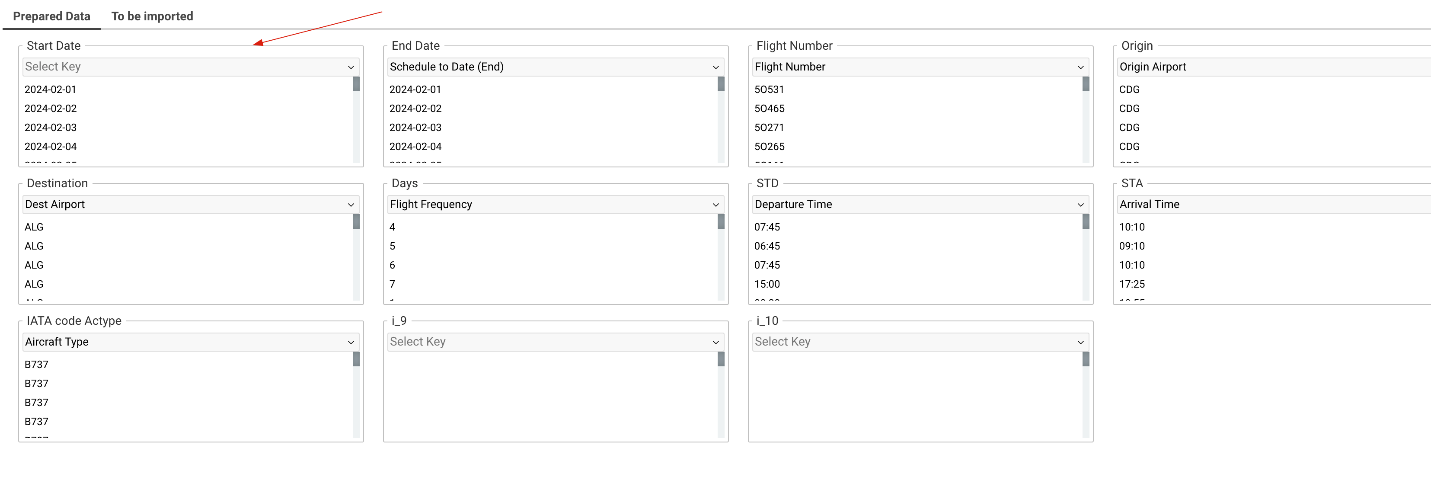
After mapping, switch to the To Be Imported page.
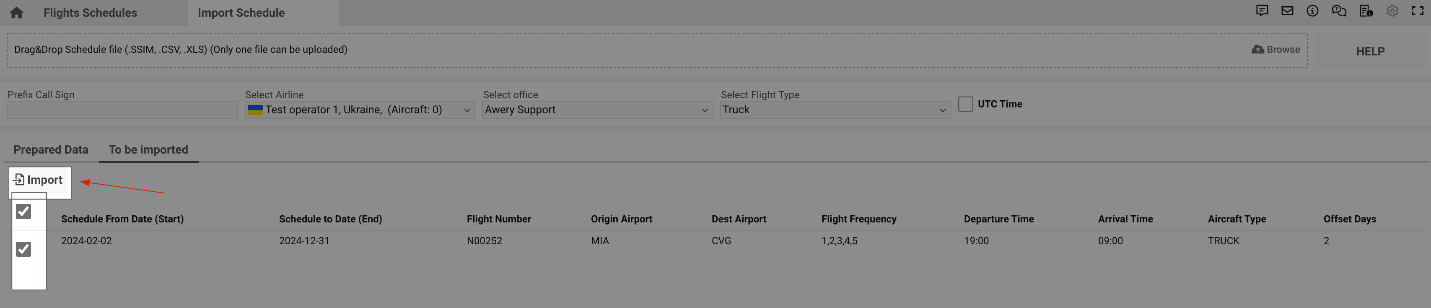
Select the required schedules and click Import to begin.
The process time depends on file size. Once completed, the page will refresh automatically.
Important Notes
If your schedule includes flights operating within a single day, ensure the format includes +1 day for proper upload.
Incorrect Example
Correct Example
It is recommended to avoid importing very large schedule files.
Divide them into smaller batches (approx. 150 rows maximum, with flight periods not exceeding six months).