
Home Page→ Reports→ Operational→ Flight Expenses
Overview
Allows you to view all Flight Expenses, create jobs from this page.
You can Confirm and cancel confirmation of Flight Expenses without opening them.
Also, you can open the Flight Services and linked Job in one click
List description
-
Flight No - the unique number of the flight
-
Waypoint Service No - Service Number
-
Type - flight charges type
-
S/Type - flight charges subtype
-
Customer - customer of a particular service
-
Operator - company that carries the flight
-
Vendor - service supplier
-
Country/AP - a country in which the service is provided
-
ETA - planned arrival date of a waypoint where service was created
-
ETD - planned departure date of a waypoint where service was created. In case of Flight status is ACTIVE - ETA/ETD will be blue

-
Waypoint Status - current waypoint status
-
Flight Status - current flight status
-
AC - Aircraft type
-
Reg. No - the registration number of the aircraft
-
Call sign - aircraft identification
-
Rout - flight route
-
Notes - comments and details
-
Original amount - the number original amount of flight expenses
-
Qty - qty of flight expenses
-
Unit - unit for service ( for example Liters for Fuel)
-
Price - price for one unit
-
Amount - total amount for a particular flight expenses
-
CR - flight expense currency
-
RE customer - the name of the re-invoice company
-
REI - the number of the re-invoice
Manuals
1.How to Confirmed/UnConfirmed Flight Expenses
To confirm the Flight Expenses select the entry and click the Confirmed button.
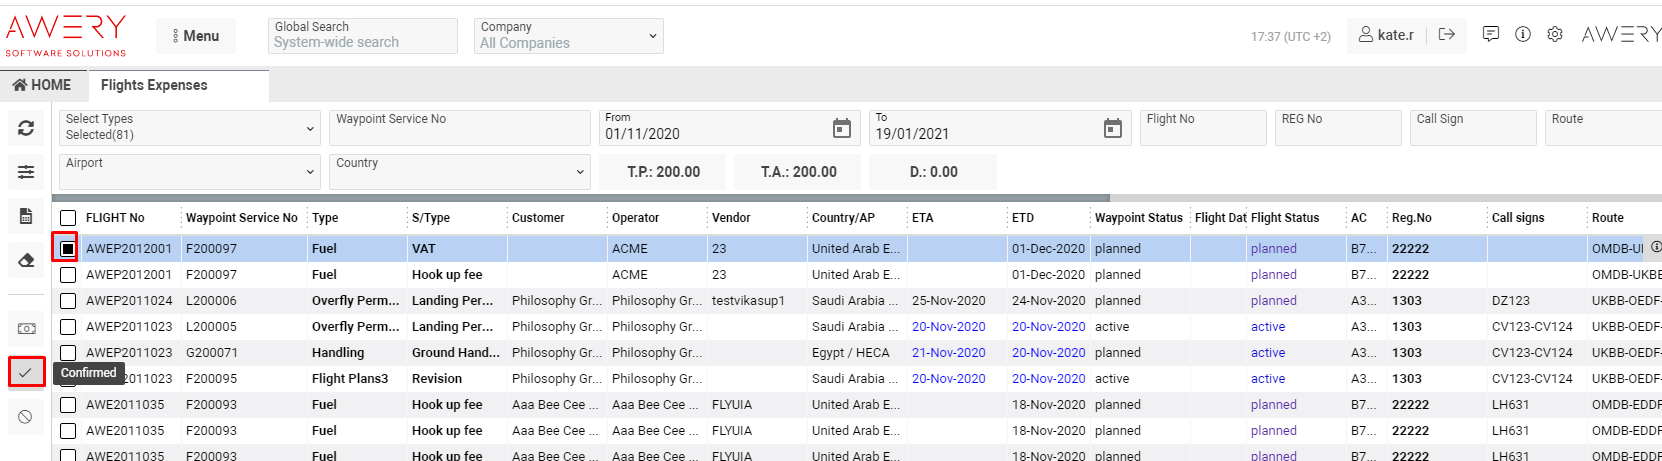
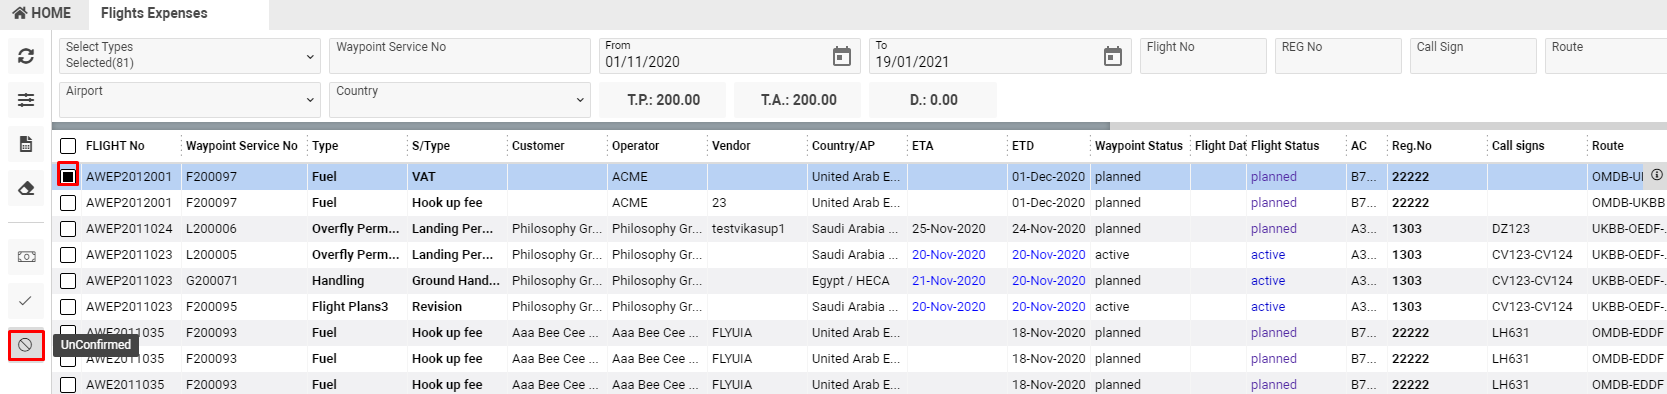
To UnConfirm the Flight Expenses select the entry and click the UnConfirmed button.
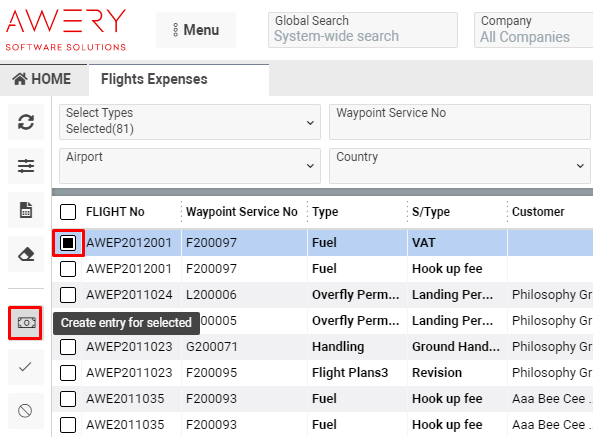
2.How to create a Job
To create a job you should select the entry and press on the Create entry for selected button.
To open a pop-up to create a job first of all you should confirm the expenses.
There are two options for this:
-
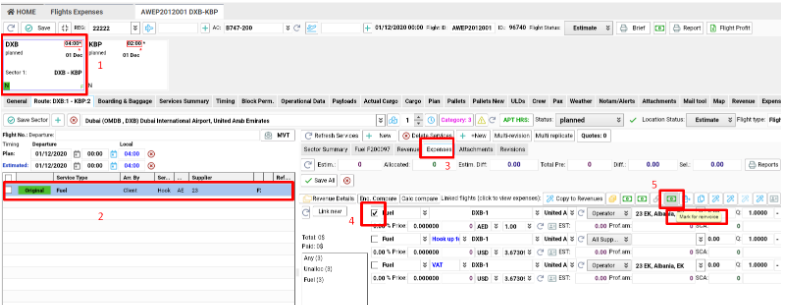
From the service:
-
Open the entry and press on the waypoint
-
Select the service
-
Open the Expenses tab
-
Select the entry (ies)
-
Press on Mark for reinvoice button
-
From the Expenses tab:
-
Open the entry
-
Open the Expenses tab
-
Select the entry (ies)
-
Press on Mark for reinvoice button

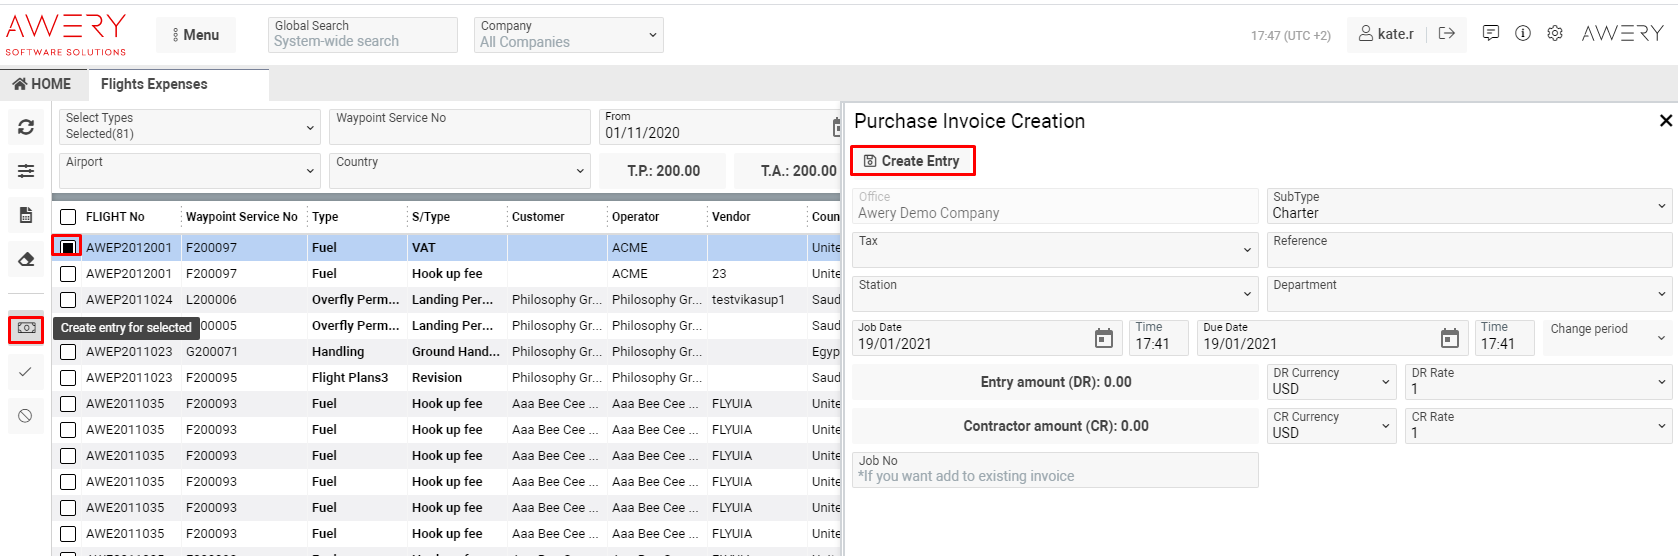
After confirming the expenses you can create a job by Create entry for selected button on the Flights Expenses page.
In window to create a job you should fill in the data such as Sub Type, Tax, Reference, Station, Department, Dates and time or Charge period, DR and CR Currency and Rate or enter Job No (if you want add to existing invoice) and then press on the Create Entry button.
3.How to open the linked job
To open the linked job press on the money sign at the end of the line 
4.How to open the service
To open the service of flights press on the information sign at the end of the line 

Filtering the Flight Expenses
Press on the Filter button to filter the Flight Expenses
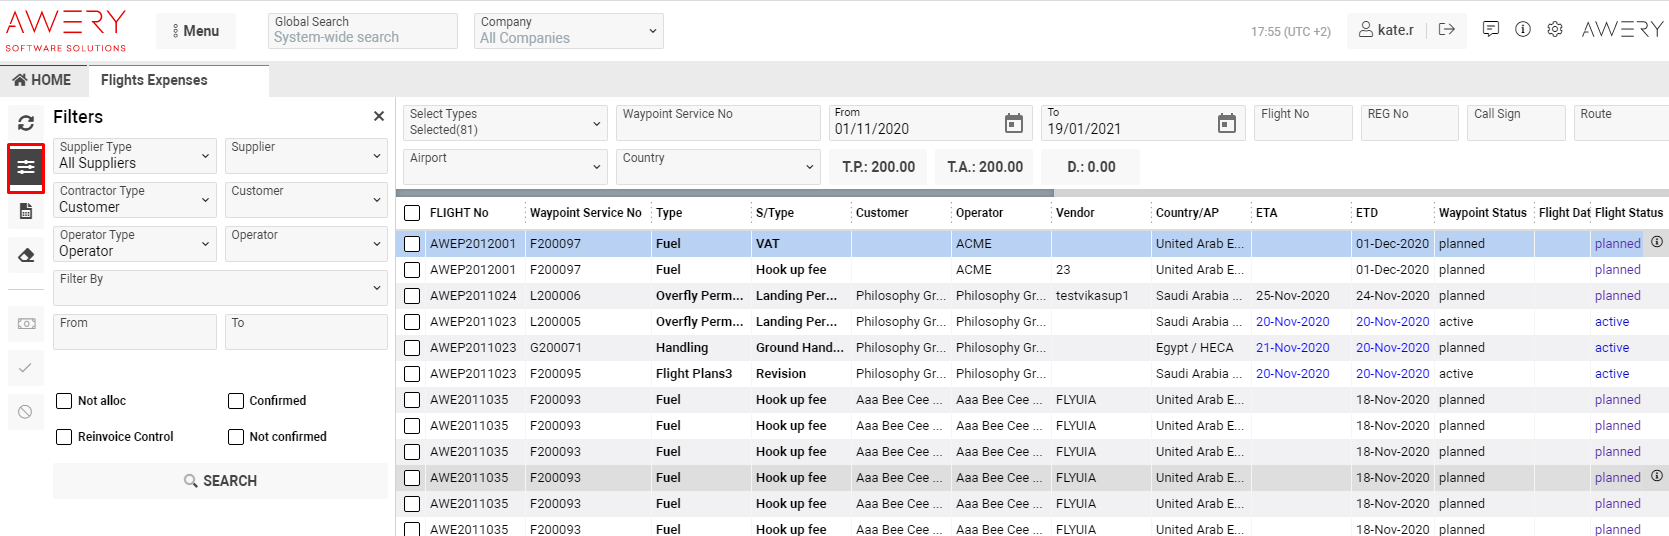
You can filter the Flight Expenses by:
-
Team
-
Supplier type and Supplier
-
Customer type and Customer
-
Operator type and Operator
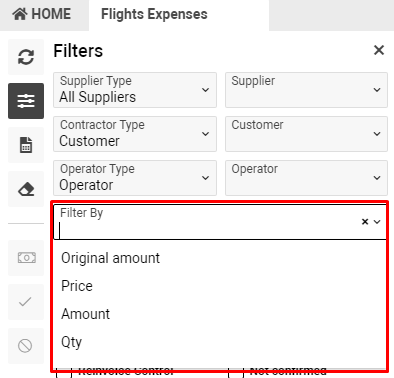
Also, "Filter By":
-
Original amount
-
Price
-
Amount
-
Qty
And you can filter Flight Expenses by date: From - To
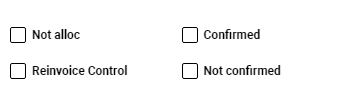
Check-boxes filtering:
-
Not alloc - helps to view entries that do not have a linked job
-
Confirmed - tick the check-box you need to see entries that Confirmed
-
Not confirmed - by this option, you will see entries that UnConfirmed
-
Reinvoice Control - in case of selection that check-box you will see entries that need to re-invoice
Sorting the Flight Expenses
You can sort your Flight Expenses table by:
-
Flight Charges Types using the Types selector
-
Office and Service Office using the appropriate selectors
-
From/To date
-
Airport and Country using the appropriate selectors
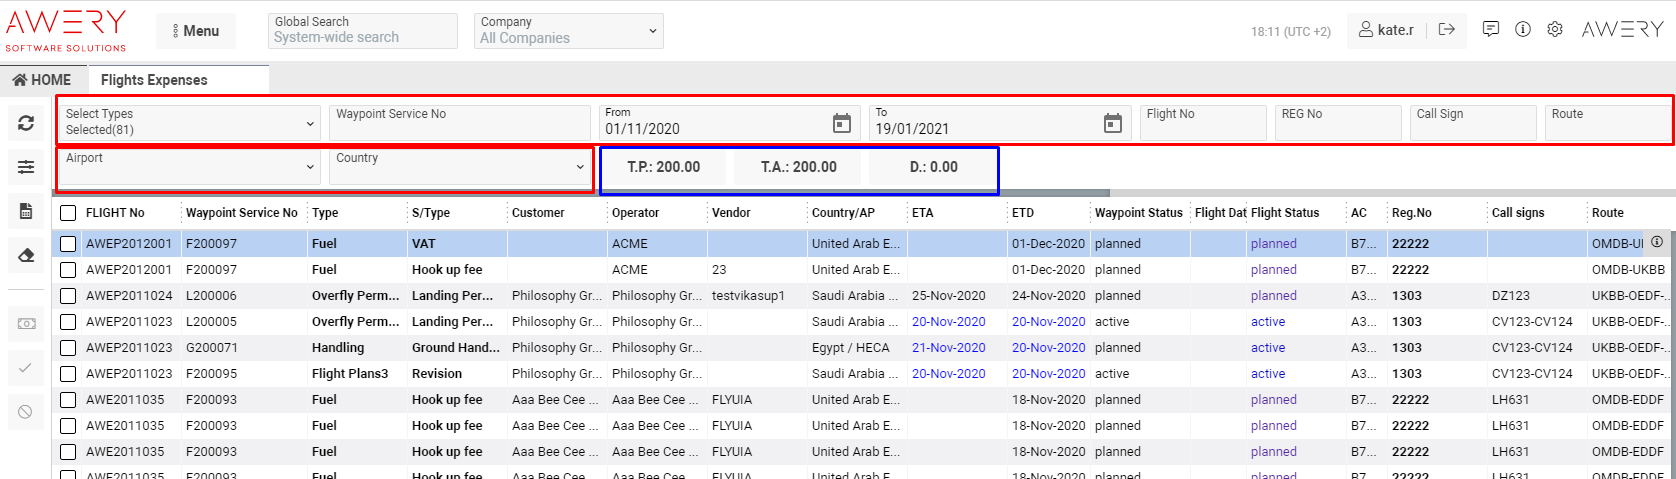
For Quickly Search you can use the Flight No, Reg No, Call Sign and Route fields
And for the general information about the Total amount of flight expenses, Total amount of linked jobs, and their difference you can see on the Total Pre, Total Allocated, and Difference appropriately.
Permissions